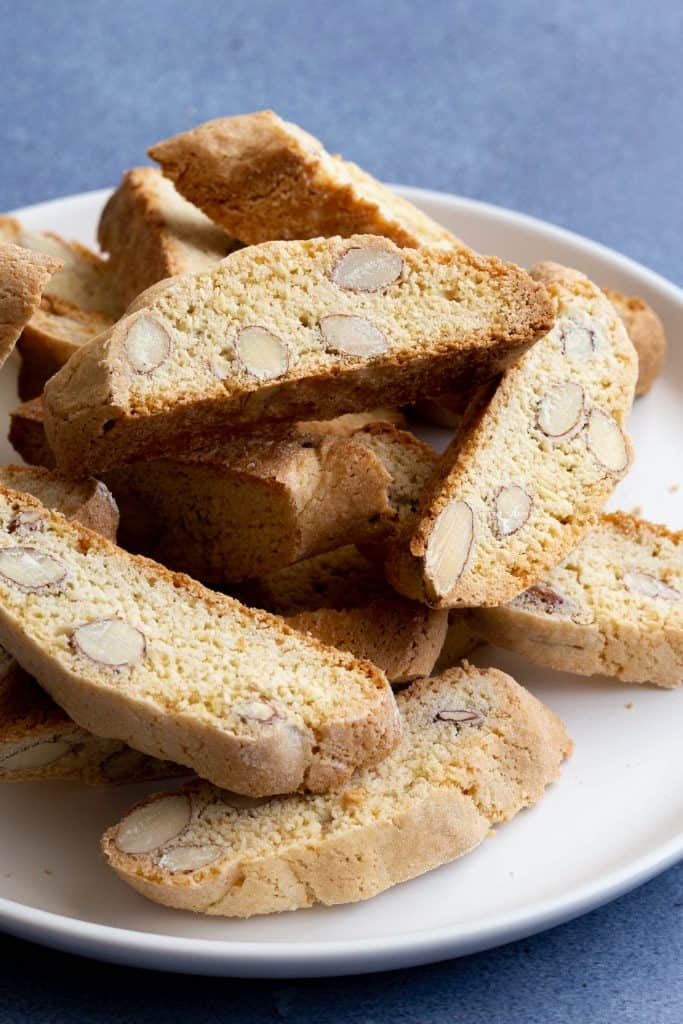
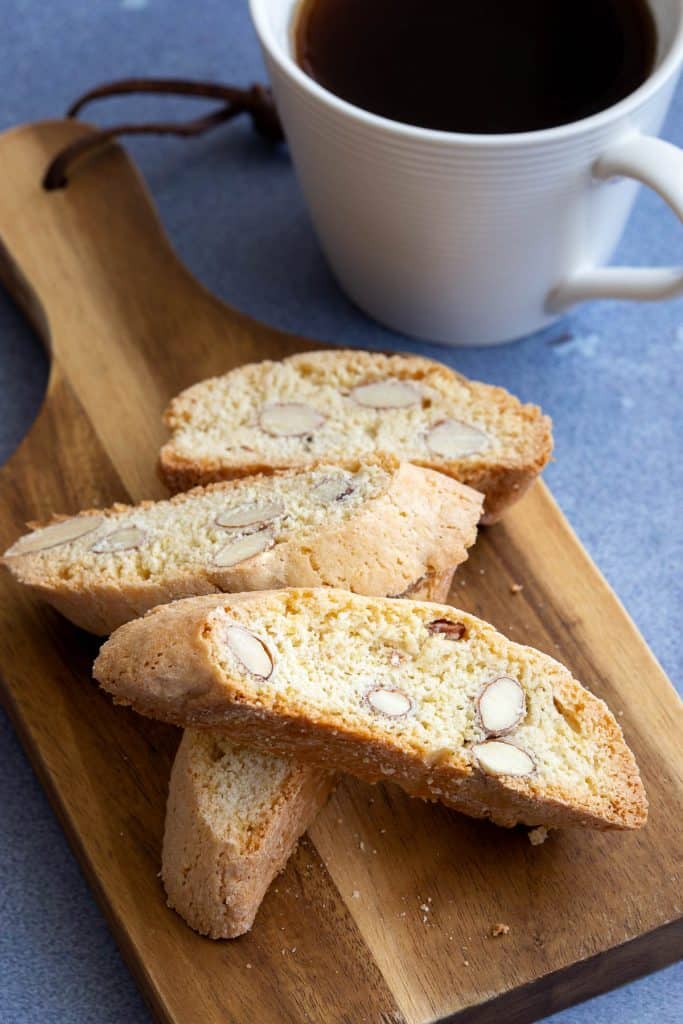
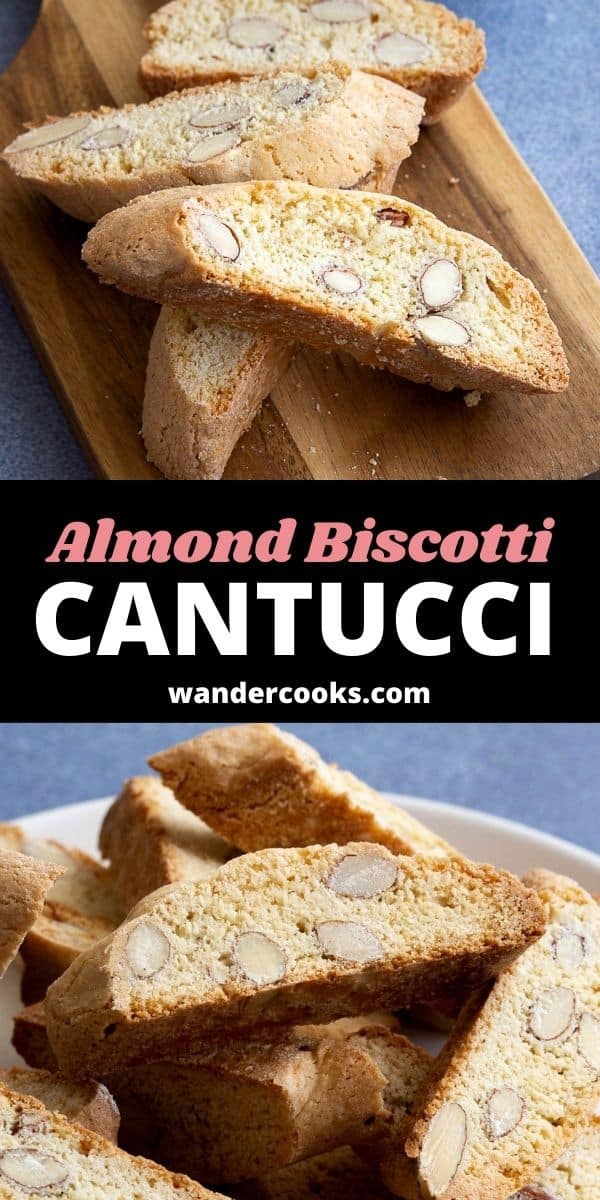
You can’t go past a popular Italian recipe like Almond Biscotti. Complete with the classic crispy crunch, Cantucci is the perfect sweet treat, especially paired with a glass of vin santo.
Why We Love This
Cantucci have such a long shelf life, so they’re great for baking a big batch to add to foodie gift hampers or take as travel snacks. They pair so well with coffee, we love any excuse to have these biscuits for breakfast in the morning!
While they’re baked twice and look quite fancy, they’re actually very simple to mix together and make, with only 10 minutes prep. That’s a win, win for us!
What is Cantucci?
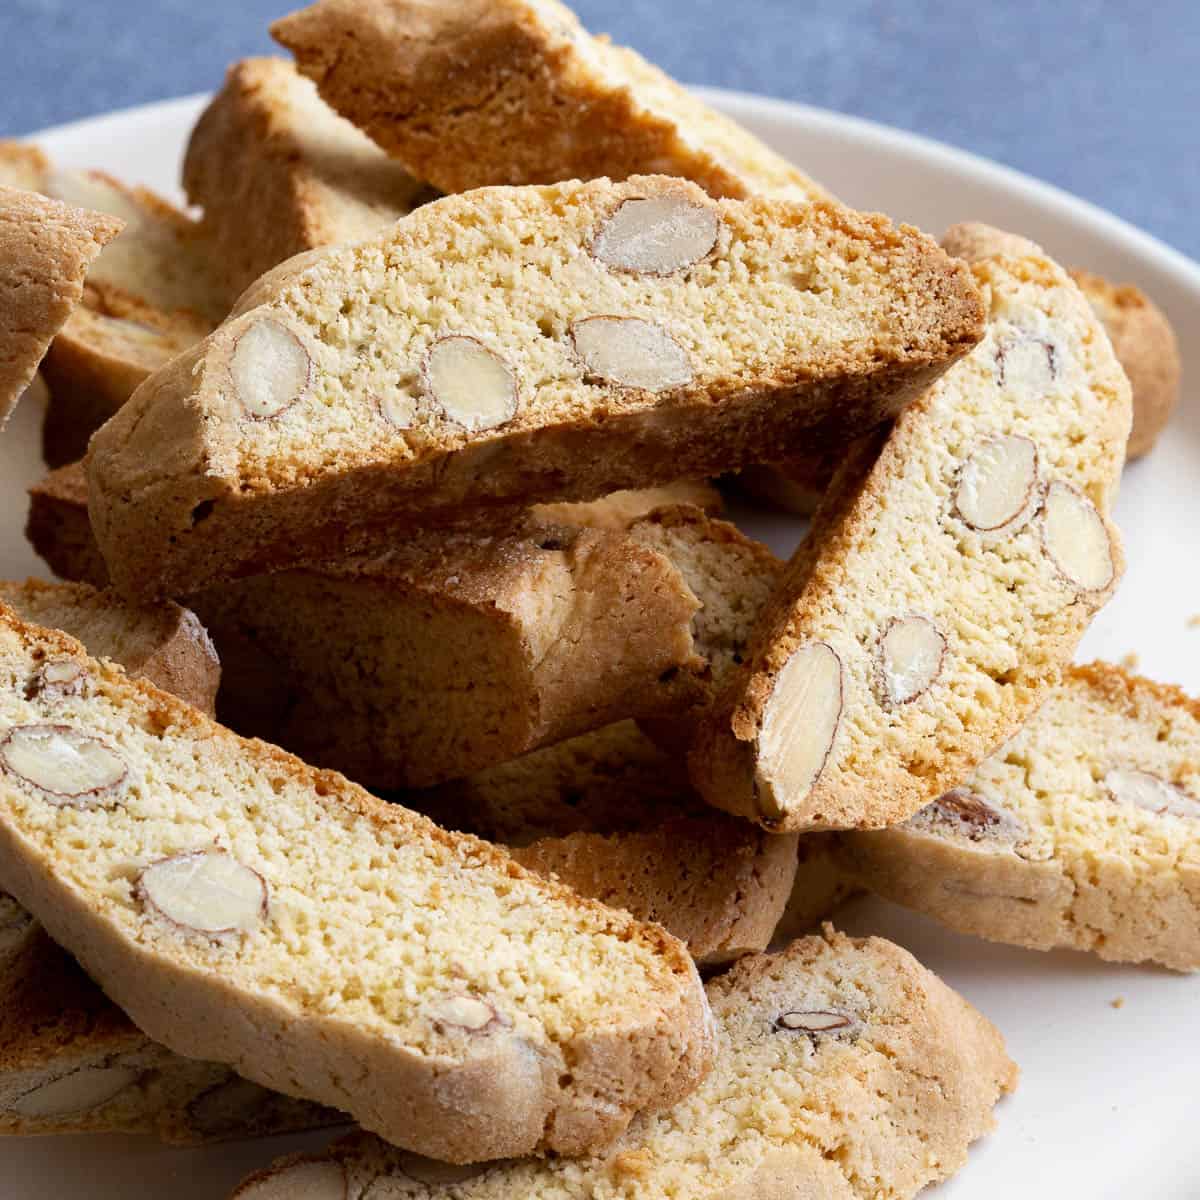
Cantucci is a type of traditional Italian biscuit known as biscotti. It’s baked twice to give it an ultra dry and crunchy texture, and usually paired with a sweet dessert wine such as vin santo or in some areas muscat.
Cantucci is from the northern Tuscany region in the town of Prato and is exclusively made with almonds. If it features fruit or other nuts, it’s just a regular biscotti (twice cooked biscuit) and not cantucci.
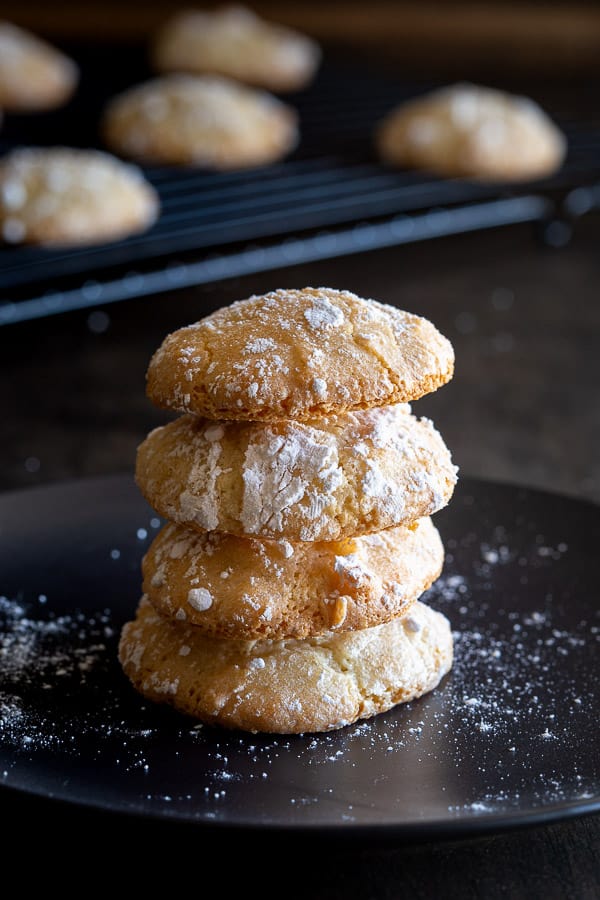
P.S. Love almond biscuits? Try our chewy Italian almond cookies or biscotti frollini shortbread with almond meal!
Reader Cooking Success Stories

Hygge High Tea with family! Cantucci biscotti recipe from Sarah and Laura.
What You’ll Need
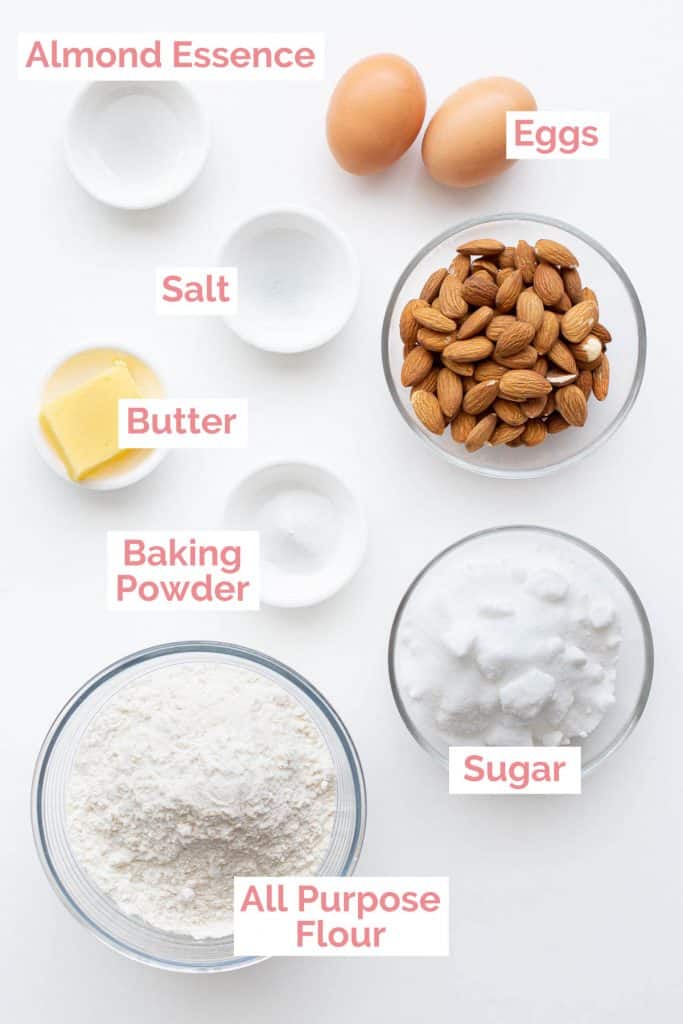
Get out your baking essentials – we’re going to need all purpose flour, baking powder, sugar, salt, eggs and butter. Then what really brings this recipe together is the almonds.
- Almonds – Use unpeeled, whole almonds for your cantucci. You can also use almond slivers or blanched almonds in a pinch. If you’re not a fan of almonds, you can use pistachios, dried fruits or macadamia. While it won’t be traditional cantucci anymore, it’ll still taste great!
- Almond essence – A teaspoon of this really gives the biscuits that distinct almond flavour. You can substitute with vanilla essence.
How to make Italian Almond Biscotti:
- Pre-heat your oven to 180˚C / 360˚F. In a large mixing bowl, add all the dry ingredients (all purpose flour, sugar, baking powder and salt) except for the almonds.
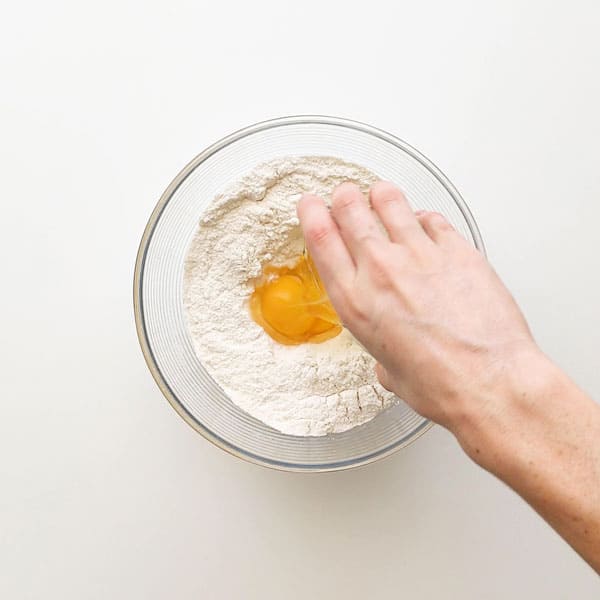
- Make a small well in the middle, then pop in the wet ingredients (eggs, butter and almond essence).
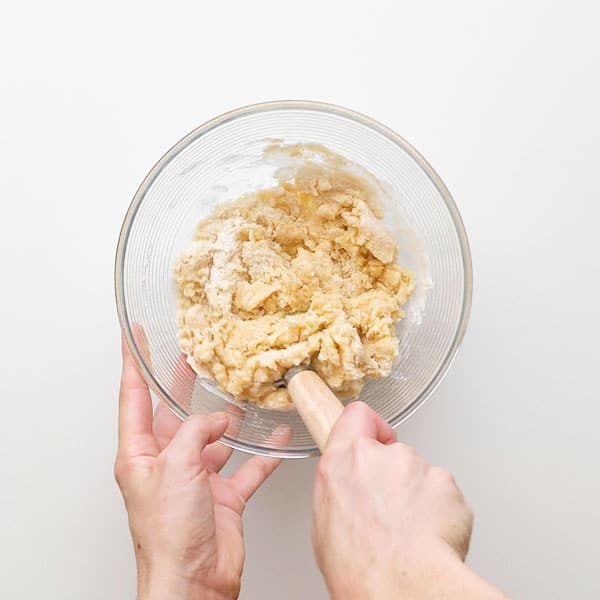
- Using a dough whisk or wooden spoon, work from the middle out to combine all the ingredients into a rough dough.
- Now it’s time to use your hands to bring the dough together. The consistency will depend on the size of your eggs. This recipe uses two large eggs at 60g each. You’re looking for a dough that’s slightly sticky as you’ll roll it in flour before baking. Check the video for the right texture.
If your dough is too dry: Add 1/2 – 1 tbsp of water to bring it all together into a ball and away from the sides of the bowl.
If your dough is too sticky: Sprinkle a little extra flour until it forms a ball and stops sticking to the sides of the bowl.
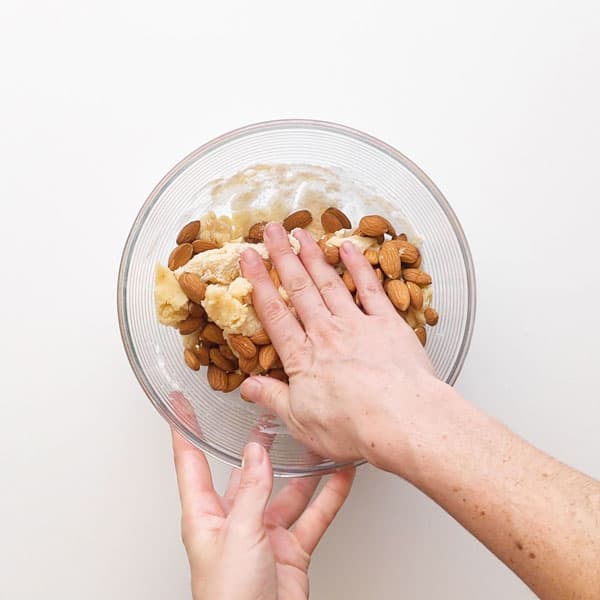
Finally, add the almonds then using your hands, knead the dough until all the ingredients are well combined.
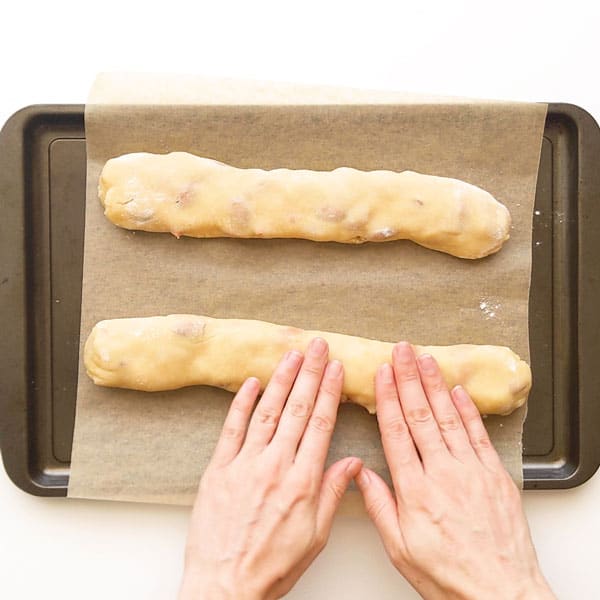
- Lightly dust a flat surface with flour. Divide the dough into two portions, then roll each portion into a log shape around 30 cm / 12 inches long. Slightly pat down and flatten the tops. Move both to a baking tray lined with baking paper or parchment paper. Make sure there is enough room between each log.
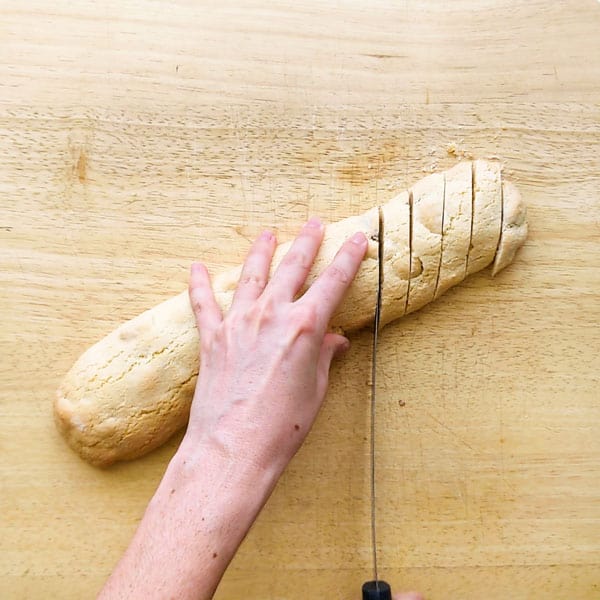
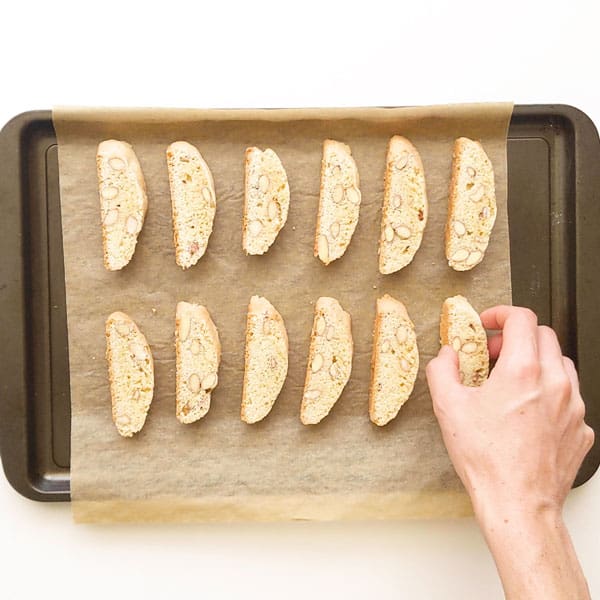
- Pop into the oven and bake for 25 minutes until lightly browned. Allow to cool for 10 minutes. Using a cutting board and serrated knife, place one log on a 45˚ angle, and slice into diagonal pieces around 2 cm / 3/4 inch wide. Repeat for the second log.
- Place each piece of cantucci back onto the baking tray, and cook again for another 10 minutes at 180˚C / 360˚F.
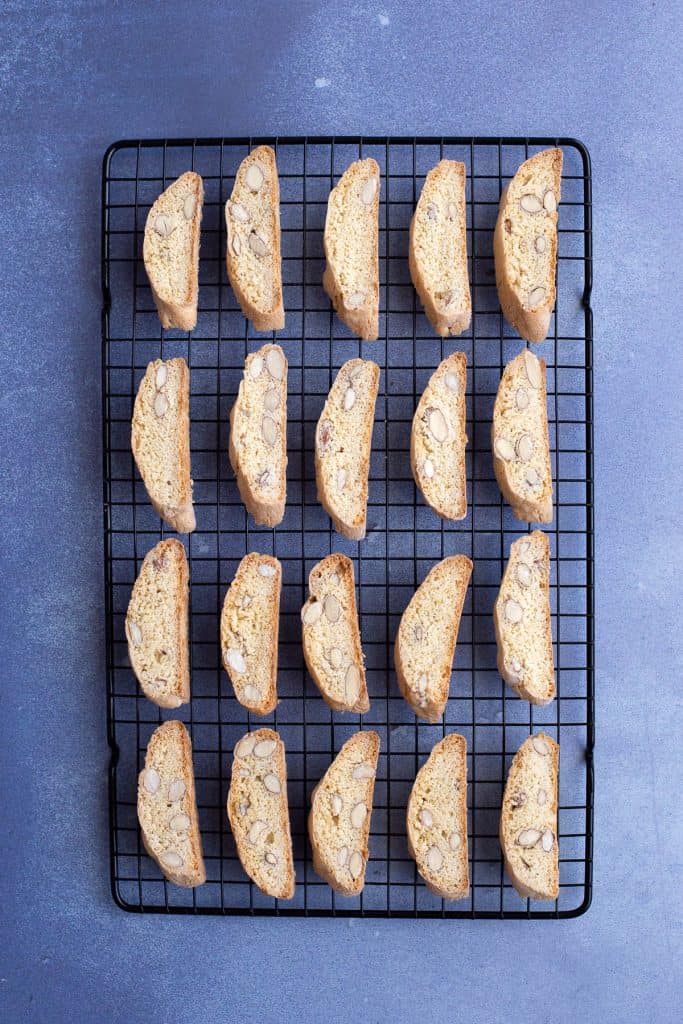
- Once removed, transfer to a wire rack to cool completely before storing. Cookies will dry out and firm up even more once cooled.
Wandercook’s Tips
- Storage – Stored in an airtight container, these will last around a month due to their dry and crunchy texture!
- Gift Them – Due to their long shelf life, cantucci make the perfect homemade gift. Especially alongside some Sicilian cuddura!
- Serrated Knives Work Best – When slicing the biscotti after the first bake, use a serrated or bread knife to cut them. This helps to get a nice flat cut and slice through the almonds smoothly without breaking the biscuits.
- Egg Size is Crucial – Eggs make up the bulk of the liquid to bring the dough together. So you may end up with a batter that’s too dry or too sticky. If it’s too dry, add 1/2 – 1 tbsp of water, and if it’s too sticky, add a sprinkle of flour. You want a dough that pulls away from the edges of the bowl into a ball and is just slightly sticky, ready to roll it out on a floured surface.
FAQs
Cantucci are regular sized biscotti, whereas cantuccini are the smaller version. If you can pop it in your mouth in one bite, you’re eating cantuccini, if not, it’s cantucci! Either way, they’re both a type of biscotti and thoroughly delicious.
Biscotti means twice cooked in Italian. Cantucci are an almond biscotti, and are baked twice to achieve the ultra dry and crunchy texture.
Most definitely yes! Traditionally it’s dunked into a sweet Tuscan dessert wine known as Vin Santo, but it’s just as good with a coffee!
Variations
- Butter – Our almond cookies feature a little butter to soften the mix just slightly. Very traditional recipes exclude this, so if you want an ultra dry result, leave the butter out or swap it out for a tablespoon of water instead.
- Lemon or Orange Zest – If you love citrus, feel free to add the zest of 1 lemon or orange to the recipe.
Bake these popular sweet treats next:

★ Did you make this recipe? Please leave a comment and a star rating below!
Equipment
Ingredients
- 2 cups plain flour / all purpose flour 260g / ½ lb
- 1 cup sugar 200g / 7 oz
- 1 cup almonds skin on, 130g / 4.5 oz
- 2 eggs
- 1 tsp baking powder
- 1 tsp almond essence
- 1 tbsp butter
- ¼ tsp salt
Instructions
- Pre-heat your oven to 180˚C / 360˚F.
- In a large mixing bowl, add all the dry ingredients except for the almonds (all purpose flour, sugar, baking powder and salt).2 cups plain flour / all purpose flour, 1 cup sugar, 1 tsp baking powder, ¼ tsp salt
- Make a small well in the middle, then pop in the wet ingredients (eggs, butter and almond essence).2 eggs, 1 tbsp butter, 1 tsp almond essence
- Using a dough whisk or wooden spoon, work from the middle out to combine all the ingredients into a rough dough.
The Most Important Step:
- Now it's time to use your hands to bring the dough together. The consistency will depend on the size of your eggs. This recipe uses two large eggs at 60g each. You're looking for a dough that's slightly sticky as you'll roll it in flour before baking. Check the video for the right texture.If your dough is too dry: Add 1/2 – 1 tbsp of water to bring it all together into a ball and away from the sides of the bowl.If your dough is too sticky: Sprinkle a little extra flour until it forms a ball and stops sticking to the sides of the bowl.
- Add the almonds and knead into the dough with your hands until the they're well combined.1 cup almonds
- Lightly dust a flat surface with flour. Divide the dough into two portions, then roll each portion into a log shape around 30 cm / 12 inches long. Slightly pat down and flatten the tops.
- Move both to a baking tray lined with baking paper or parchment paper. Make sure there is enough room between each log.
- Pop into the oven and bake for 25 minutes until lightly browned. Allow to cool for 10 minutes.
- Using a cutting board and serrated knife or cleaver, place one log on a 45˚ angle, and slice into diagonal pieces around 2 cm / 3/4 inch wide. Repeat for the second log.
- Place each piece of cantucci back onto the baking tray, with the cut sides facing up to help them dry out, and cook again for another 10 minutes at 180˚C / 360˚F.
- Once removed, transfer to a wire rack to cool completely before storing. Cookies will dry out and firm up even more once cooled.
Video

Recipe Notes
- If your dough is too dry: Add 1/2 – 1 tbsp of water to bring it all together into a ball and away from the sides of the bowl.
- If your dough is too sticky: Sprinkle a little extra flour until it forms a ball and stops sticking to the sides of the bowl.
- Almonds – Use unpeeled, whole almonds for your cantucci. You can also use almond slivers or blanched almonds in a pinch. If you’re not a fan of almonds, you can use pistachios, dried fruits or macadamia. While it won’t be traditional cantucci anymore, it’ll still taste great!
- Almond Essence – A teaspoon of this really gives the biscuits that distinct almond flavour. You can substitute with vanilla essence.
- Butter – Our almond cookies feature a little butter to soften the mix just slightly. Very traditional recipes exclude this, so if you want an ultra dry result, leave the butter out or swap it out for a tablespoon of water instead.
- Lemon or Orange Zest – If you love citrus, feel free to add the zest of 1 lemon or orange to the recipe.
- Storage – Stored in an airtight container, these will last around a month due to their dry and crunchy texture!
- Gift Them – Due to their long shelf life, cantucci make the perfect homemade gift.
- Serrated Knives Work Best – When slicing the biscotti after the first bake, use a serrated or bread knife to cut them. This helps to get a nice flat cut and slice through the almonds smoothly without breaking the biscuits.
Nutrition


25 Comments
Maja Predalic
11/04/2024 at 3:17 pmThe easiest and best cantucci I ever made. My go-to recipe for my cravings and any assorted biscuits tray I make. Also the recipe I give out to my co-workers. I do add a bit of lemon or orange zest in the dough but that’s just me.
Wandercooks
11/04/2024 at 3:35 pmOh wow, what amazing feedback. Thanks so much for taking the time to let us know, so glad both you and your co-workers enjoy them. Love your citrus twist on them too, great idea!
Simona
06/03/2024 at 6:00 pmFirst time making these, being Italian myself my mother makes these all the time and Ive been dying to try myself. Great, easy to understand recipe. They came out lovely and crunchy, my 3year old loves them so thats a hit. Thank you 🙂
Wandercooks
07/03/2024 at 9:55 amWell done making them yourself this time round – I’m sure your Mum would be proud! That’s awesome that your 3 year old loved them too – great work. 😀
Kathy
08/01/2024 at 5:37 amThis was perfect! I did 30 min instead of 25 for the initial bake because they logs seemed a bit soft and wet. The taste and texture is fabulous!
Wandercooks
08/01/2024 at 10:46 amNice work Kathy, sounds like they turned out perfect. 😀
jane
30/03/2023 at 4:10 amCalories 2748 per serving? Typo??
Wandercooks
30/03/2023 at 8:55 amHaha yep, that was for the whole lot. Just updated the calculator and it now says around 92 cal per biscuit if you make around 30 biscuits.
jane
30/03/2023 at 3:20 amHi, I used 2 medium eggs as that was all I had and with a good amount of kneeding it came together perfectly, just slightly sticky as mentioned in the recipe. Good recipe.
Wandercooks
30/03/2023 at 8:54 amYay, that’s great to hear Jane. Thanks for the feedback.
Mila
03/12/2022 at 6:44 amWowsters! I live in South Africa, so foreign recipes don’t always work well but I felt brave. I am soooo chuffed. I baked it like a pro! 😀 So glad I saw your comment on KNEAD KNEAD KNEAD as I felt little nervous about the consistency at the start. Thank you for sharing. Just PERFECT!
Wandercooks
03/12/2022 at 9:33 amOh that’s awesome Mila, well done! It’s definitely different to any other dough we’ve worked with, but you get there in the end haha. So glad you enjoyed!
Kate
15/12/2021 at 11:30 amHad the same experience as stated by others. Dough was extremely dry to the point it wouldn’t stick together at all so I ended up adding water then it came out so crumbly it couldn’t be cut into slices. I followed the recipe exactly – would definitely recommend adding more butter or perhaps another egg?
Wandercooks
15/12/2021 at 11:41 amHey Kate, this recipe heavily depends on the egg sizes. We have made this a dozen times and is such a regular in our household (I literally just ate one with my cup of tea!). I have added water in the past if it was on the drier side with it turning out fine. It is quite a crumbly dough to bring together and can require a good few minutes of kneading to get the texture you need. I’d try this, adding only 1/2 tbsp water at a time, then knead, knead knead! Also, watch the video to see the texture you’re looking for, and see if you can get 55-60g eggs in weight. I wouldn’t recommend adding another egg or butter, as this will change the structure. I do hope you give it another go, and thanks for your feedback in the meantime. You’ve got this!
Allison
14/12/2021 at 1:23 amI made these for a dinner party this past weekend and they were a hit. Added orange zest, but otherwise kept recipe as prescribed. Definitely on the harder side (which was perfect for dunking in Vin Santo!), and the flavor was great. Thank you!
Wandercooks
14/12/2021 at 9:58 amFantastic Allison. Citrus does add a nice zing, and glad they were perfect with your vin santo! If you want to try a softer biscuit for the next batch, cook for a few minutes less on the second bake. 🙂
Sharon
11/11/2021 at 7:47 amVery good! I sliced and froze after first bake, prepping for Christmas treats. Will make this again.
I had to add water, but think I was heavy handed with my flour when measuring. Thanks for the recipe.
Wandercooks
12/11/2021 at 11:19 amThanks so much for the feedback Sharon. Glad you balanced out the flour and water well – it’s definitely the trickiest part of the recipe!
Lois
11/10/2021 at 5:31 amHi, friends! Thank you so much for sharing this recipe! I checked the comments section because I was also having some trouble with the recipe, but was surprised to find that the only other feedback was exactly the opposite of my own! When following the instructions for this recipe my dough was extremely crumbly- to the point to where I couldn’t even try to assemble a loaf. No issues, I added 1tbsp more of butter and about 2tbsp of water and the consistency was achieved, but I wonder why there is so much variation! I agree with the egg size theory: mine were “Large” but I believe that using two Extra_Large eggs would probably have remedied the issue. I had only two or else I would have tried using three eggs, as other comparable recipes have done! These are delicious, thank you again so much for sharing!
Wandercooks
11/10/2021 at 1:45 pmHey Lois! Thanks so much for your feedback. We’re going to test it again with the egg sizes and pop in the gram size we use. We’ll also add in some variations so others can add in that extra liquid if required to get the right consistency depending on where they are in the world. Any excuse to cook these again, haha! 😀
Stephanie
20/06/2022 at 3:02 amMy dough was very dry after adding the eggs. When you say 55-60 grams per egg do you mean out of the shell?
Wandercooks
20/06/2022 at 4:31 pmThat’s in the shell, Stephanie. We do mention to just add water until the dough comes together, 1/2 to 1 tbsp at a time. This works every time. 🙂 That way it doesn’t matter what size the eggs are exactly, you can always make the dough work!
Vicky
02/09/2021 at 4:33 amI am an experienced baker. I followed the recipe exactly the first time. Stickiest dough I have ever worked with. So I tried it again thinking I had either measured wrong or something. Same results. Sticky dough and not a pleasure to work with. Sorry.
Wandercooks
02/09/2021 at 9:49 amHey Vicky, sorry to hear your troubles with the dough. It could be the variation in egg sizes causing it to be stickier than usual. It’s an easy fix if this happens, sprinkle over a little extra flour and it’ll be fine. This recipe is a favourite in our household, and I’ve made it a dozen times with no issue.
Wandercooks
13/10/2021 at 5:30 pmAfter looking into this further, we can confirm it was to do in the variation of egg sizes and the recipe has been updated to reflect the fluctuations in liquid for the dough.