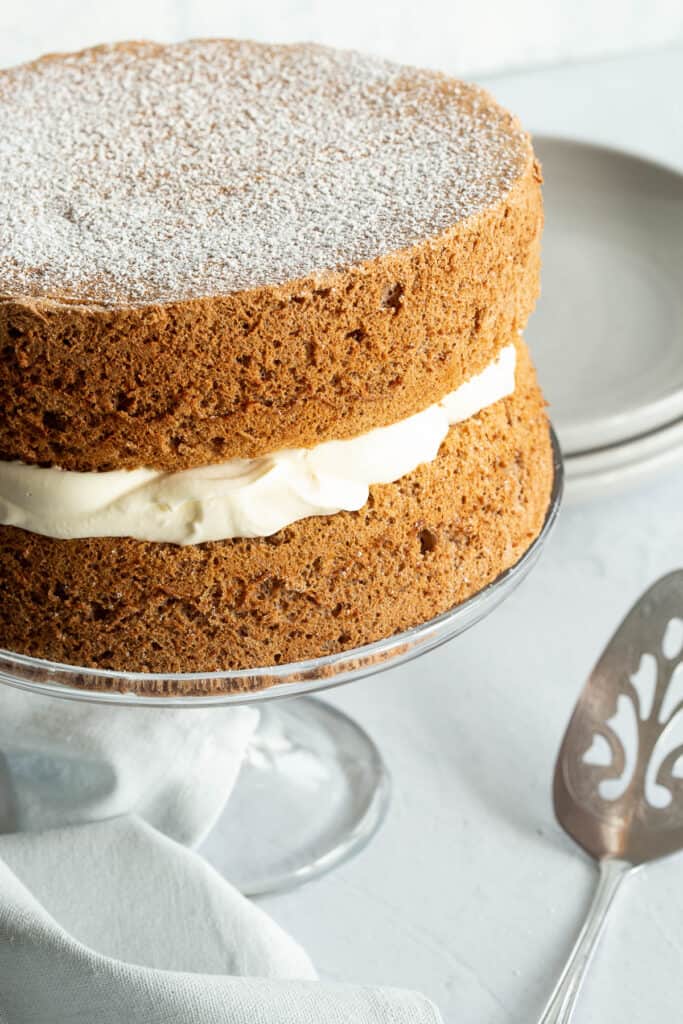
Try this show-stopping ginger fluff sponge cake for your next celebration (or just because). It’s such an easy, no-fail two layer sponge cake, ready to impress with warming spices and a layer of whipped cream.
In This Post You’ll Learn
Why We Love This
We love the warming spices and super fluffy texture of ginger fluff sponge! It’s such a beautiful cake that looks super impressive yet is secretly very easy to make.
All you need are easy pantry staples and 10 minutes to whip up the batter.
We’ve included our best tips and tricks to make this no-fail sponge cake as easy as possible!
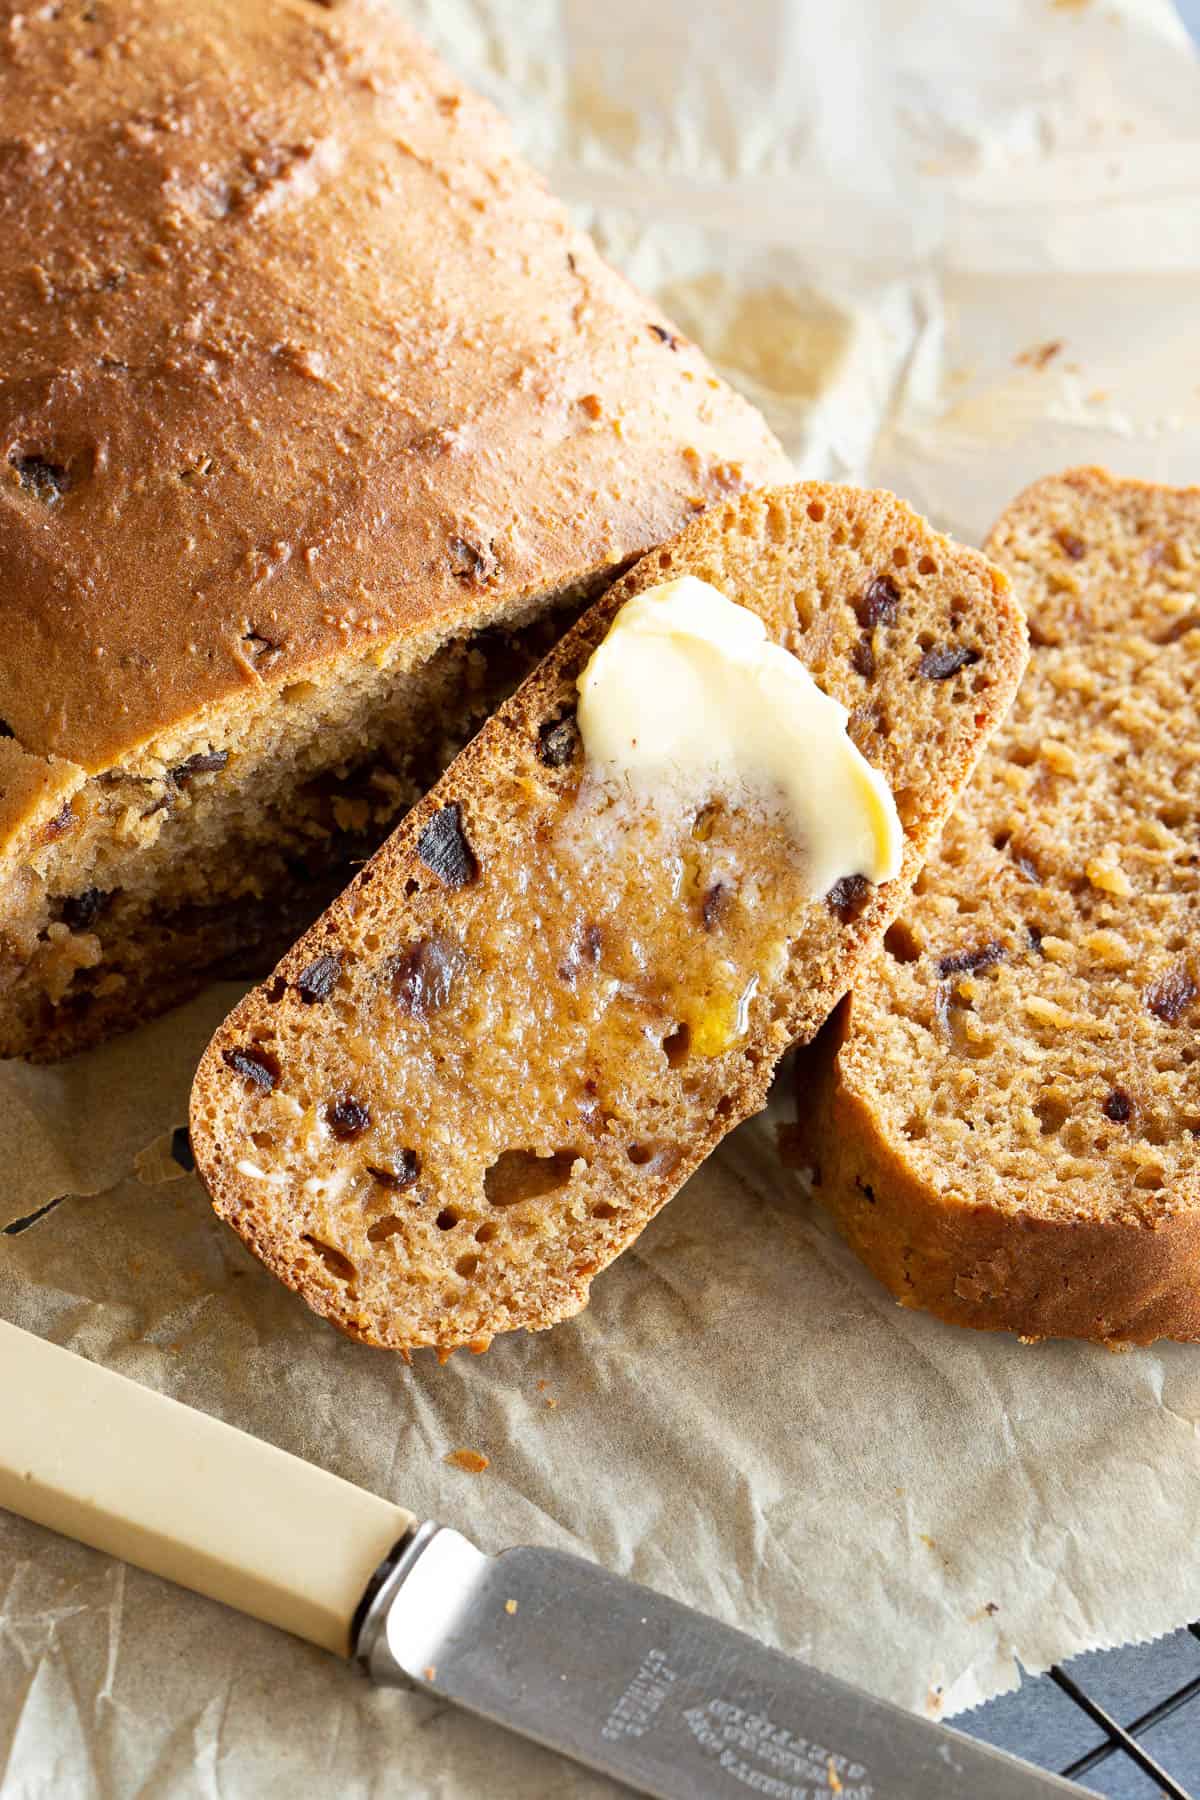
Related: Ginger Kisses Biscuits / Pain d’Epices Spice Cake / Sultana Cake
How to Avoid a Soggy / Sunken Sponge Cake
Sponge cakes are easy to make as long as you follow a few simple rules:
1 – Oven Temperature – Be aware of whether your oven is fan forced. For regular ovens, keep the temperature at 180˚C / 356˚F. For fan-forced, lower the temperature to 160˚C / 320˚F. This will stop the cake from rising too quickly and then sinking before it’s finished cooking.
2 – Leavening – It’s important to get the right balance of baking soda and cream of tartar in your cake batter. If you use too much or too little, the cake won’t rise properly or will deflate once cooked.
3 – Avoid the Toothpick Test! – It’s fine for regular cakes, but piercing a sponge cake can actually release the air that you need to make the cake rise properly! Instead, when it’s time to test, you can lightly press the surface with your fingertip and if the cake bounces back – it’s done. We actually prefer to keep an eye on the cake as it nears the end of the baking time. As soon as you see any dimples forming on the surface, take it out.
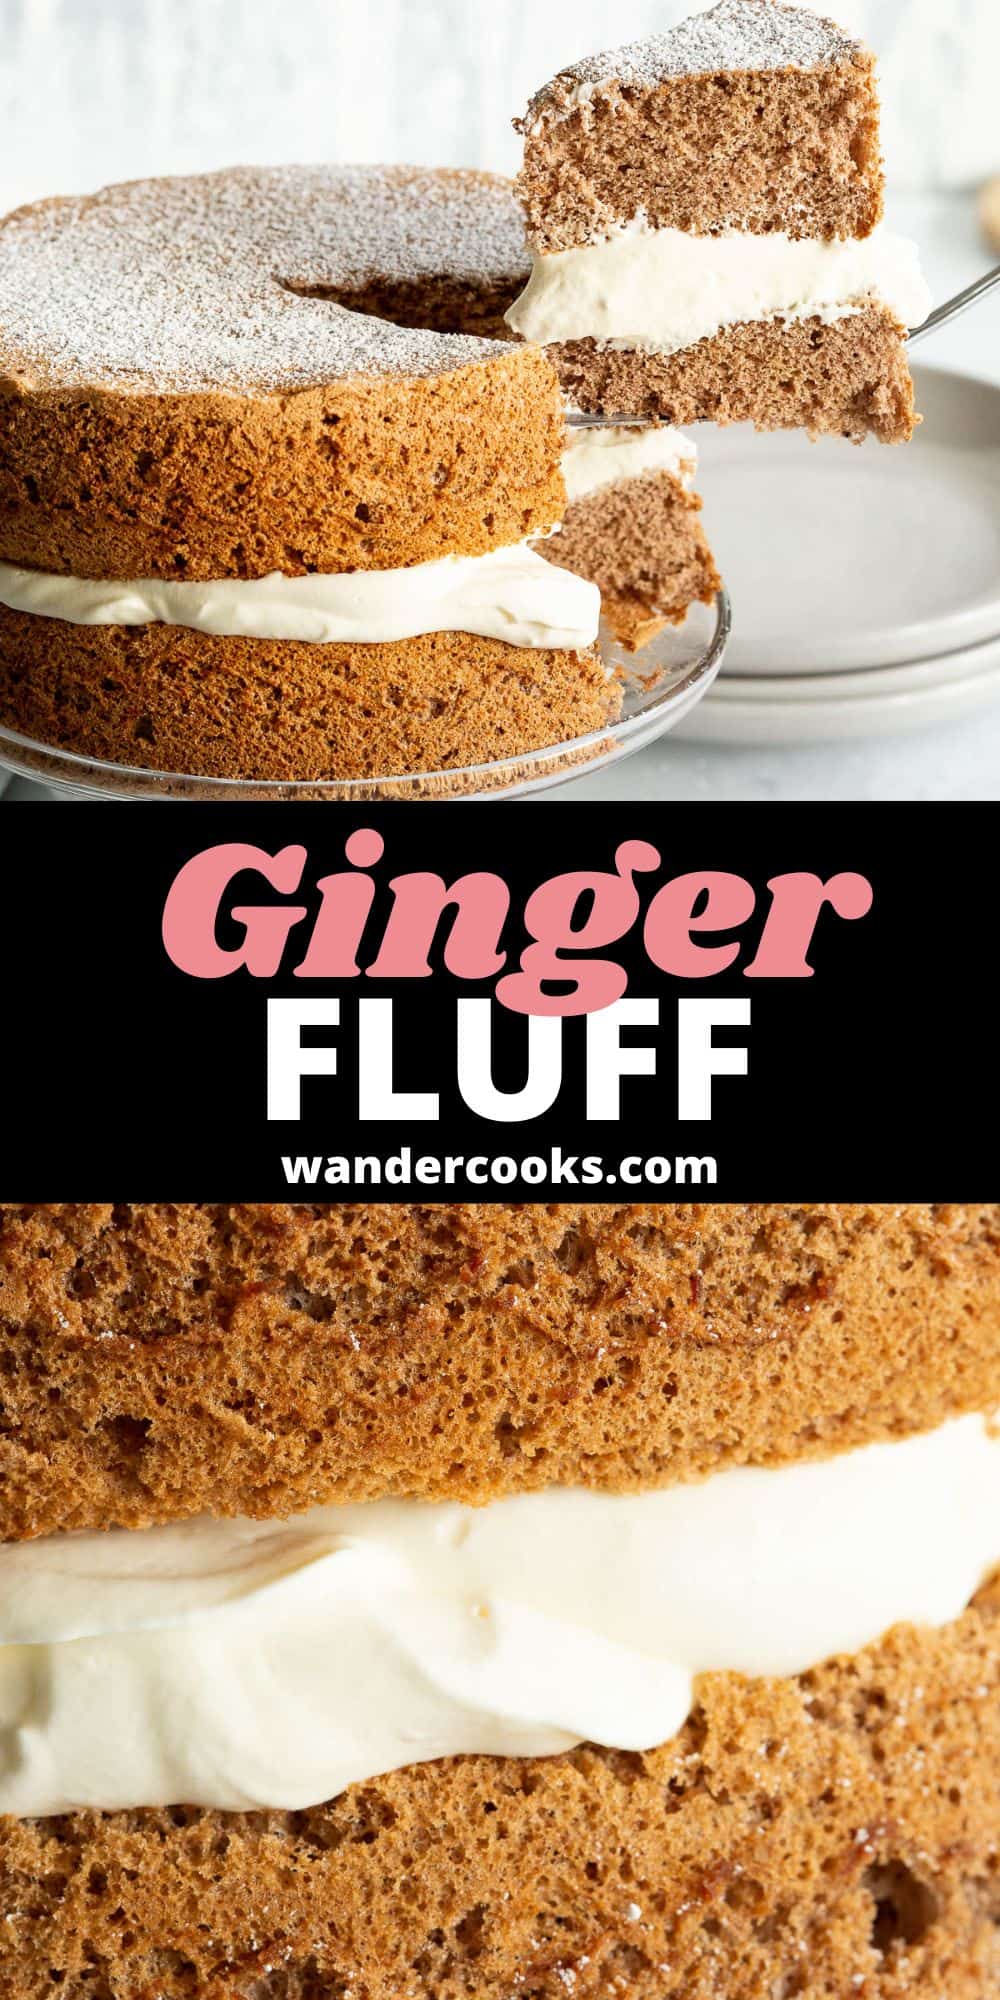
What is Ginger Fluff Sponge?
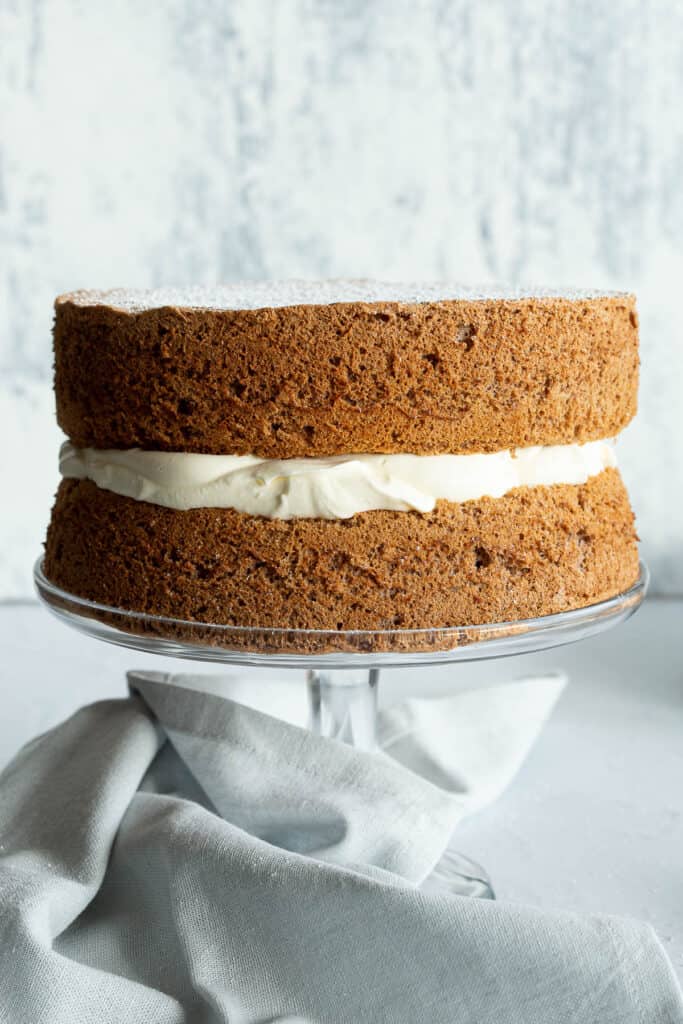
The ginger fluff recipe is a classic Australian sponge cake seasoned with ground ginger, cinnamon and cocoa powder.
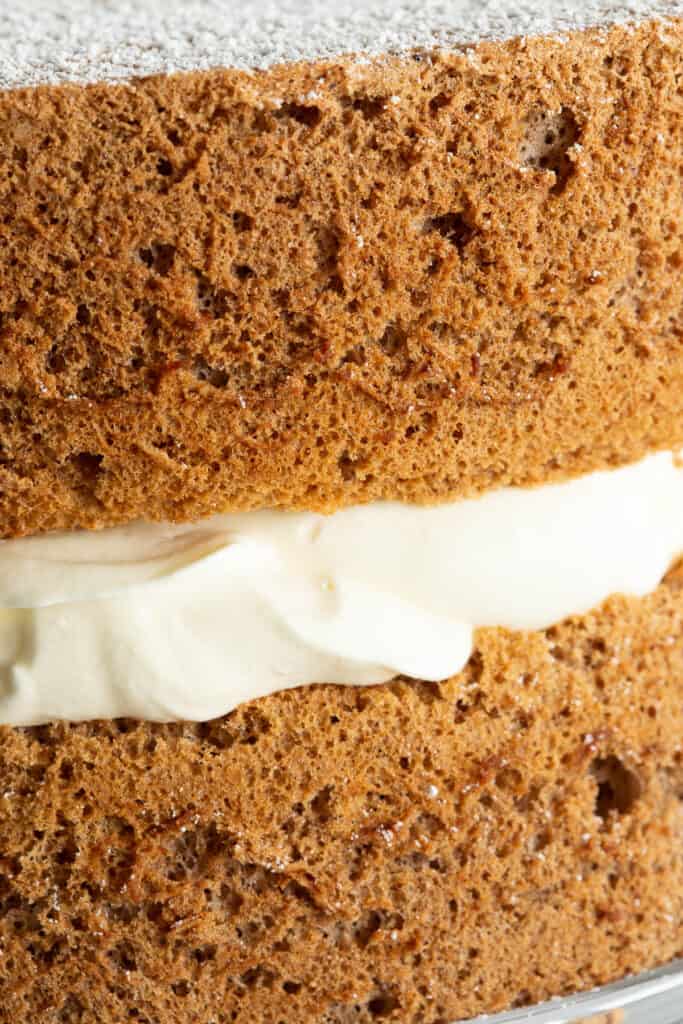
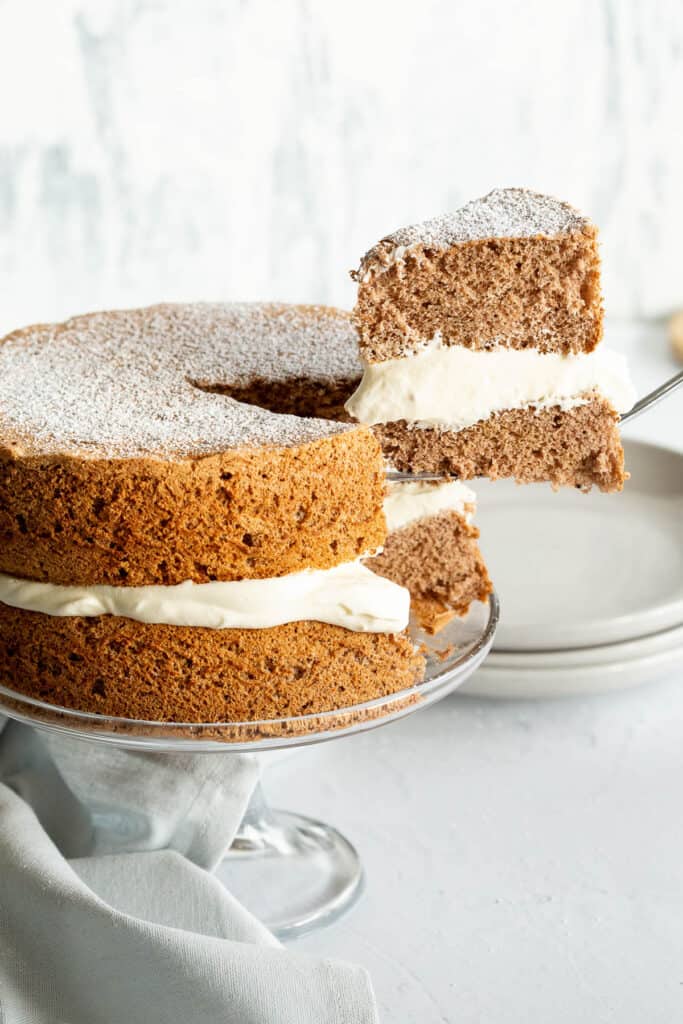
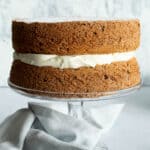
It’s usually served as a two layer sponge cake sandwiched with whipped cream and decorated with a sprinkling of icing sugar, whipped cream or extra spices.
This retro baking recipe is a common feature at CWA (Country Women’s Association) competitions or agricultural shows, especially in rural Australia. Homemade or heirloom versions are often for sale at local markets or fairs alongside lamingtons, vanilla slice, jelly slice or chocolate coconut slice.
This recipe means a lot to Sarah’s Mum who would often cook it with her Mum. ❤️
What You’ll Need
For the sponge cake:
- Eggs – It’s always a good idea with baking to use room temperature eggs. P.S. Did you know – cracking them against a flat surface is actually easier than against an edge, and you’re less likely to end up with eggshells in your batter.
- Sugar – Use caster sugar / superfine sugar as it will dissolve quickly and easily into the egg whites.
- Dry Ingredients – You’ll also need cornflour / cornstarch, all purpose flour, bicarb soda and cream of tartar.
- Spices / Flavour – Ground ginger, cinnamon, cocoa powder and golden syrup are key to the traditional flavour of ginger fluff. The listed quantity will give you a nice balanced flavour without being overpowering. Feel free to tweak for more intensity, or leave out a particular spice if you don’t like it. Always use warmed golden syrup as it’s much easier to mix through the batter than cold golden syrup!
For the whipped cream:
- Cream – Always use thickened cream / heavy cream.
- Vanilla Extract – More commonly known as vanilla essence in Australia.
- Icing Sugar / Confectioners Sugar – This adds a delicate sweetness and helps to thicken the cream.
Decorating ideas:
- Sprinkle with icing sugar (over the whole surface, or use a paper shape or paper doily to create interesting patterns)
- Slather the top with any leftover whipped cream
- Dust with more blended spices (ginger, cinnamon and cocoa powder) around the edges
- Decorate with a layer of regular icing, chocolate icing or caramel sauce.

How to Make the Perfect Ginger Fluff
- Preheat the oven to 180°C / 360°F (regular oven) or 160˚C / 320˚F (fan-forced oven).
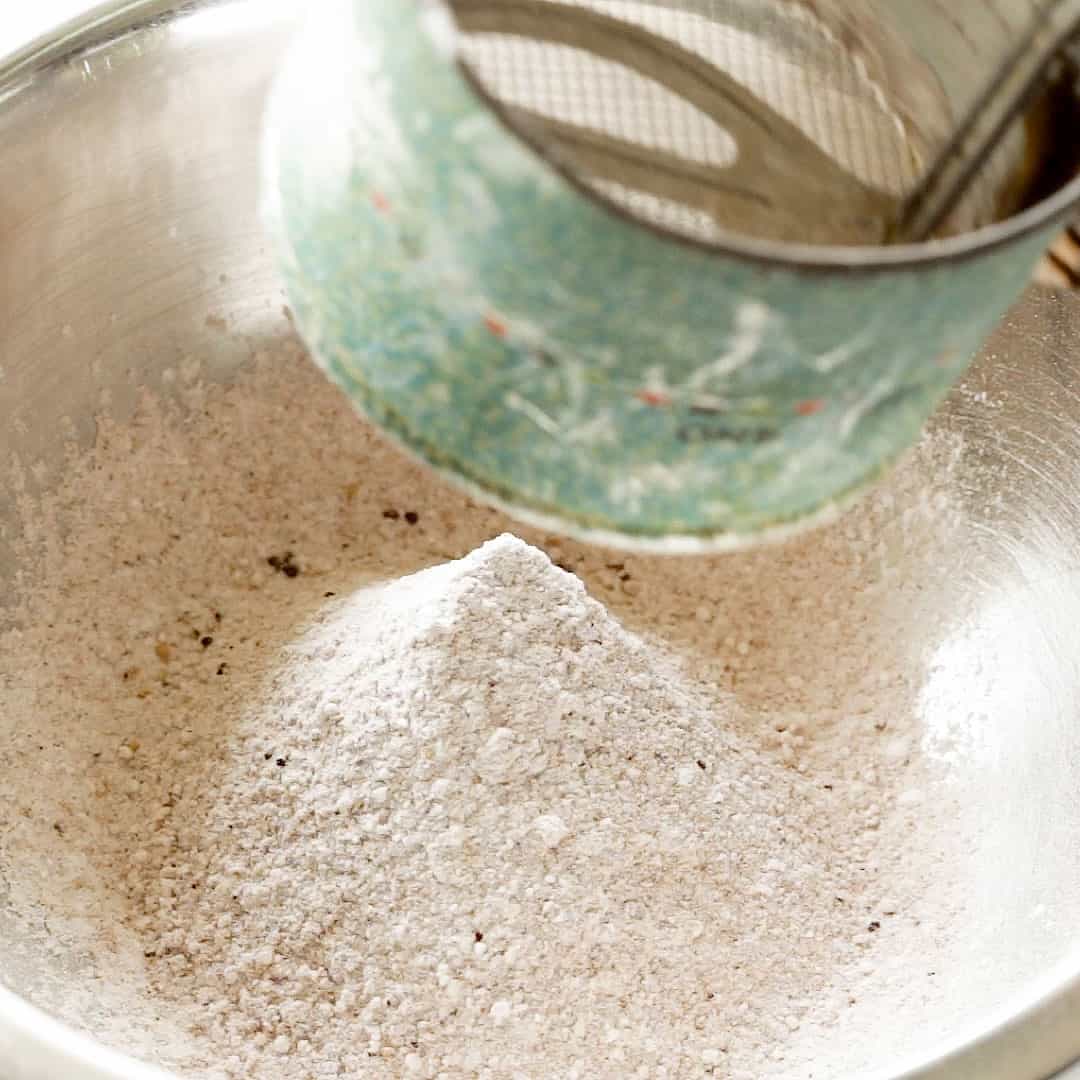
- Sift the dry ingredients together in a small bowl: cornflour / cornstarch, all purpose flour, ground ginger, cinnamon, cocoa powder, bicarb soda and cream of tartar. Tip: Sift the mixture 2-3 times for an ultra light cake finish!
- Beat egg whites in a large mixing bowl on high for around 1 minute until eggs turn white and foamy.
Full recipe with measurements in the recipe card below.
- Gradually pour in your caster sugar and continue beating on medium for another 2-4 minutes, until the sugar has completely dissolved and stiff peaks form. Now add the egg yolks and slowly beat on the lowest setting until incorporated.
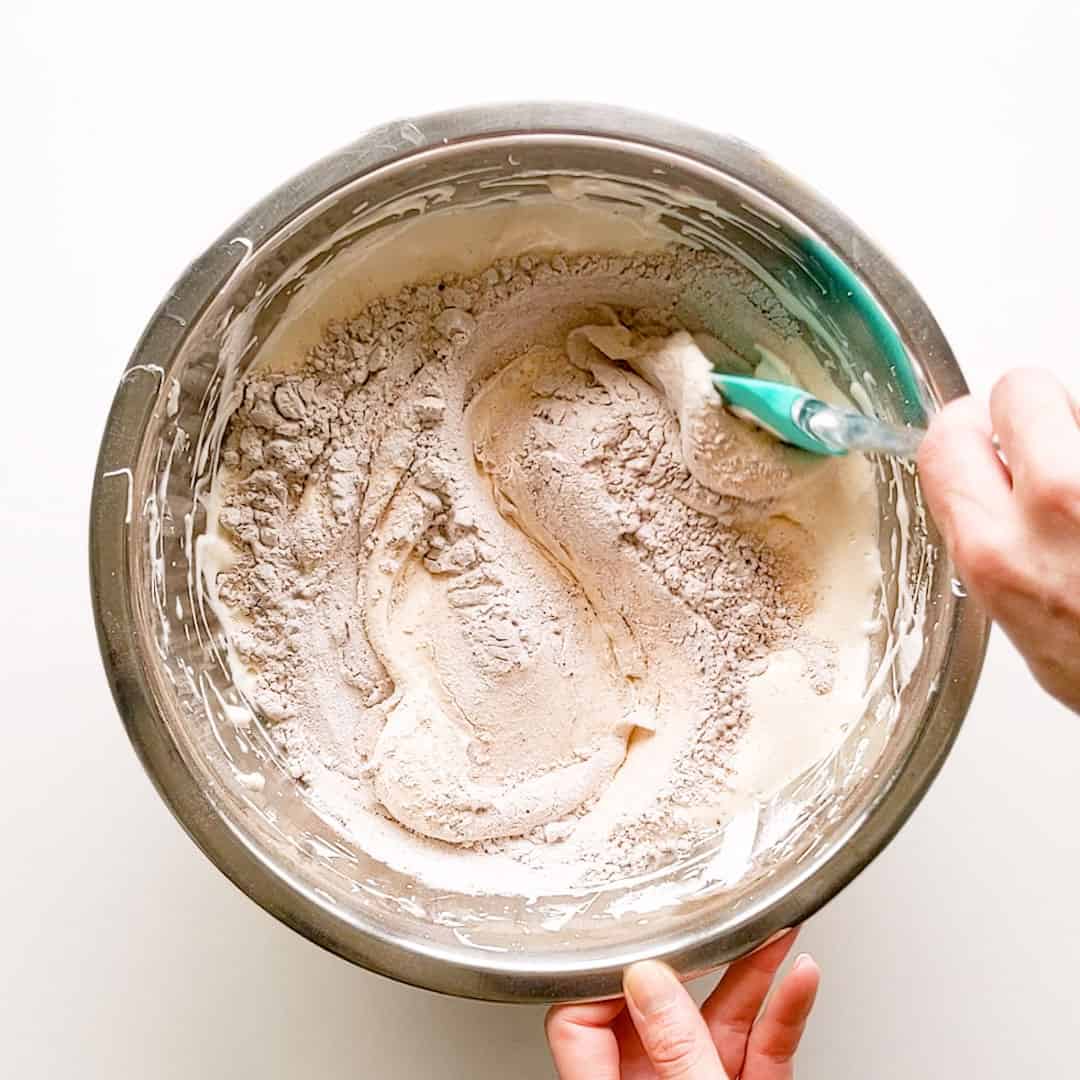
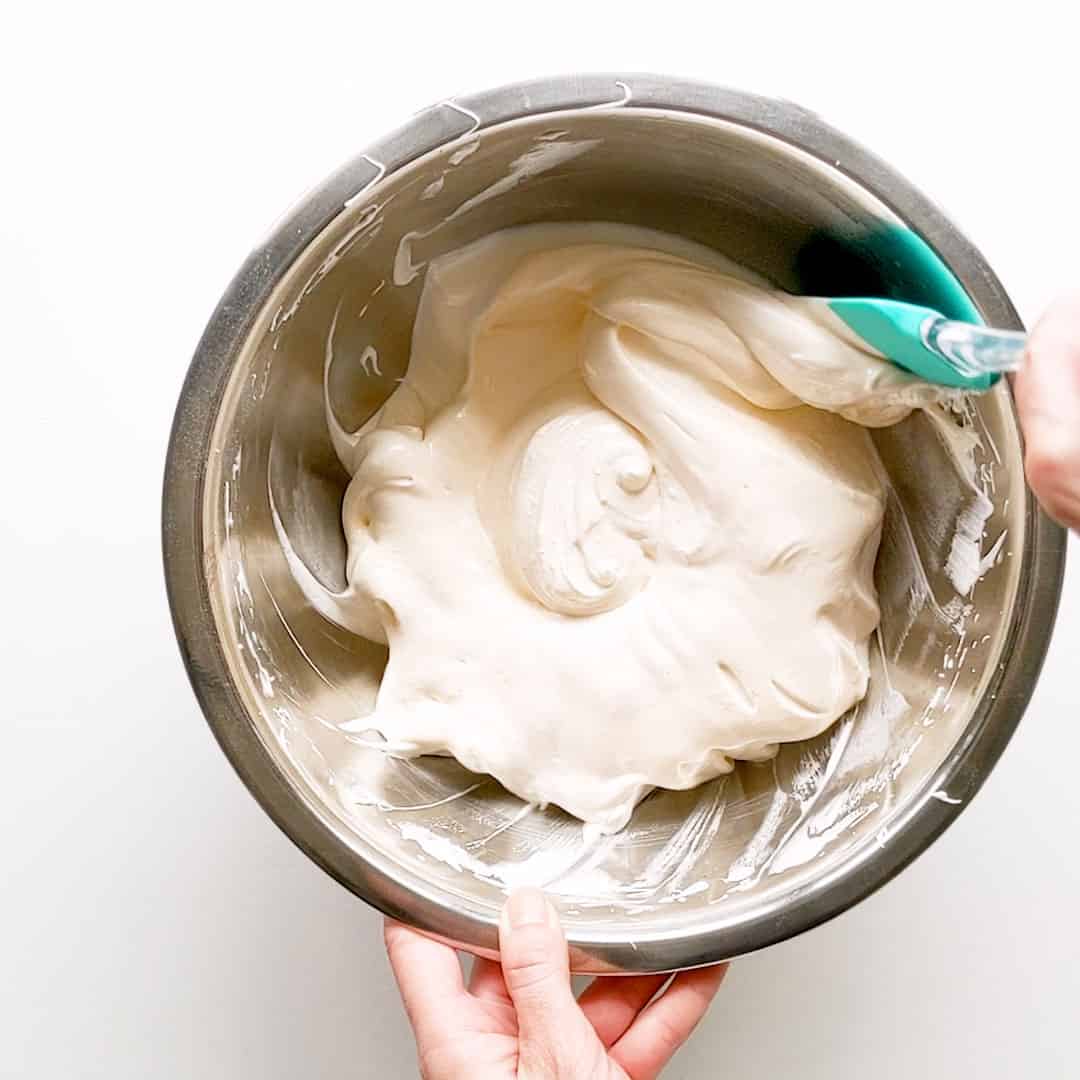
- Using a metal spoon, lightly fold in the dry ingredient mixture into the beaten eggs until just blended.
- Tip: Gently scrape the edges and bottom of the bowl to make sure all the spices are incorporated.
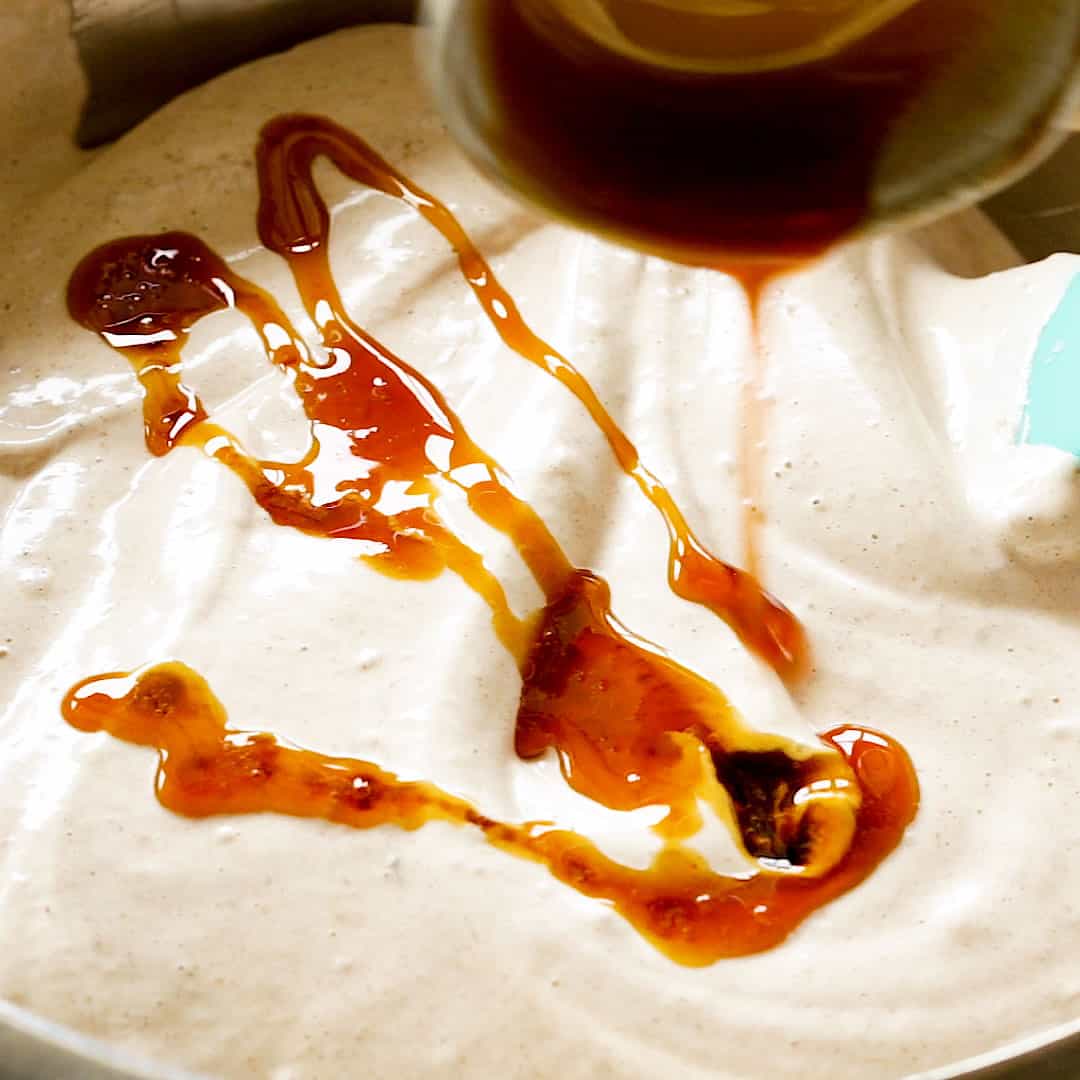
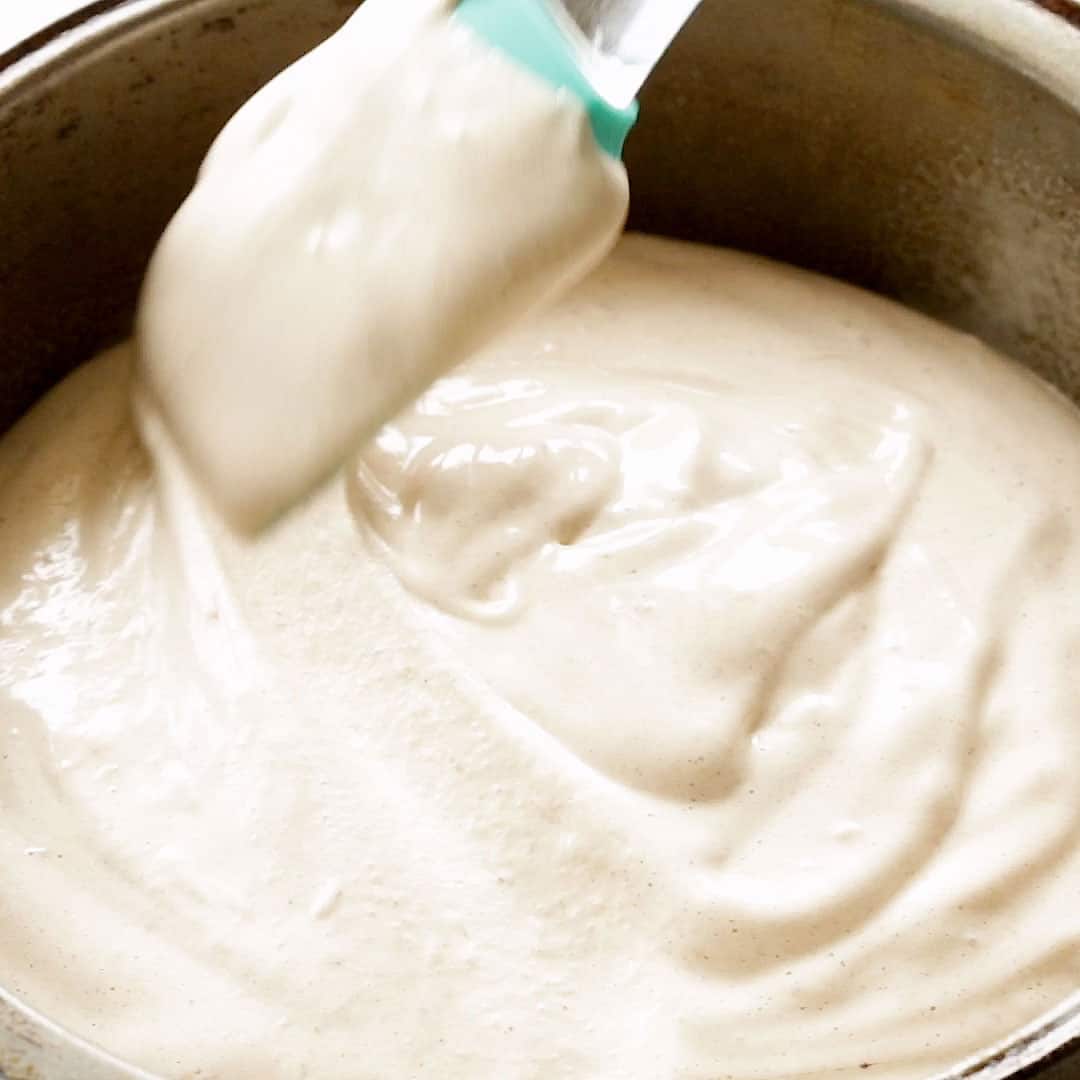

- Warm the golden syrup in the microwave for 15-20 seconds to loosen, then pour over the batter and lightly fold through. Be quick here, as it will harden again if left to sit for too long after warming.1 tbsp golden syrup
- Line the bottom of two 20 cm / 8 in baking tins (springform is best) with baking paper, and grease the sides (with oil or butter). Now evenly divide the cake batter into each tin. It should fill the tins to around a third / halfway up and will double in size in the oven!
- Bake for 20-25 minutes. Tip: The cakes should rise to a dome shape and turn light brown. At around the 20 minute mark or a few minutes past, it will start to slightly pull back / slightly deflate, this is the point you should take it out. Don’t pierce it to test!
- Prepare a baking rack layered with 2-3 tea towels to stop the pattern pressing into the cakes. Turn out both cakes out onto the towels within 5 minutes of removing from the oven. Very carefully peel off the bottom baking paper and allow them to sit upside down for around 30 minutes until cool.
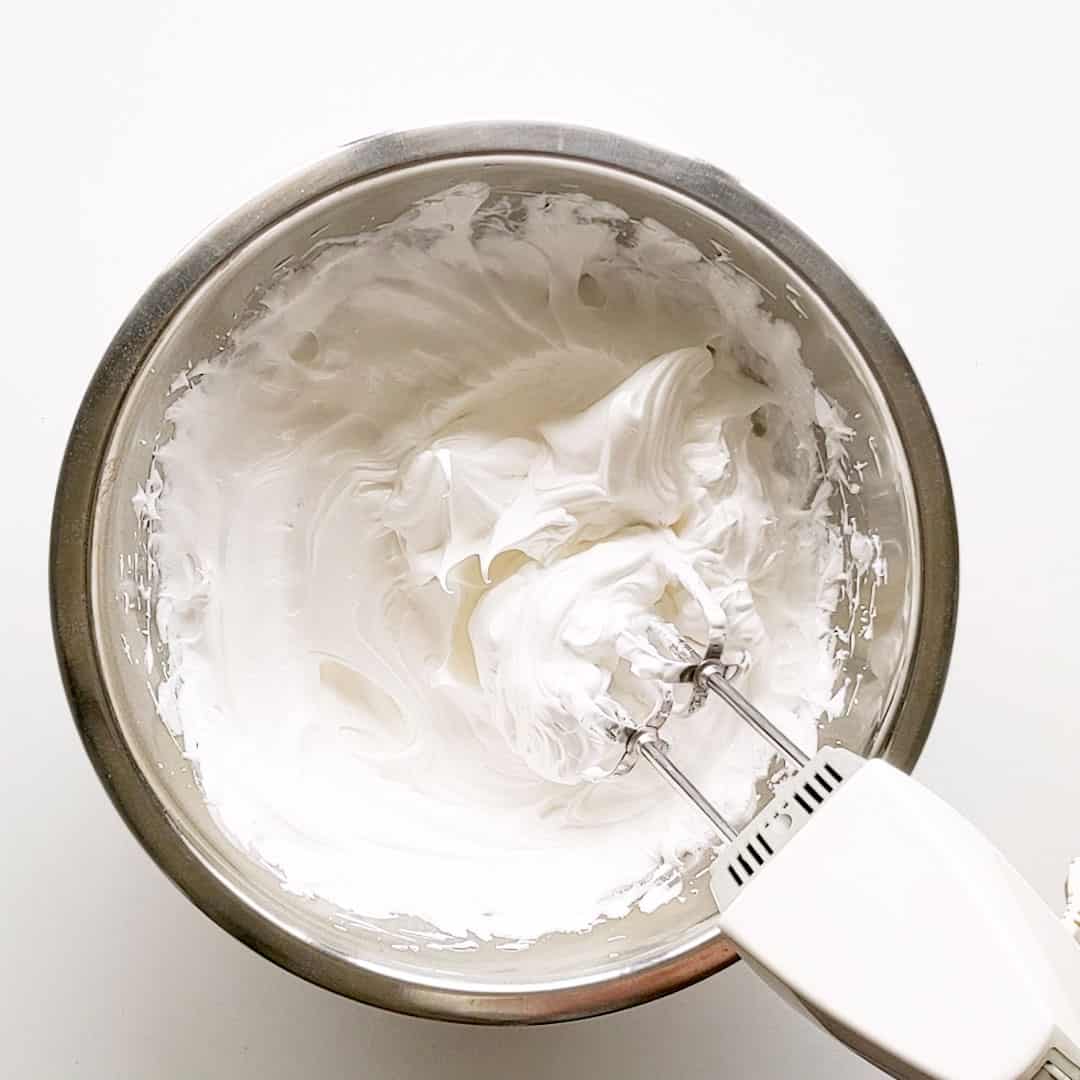
- Pour the thickened cream / heavy cream into a medium mixing bowl and add the icing sugar and vanilla essence. Beat on high for 3-5 minutes until the cream is starting to stiffen.
- Place one cake, bottom side up, on a plate or cake stand. Top with a generous layer of whipped cream. Gently place the second cake, bottom side down, on top and garnish as desired with a sprinkling of icing sugar, fruit etc.
Wandercook’s Tips
- Mixing the Batter – It’s important to avoid overmixing when making sponge cakes. Keep your mixer on medium while beating the egg whites and sugar, and on low when incorporating the egg yolks.
- Spices – Scrape the bottom of the bowl as you fold in the spices to make sure there are no surprise clumps when pouring your batter into the cake tins.
- Preparing the Cake Tin – Placing circles of baking paper on the base of your tins will make it much easier to take the cake out once baked. Grease the tins first (or spray with cooking oil spray) to help the paper stay in place when pouring and to stop the cakes sticking to the sides.
- Once Baked – As soon as you take the cakes out of the oven, carefully run a knife around the edges to loosen the cakes away from the tins.
- Cooling the Cakes – Turn the cakes out onto a cooling rack lined with 2-3 layers of tea-towel. This way the surfaces will be neat and won’t take on the lines from your cooling rack.
- Storage – Ginger fluff is best served on the day but is fine for 2-4 days in the fridge. Keep in an airtight container to stop the sponge and cream taking on flavours or aromas from the fridge.
FAQs
This recipe will give you enough batter to bake two cakes, which is the traditional way to make ginger fluff. It’s much easier to layer two complete cakes rather than trying to slice one in half, as the texture is so delicate. It would be very hard to slice one in half without it collapsing.
We recommend using two 20 cm / 8 in baking tins, ideally springform if you have them, but if all you have are regular tins that’s fine. Grease them first (or spray with cooking oil spray), then line the bases with baking paper to make it extra easy to take them out of the tins once baked.
Avoid glass baking dishes for this recipe as it will mess with the cooking time.
Yes, you can freeze almost any kind of sponge cake as either a separate cake (without the cream layer in the middle) or in slices. Allow it to fully cool first, then store in an airtight container in the freezer for up to three months. Thaw it in the fridge the day before you plan to serve it. Assemble and decorate on the day.
Variations
- Spice the Cream – Add ½ tsp each of the ground ginger, cinnamon and cocoa powder as you whip the cream to spice it up even further.
- Cream Cheese Frosting – Use the cream cheese frosting from our carrot cake slice recipe, it pairs perfectly with the warm ginger spice flavour.
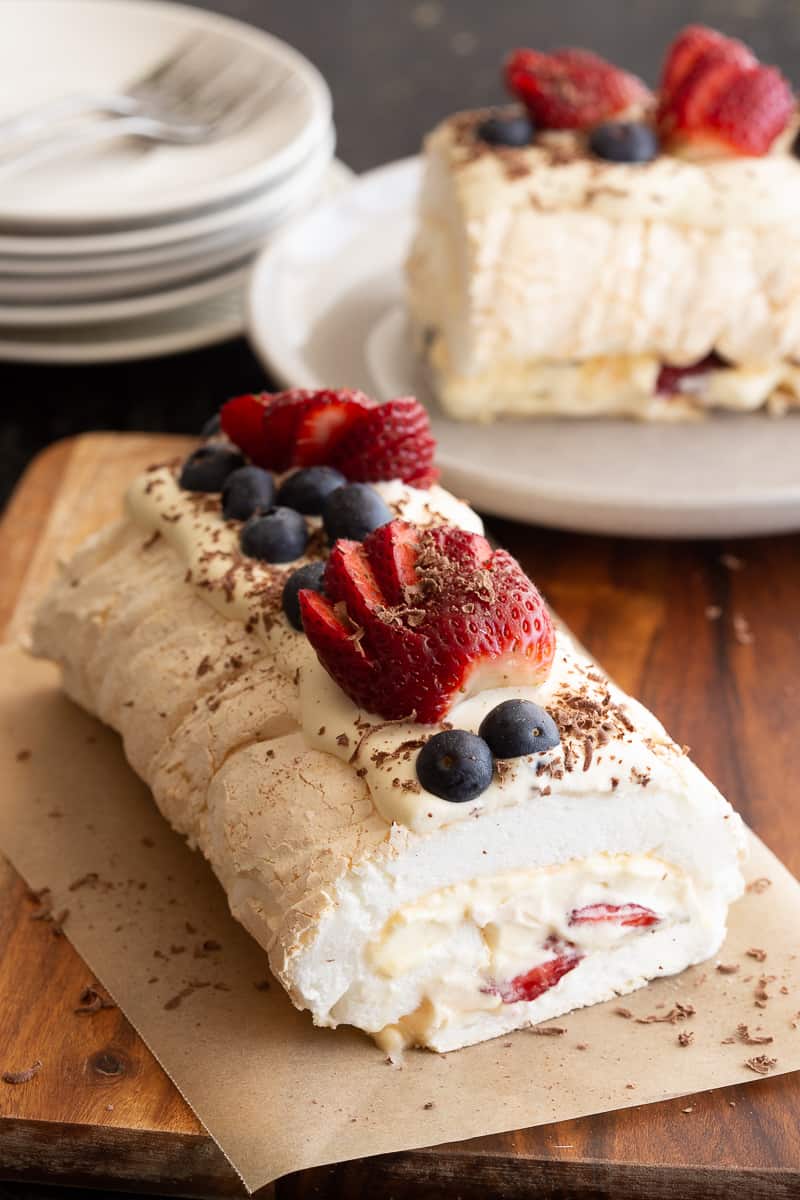
Celebrate with these incredible Aussie cakes next:
★ Did you make this recipe? Please leave a comment and a star rating below!

Equipment
- 1 hand beaters (Try to avoid a KitchenAid, as it can overwhip – or beat on a lower setting)
Ingredients
Dry ingredient mixture:
- ½ cup cornstarch / cornflour 50 g / 1.76 oz
- 2 tbsp plain flour / all purpose flour 14 g / 0.49 oz
- 2 tsp ground ginger
- 2 tsp cinnamon
- 1 ½ tsp cocoa powder unsweetened Dutch is best
- ½ tsp bicarb soda
- ½ tsp cream of tartar
For the rest of the sponge:
- 4 eggs room temperature, separated into whites and yolks
- ¾ cup caster sugar / superfine sugar 150 g / 5.29 oz
- 1 tbsp golden syrup
For the whipped cream:
- 300 g thickened cream / heavy cream 10.6 oz
- 2 tbsp icing sugar / powdered sugar plus extra to garnish (optional)
- 1 tsp vanilla essence
Instructions
- Preheat the oven to 180°C / 360°F (regular oven) or 160˚C / 320˚F (fan-forced oven).
Prepare the dry ingredient mixture:
- Sift the dry ingredients together in a small bowl: cornflour / cornstarch, all purpose flour, ground ginger, cinnamon, cocoa powder, bicarb soda and cream of tartar. Tip: Sift the mixture 2-3 times for an ultra light cake finish!½ cup cornstarch / cornflour, 2 tbsp plain flour / all purpose flour, 2 tsp ground ginger, 2 tsp cinnamon, 1 ½ tsp cocoa powder, ½ tsp bicarb soda, ½ tsp cream of tartar
Prepare the sponge cake:
- Beat egg whites in a large mixing bowl on high for around 1 minute until eggs turn white and foamy.4 eggs
- Gradually pour in your caster sugar and continue beating on medium for another 2-4 minutes, until the sugar has completely dissolved and stiff peaks form.¾ cup caster sugar / superfine sugar
- Now add the egg yolks and slowly beat on the lowest setting until incorporated.4 eggs
- Using a metal spoon, lightly fold in the dry ingredient mixture into the beaten eggs until just blended. Tip: Gently scrape the edges and bottom of the bowl to make sure all the spices are incorporated.
- Warm the golden syrup in the microwave for 15-20 seconds to loosen, then pour over the batter and lightly fold through. Be quick here, as it will harden again if left to sit for too long after warming.1 tbsp golden syrup
- Line the bottom of two 20 cm / 8 in baking tins (springform is best) with baking paper, and grease the sides (with oil or butter). Now evenly divide the cake batter into each tin. It should fill the tins to around a third / halfway up and will double in size in the oven!
- Bake for 20-25 minutes. Tip: The cakes should rise to a dome shape and turn light brown. At around the 20 minute mark or a few minutes past, it will start to slightly pull back / slightly deflate, this is the point you should take it out. Don't pierce it to test!
- Prepare a baking rack layered with 2-3 tea towels to stop the pattern pressing into the cakes. Turn out both cakes out onto the towels within 5 minutes of removing from the oven. Very carefully peel off the bottom baking paper and allow them to sit upside down for around 30 minutes until cool.
Whip the cream:
- Pour the thickened cream / heavy cream into a medium mixing bowl and add the icing sugar and vanilla essence. Beat on high for 3-5 minutes until the cream is starting to stiffen.300 g thickened cream / heavy cream, 2 tbsp icing sugar / powdered sugar, 1 tsp vanilla essence
Assembling the cake:
- Place one cake, bottom side up, on a plate or cake stand. Top with a generous layer of whipped cream. Gently place the second cake, bottom side down, on top and garnish as desired with a sprinkling of icing sugar, fruit etc.
Video

Nutrition

8 Comments
Beck
16/04/2024 at 8:48 pmAmazing outcome! I have never been able to master a ginger fluff sponge and this was magnificent. Nice and high and fluffy. The handy hints along the way are so helpful. The key is to take it out just as it deflates and it is right on the 20 minute mark
Wandercooks
18/04/2024 at 2:00 pmBrilliant work Beck! It really does feel like an achievement when this one lands on the table in all its sponge perfection glory. Well done!
Carol
10/04/2024 at 8:42 pmI am thinking this would be such a lovely cake to try. I am in Canada, so of course the ingredients will not be exactly the same as in Australia. I am so worried about using cornstarch ( a half cup!) and wonder why it would be put in cake. I know it will make it sturdier and thicken batter but it will be so tough that I don’t think the end product will be very desirable. I have only ever put cornstarch in a batch of muffins last Christmas, and the muffins were so hard that I threw them all out. Never do we normally see this ingredient in cake or anything besides maybe cookies, and sometimes you want these to be crunchy!
I see you have baking soda but no baking powder so I am thinking that if I leave out the cornstarch and sub a normal amout of baking powder for this size of cake I might get a lovely cake?
Wandercooks
11/04/2024 at 1:00 pmHey Carol, this is a very specific recipe to get it as light as we have. The amount of cornstarch is essential and this is a tried and tested recipe as long as it is followed. If you do replace the cornstarch, it will not be as light and spongey as you’d want.
We do hope you try it, and let us know how you go – you’ve got this!
Carol
11/04/2024 at 8:01 pmthankyou for replying so quickly, and yes I will absolutely give it a try. I will let you know how it goes, I am hoping for success!
Wandercooks
12/04/2024 at 11:02 amYou’re welcome, can’t wait to hear how you go! 🙂
Robyn
04/08/2023 at 7:06 amFirst time making it and the cake had some folds in the sides. Not sure if it deflated too quickly, but otherwise everyone loved it!!. Took it to work too and everyone kept saying it was one of the best cakes they have tasted!
Wandercooks
08/08/2023 at 7:19 pmHey Robyn, wow – what great feedback! It sounds like the cake may have cooked just a touch too quick. Try cooking at 5-10 degrees cooler next round, and see if that fixes your issue. Otherwise as you say – it shouldn’t affect the taste!