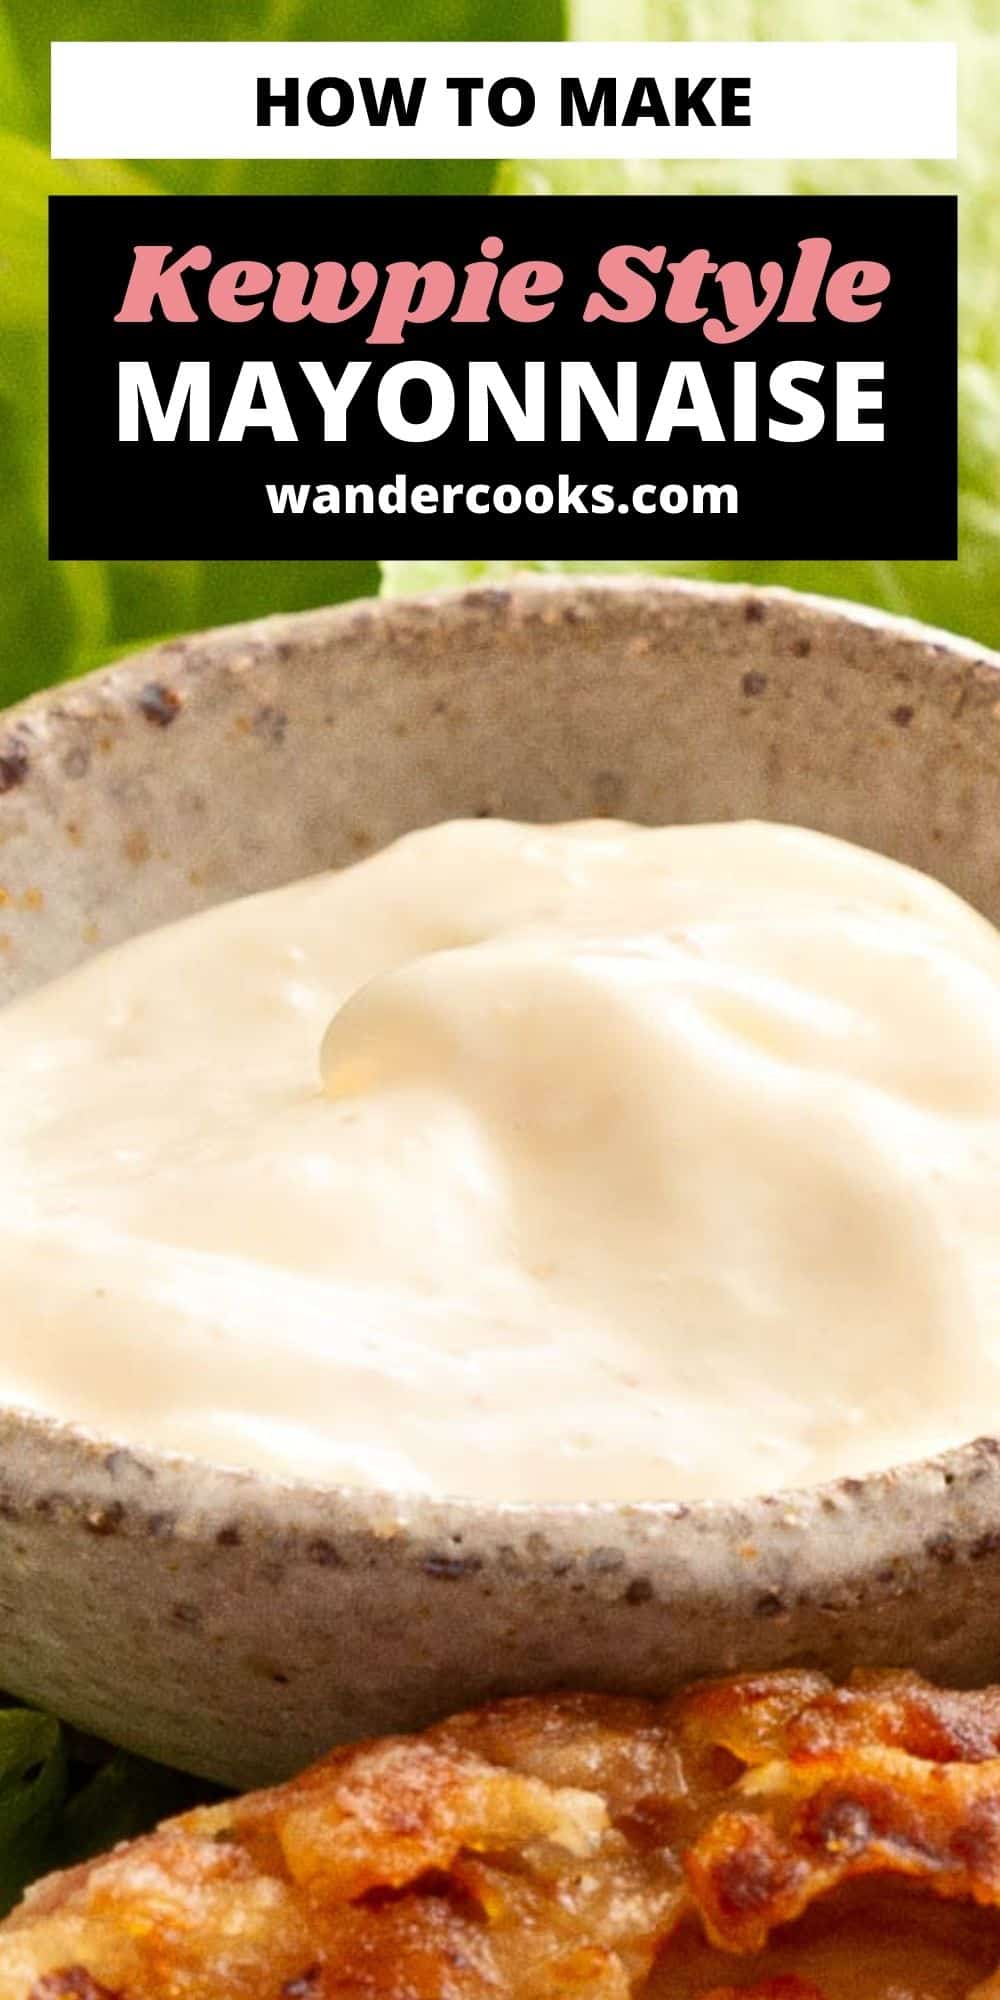
The easiest and tastiest homemade Japanese mayonnaise recipe – ready in under a minute. Learn how to make Kewpie mayo at home and never buy store bought again!
In This Post You’ll Learn
Why We Love This
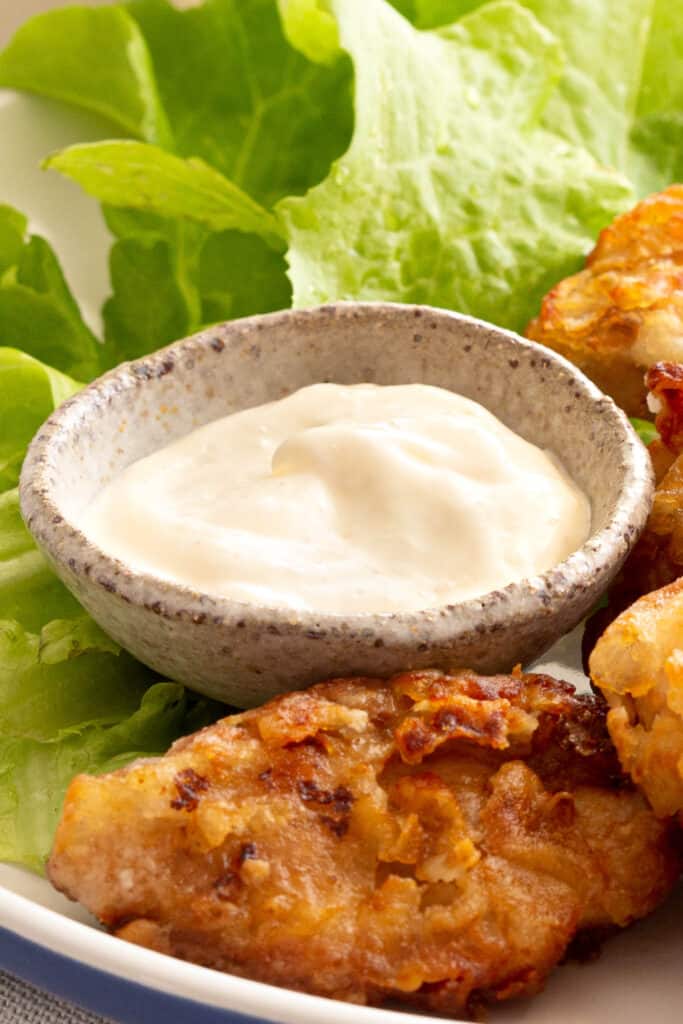
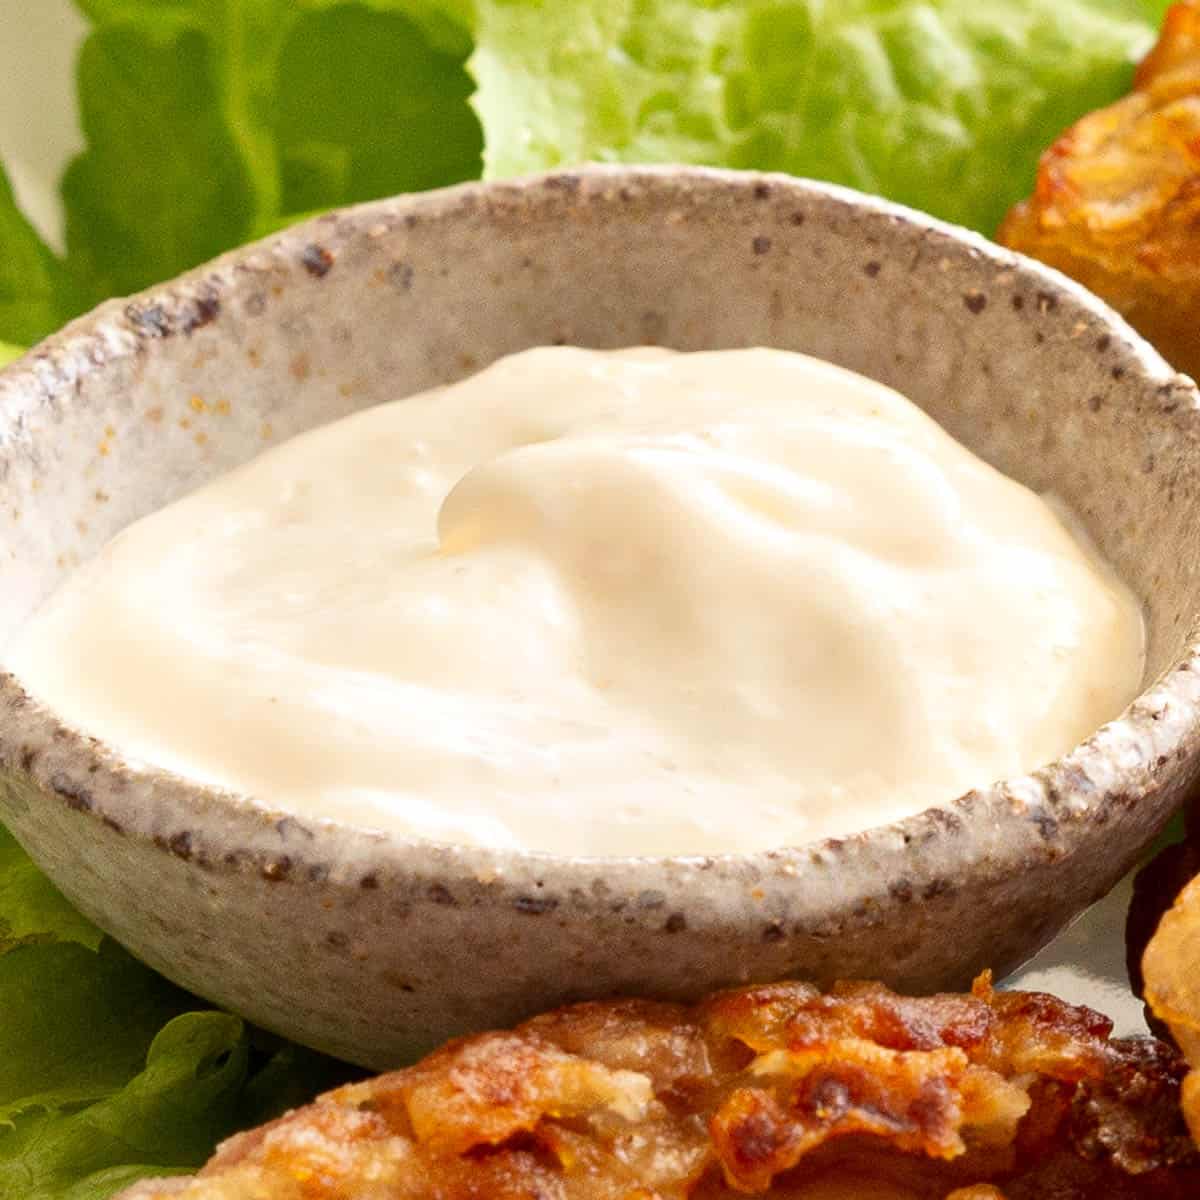
This homemade Japanese mayonnaise recipe is the BEST condiment to pair with your Japanese favourites – takoyaki, okonomiyaki, katsu, sushi and more.
Creamy, rich and deliciously tangy… Just one taste and you’ll want to use it on everything instead of regular mayo!
It’s quick and easy to make at home with simple ingredients (or easy to find substitutes). Ditch the expensive imported bottles, and say no more to waste from packaging that can’t be recycled.
Using a bullet blender takes all the stress out of making homemade Kewpie mayo – no effort and no worries about properly emulsifying the eggs and oil.
And like all good homemade Japanese sauces, when you make it yourself you know exactly what’s in it.
Related: Takoyaki Sauce / Okonomiyaki Sauce
Does this taste like real Kewpie Mayo?
This recipe (like any homemade version of a store-bought condiment) won’t taste exactly like the official version, and for good reason! Store-bought Kewpie contains artificial flavourings and preservatives – including MSG – none of which you’ll find in our homemade recipe. That said, it’s as close as we could get to that real Japanese mayo flavour using everyday ingredients and common Japanese seasonings.
Feel free to tweak the ratio of the seasonings to get the flavour just how you like it. Add a touch more vinegar to make it more acidic, or an extra splash of mirin for more sweetness, for example. Just don’t add more egg or more oil as this will throw off the emulsification resulting in mayo that’s too runny or splits.
What is Japanese Mayonnaise?
Japanese mayonnaise (和風マヨネーズ) is a popular condiment in Japanese cuisine. The most popular brand is Kewpie mayonnaise, with its iconic Kewpie doll logo. It usually comes in soft plastic bottles with a fine nozzle so you can get those ultra thin lines or squiggles on top of dishes like takoyaki and okonomiyaki.
The official Kewpie mayo only uses egg yolks for its rich umami flavour and creaminess compared to Western-style mayonnaise. However when making it at home we prefer to use up the whole egg to reduce waste. We then balance out the flavour with rice vinegar and a splash of dashi stock for umami to replace the MSG.
Our biggest reason for making our own homemade Kewpie mayo recipe was to reduce our plastic use. Unfortunately, the soft Kewpie bottles are made from a type of plastic that is not recyclable. So making our own without this waste is definitely the way to go!
What You’ll Need
- Egg – Our recipe uses a whole egg at room temperature. American readers should make sure to use a pasteurised egg (this is not usually an issue in Australia). Read up on how to pasteurise an egg at home if you need. Sub with two egg yolks for a more traditional Kewpie.
- Rice Wine Vinegar – Look for this in the international aisle at your local supermarket, otherwise head to Asian grocery stores or buy online. Sub with apple cider vinegar, white wine vinegar, or white vinegar if that’s all you have on hand.
- Mirin – A sweet rice wine for cooking. You can sometimes find it in regular supermarkets, otherwise head to your nearest Asian grocer or online. Sub with 1 tsp sugar if you need.
- Dashi – Use homemade dashi stock or sub with a 1/4 tsp of dashi powder dissolved in 2 tbsp warm water. If you can’t source either, just leave it out.
- Dijon Mustard – Use a smooth mustard rather than a whole grain mustard for a creamy appearance in the finished mayo. The mustard flavour is subtle and you won’t really notice it. It’s mainly included to help stabilise the mayonnaise emulsion and stop it from splitting.
- Vegetable Oil – Use a neutral flavoured vegetable oil such as canola oil or avocado oil. Avoid olive oil as its flavour will overpower the mayonnaise.
- Salt – A pinch of any regular white salt will do!

How to Make Japanese Mayonnaise

Important note: This recipe uses raw egg. If you are in the US or anywhere else that requires raw eggs to be pasteurised before using, please do so before starting this recipe.
See recipe card below for measurements.
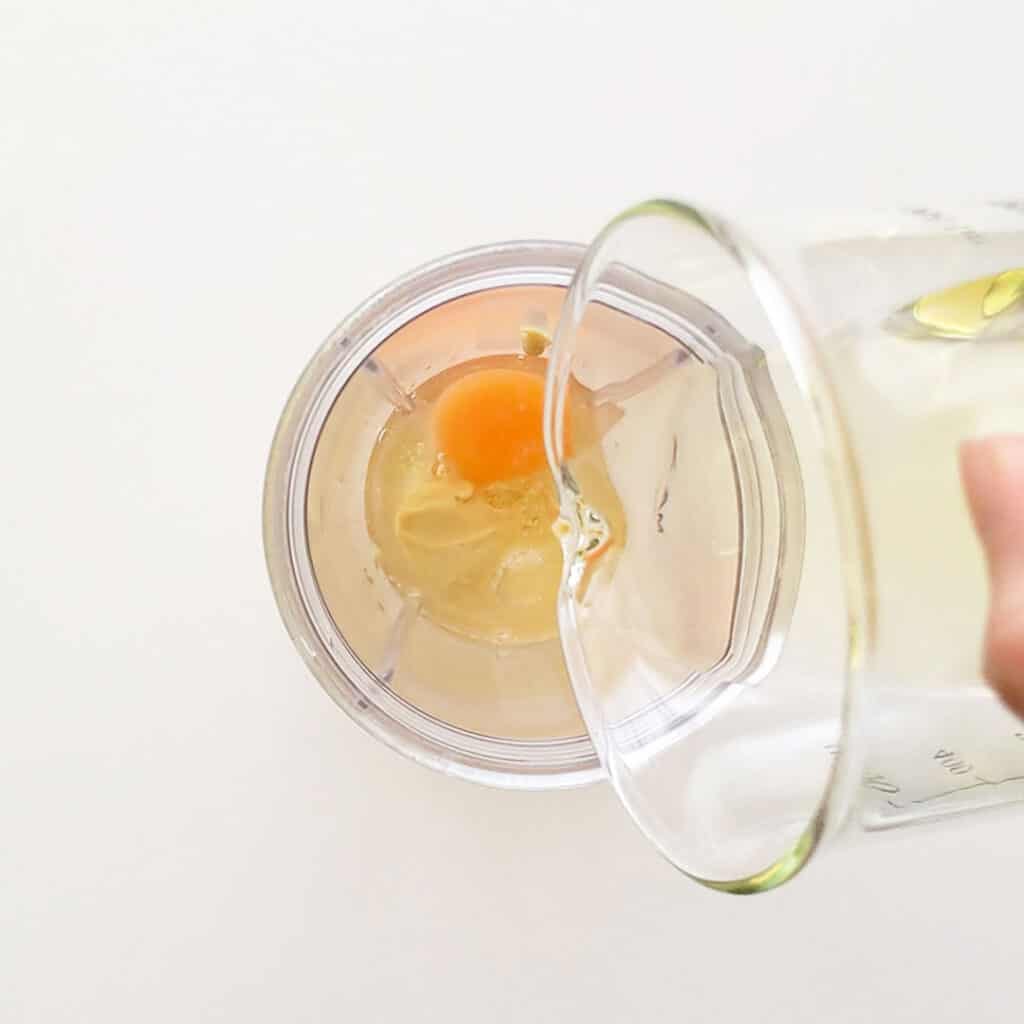
- Add the egg, salt, mirin, dijon mustard, rice wine vinegar and ¼ of the vegetable oil into the bullet blender cup. Place the lid on tight, then pop on the base and blend for 10 seconds.
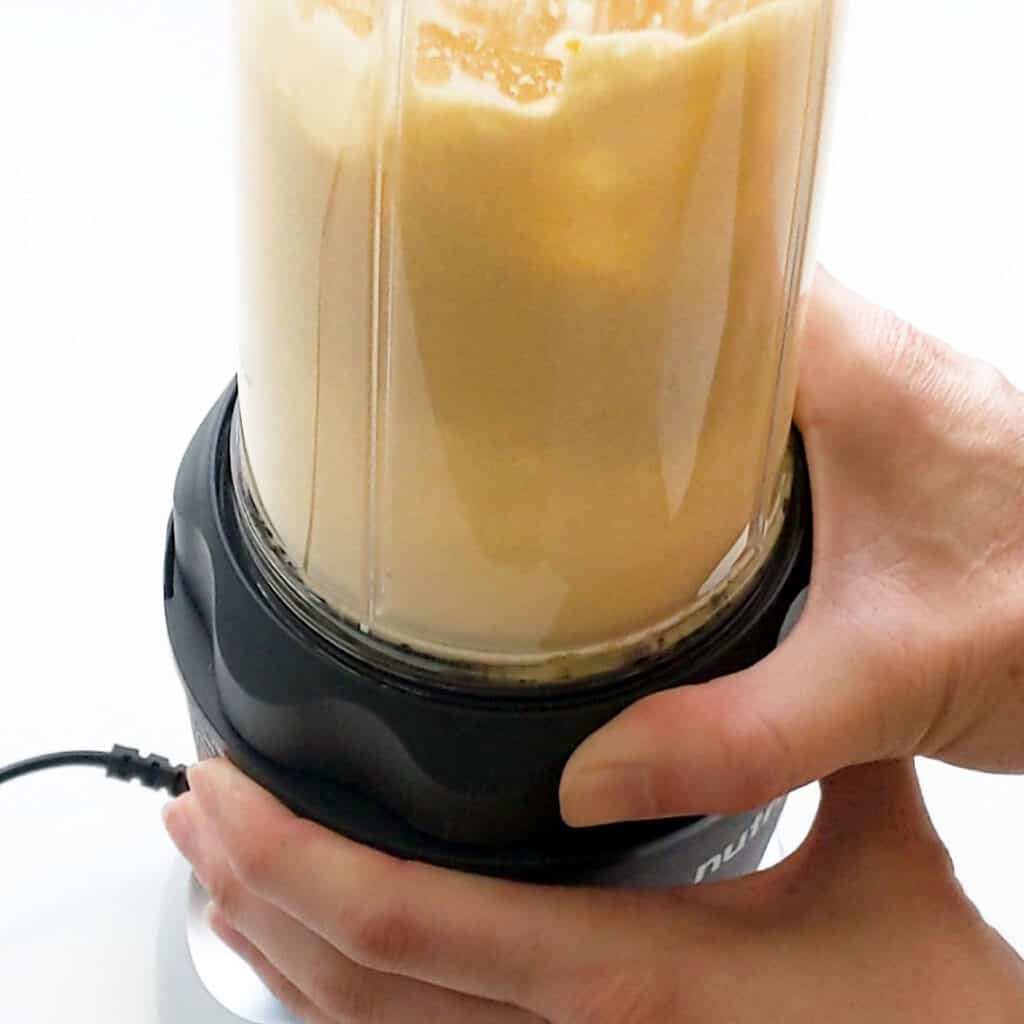
- Add ½ more of the vegetable oil (e.g. another 2 quarters) and blend again for 10 seconds.
- Pour in the remaining vegetable oil, and blend for a final 10 seconds until everything has emulsified and the mixture has turned white and creamy.
Wandercook’s Tips
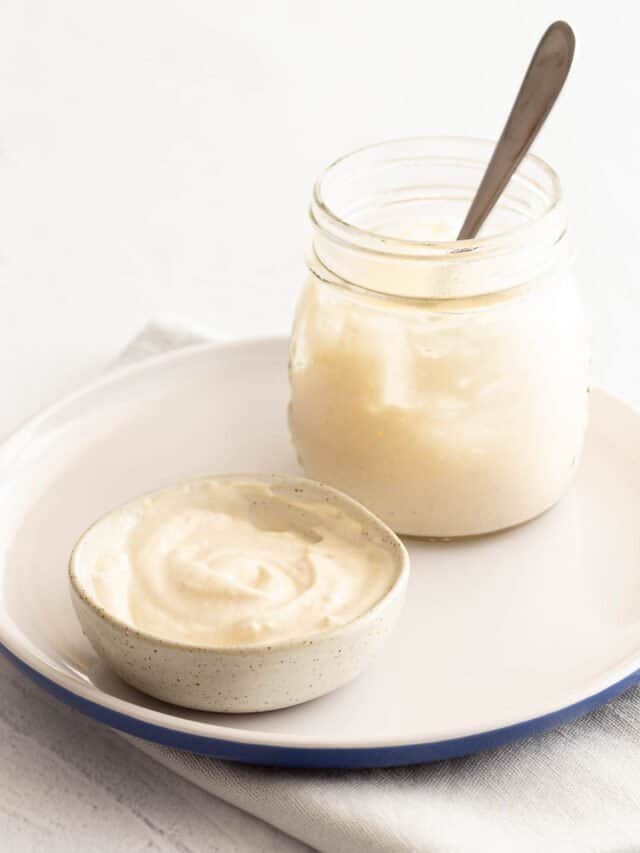
- Texture – We love the whippy texture of homemade Japanese mayo! It gets even better after an hour or two in the fridge.
- Avoid Over Blending – Quick 10 second bursts should do the trick. If you blend too long or too much, you risk splitting the mayonnaise and making it too runny to use.
- Batch Blend – If your bullet blender comes with large cups, consider doubling the recipe. This can help the machine work more efficiently and leave you with extra mayo – win win!
- Prefer to Use Egg Yolks Only? – Use two egg yolks instead of one whole egg. Then use the leftover egg whites to make chewy Italian almond cookies, butter cookies, pavlova or meringue roulade.
- Storage – Since it’s made without preservatives, homemade kewpie mayo will last around 2 weeks in the fridge when properly stored in a glass jar or airtight container.
FAQs
You may have added too much oil at the start. Make sure to start with just one quarter of the oil and blend it until you see the ingredients change into a frothy white liquid (around 10 seconds). Then continue with the recipe.
If it’s too thin, add a bit more oil and pulse. If it’s too thick, add a few drops of water and pulse. This should help you get the right texture without the mayonnaise splitting.
We recommend using a bullet blender for this recipe. If you don’t have one, it’s best to use a stick blender or immersion blender paired with a tall, skinny jar or jug. We don’t recommend using a regular blender or a wide container as it can be harder to ensure all the ingredients are completely emulsified and you may end up overworking the machine or just end up with a runny mess.
We love using Japanese mayo as a base for other homemade sauces such as nanban, gochujang dipping sauce, goma dare or creamy sesame sauce.
It’s particularly good in tamago sando (Japanese egg sandwiches) and in salad dressings such as coleslaw or Japanese potato salad. Or just use it as a quick dip for popcorn chicken or chicken karaage. Get more ideas in our collection of Kewpie mayo recipes!
Variations
- Sriracha Kewpie – Stir in a splash of sriracha sauce for a quick sriracha mayo (or add garlic for an easy sriracha aioli).
- Wasabi Kewpie – Add wasabi paste or wasabi powder to taste.
- Yuzu Kewpie– Add a teaspoon of dried yuzu rind for a citrus burst that goes great with fried chicken or fish.
- Curry Kewpie – Add a 1/2 to 1 tsp of Japanese curry powder.

Try these amazing recipes next:
- Chicken Karaage – Japanese Fried Chicken – Crispy chicken bites air-fried to perfection.
- Easy Okonomiyaki Pancakes – Our favourite ‘as you like it’ savoury pancakes.
- Easy Japanese Chicken Katsu – Air Fried Chicken Breast – Deliciously crunchy panko chicken.
- Quick and Easy Takoyaki Recipe – Japan’s favourite street snack at home!
- Quick & Creamy Spinach Cob Loaf Dip – A quick and easy retro party dip featuring Kewpie mayo!
★ Did you make this recipe? Please leave a comment and a star rating below!
Equipment
Ingredients
- 1 egg whole – sub with 2 yolks for a more traditional Kewpie. Important: Pasteurise if required.
- 1 tbsp rice wine vinegar
- 1 tbsp mirin
- 1 tbsp dashi stock ½ tsp dashi powder dissolved in 1 tbsp filtered water, or use fresh dashi stock.
- 1 tsp dijon mustard heaped
- ¾ tsp salt
- 100 ml vegetable oil
Instructions
Important note: This recipe uses raw egg. If you are in the US or anywhere else that requires raw eggs to be pasteurised before using, please do so before starting this recipe.
- Add the egg, salt, mirin, dijon mustard, rice wine vinegar and ¼ of the vegetable oil into the bullet blender cup. Place the lid on tight, then pop on the base and blend for 10 seconds.1 egg, 1 tbsp rice wine vinegar, 1 tbsp mirin, 1 tbsp dashi stock, 1 tsp dijon mustard, ¾ tsp salt, 100 ml vegetable oil
- Add ½ more of the vegetable oil (e.g. another 2 quarters) and blend again for 10 seconds.100 ml vegetable oil
- Pour in the remaining ¼ of the vegetable oil, and blend for a final 10 seconds until everything has emulsified and the mixture has turned white and creamy.100 ml vegetable oil
Video

Recipe Notes
- Texture – We love the whippy texture of homemade Japanese mayo! It gets even better after an hour or two in the fridge.
- Avoid Over Blending – Quick 10 second bursts should do the trick. If you blend too long or too much, you risk splitting the mayonnaise and making it too runny to use.
- Batch Blend – If your bullet blender comes with large cups, consider doubling the recipe. This can help the machine work more efficiently and leave you with extra mayo – win win!
- Storage – Since it’s made without preservatives, homemade kewpie mayo will last around 2 weeks in the fridge when properly stored in a glass jar or airtight container.
Nutrition

2 Comments
Lucretia Borgia
29/07/2022 at 8:44 amRidiculously simple!
I couldn’t believe how easy it was to make this mayo.
The only negative was a slightly oily mouth-feel but the overall taste was excellent. I used just egg yolks rather than whole egg.
Wandercooks
01/08/2022 at 9:06 amHey Lucretia, thanks for the feedback! Depending on what vegetable oil you used, try it with a different one next time eg peanut to canola to corn etc and see if it has a better mouth-feel. 🙂