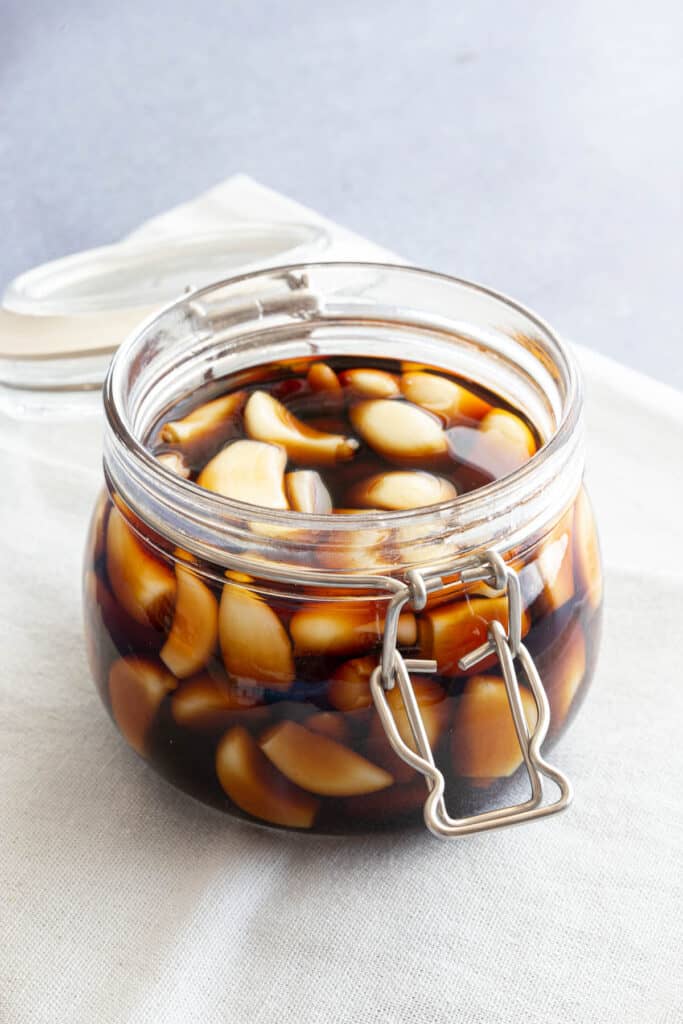
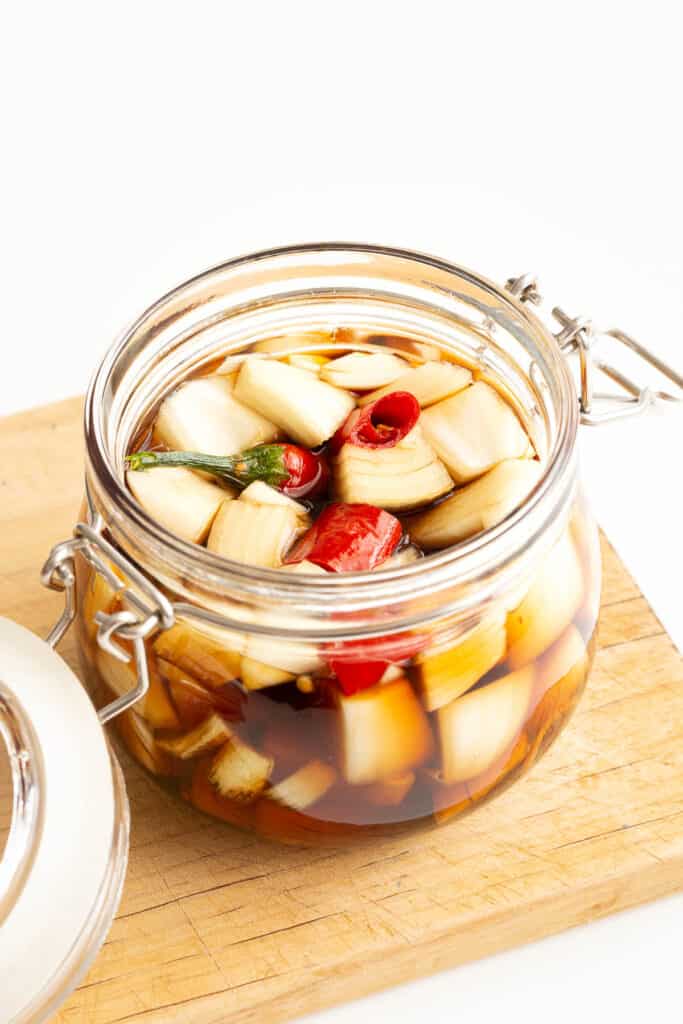
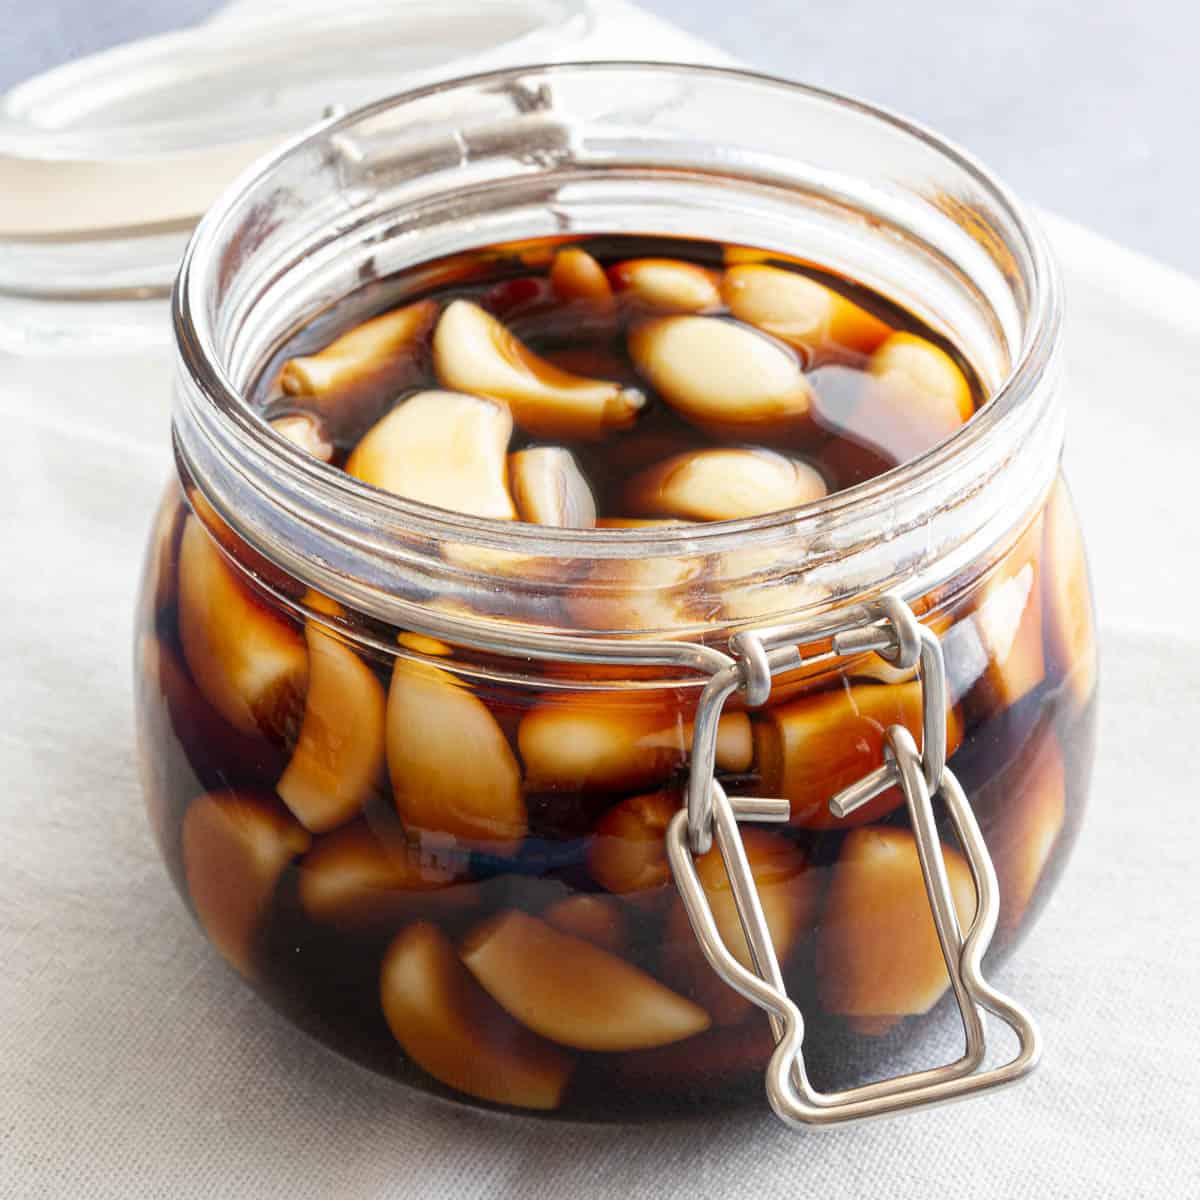
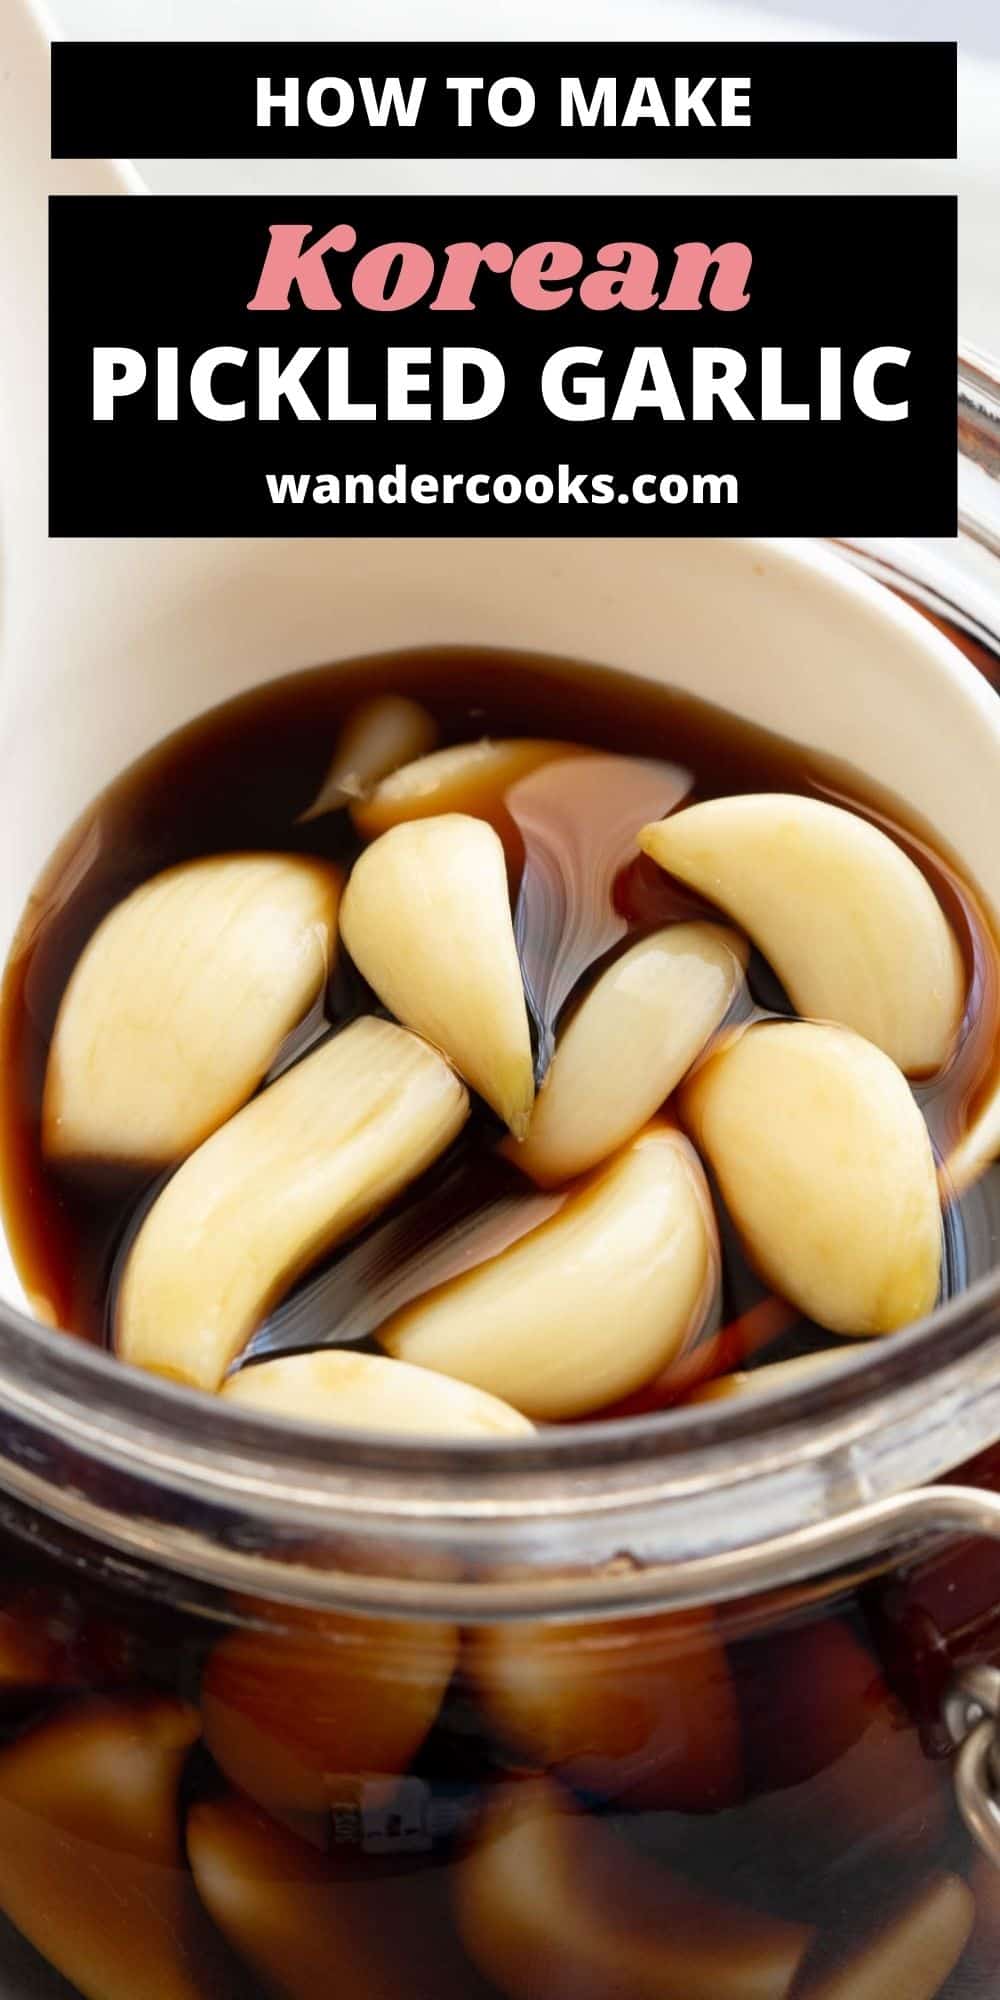
Sweet, tangy and crunchy, make your very own Korean Pickled Garlic – small batch style – no second ferment required. Maneul Jangajji is a popular banchan you’ll usually find alongside Yangpa Jangajji at Korean BBQ.
Why We Love This
We love this simplified method for Korean Pickled Garlic with no second ferment required. Where most recipes for maneul jangajji involve a two-step process, you’ll do all the prep for this in one go! No need to pickle the garlic in vinegar brine for a week before doing the soy brine.
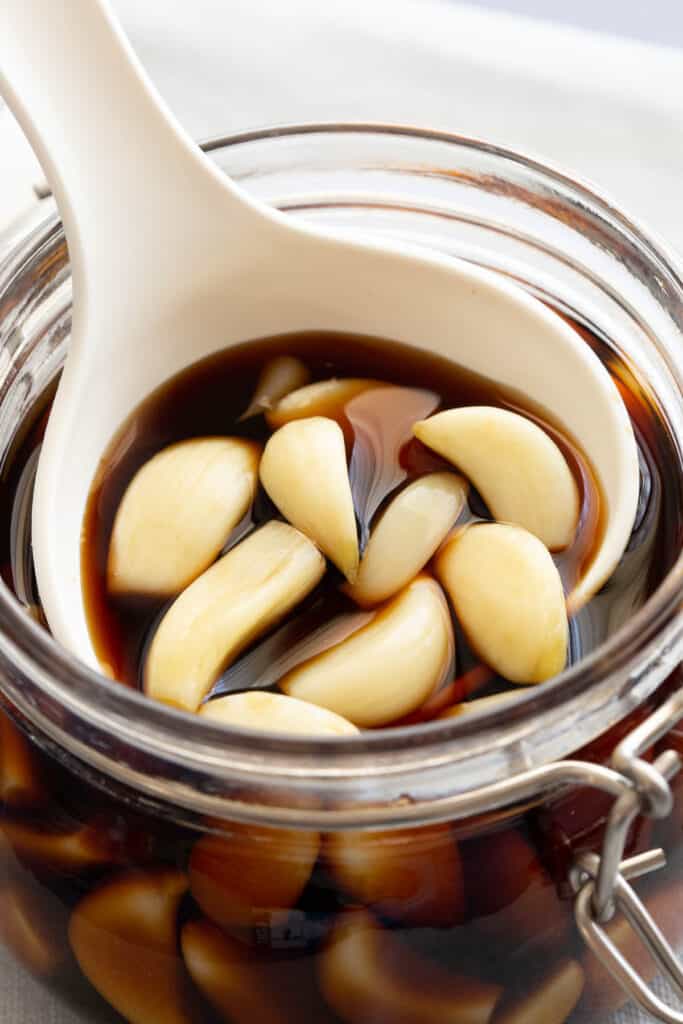
Pickling whole peeled garlic cloves in the sweet, tangy, soy brine helps bring out its flavour while reducing the pungent spiciness of the fresh garlic.
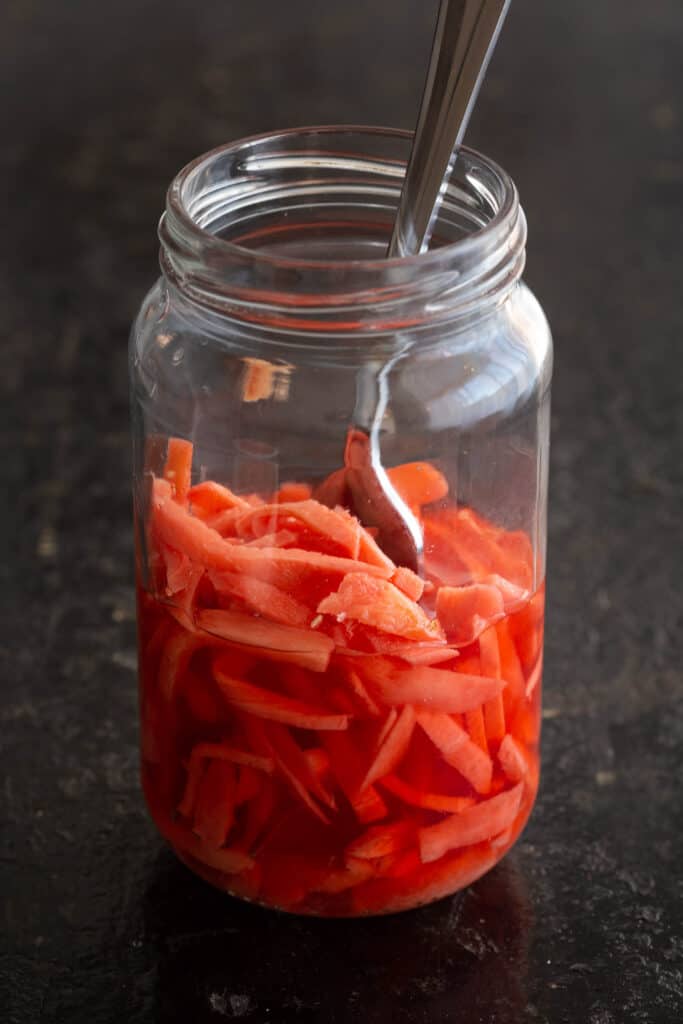
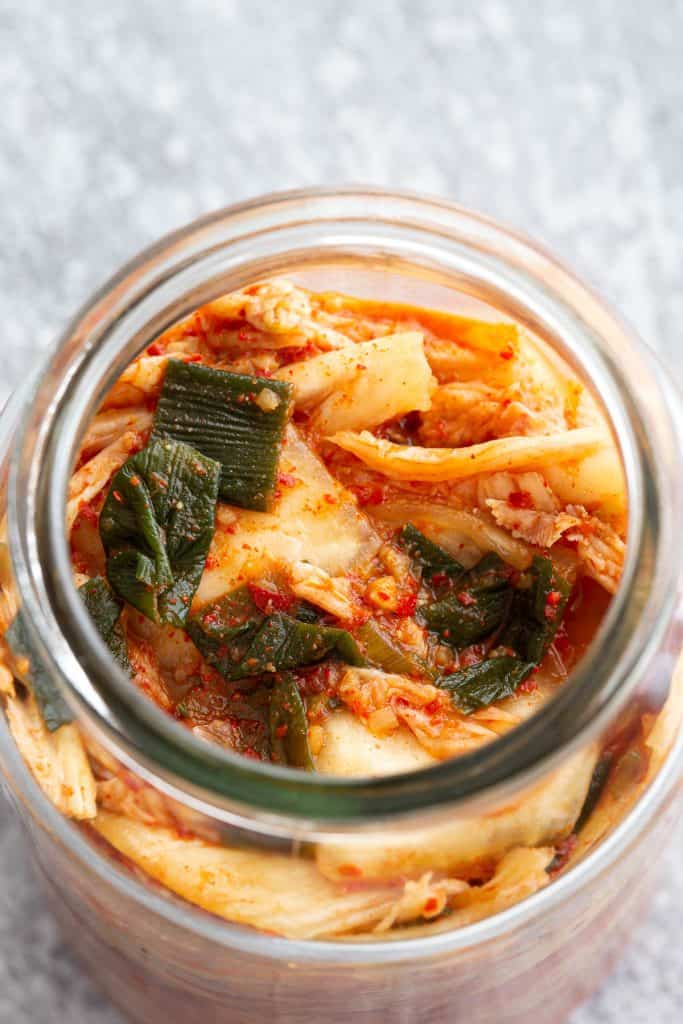
Related: Japanese Takuan / Korean Pickled Onions / Vietnamese Pickled Carrots and Daikon
What is Korean Pickled Garlic?
Garlic is an essential component of Korean cuisine. Korean pickled garlic, known as maneul jangajji / 마늘장아찌 in hangul, is a type of banchan (side dish) often served alongside rice bowls, Korean BBQ and other traditional Korean dishes.
The fresh garlic cloves are boiled then stored in a soy brine to infuse flavour. By boiling the garlic cloves separately, this process tones down the spicy bite of raw garlic, making it sweet, tangy, crunchy and delicious.
The length of time you let the garlic soak in the soy brine will impact the final flavour. At least 4 weeks (one month) all up is best, if you really want to make sure that bite has been removed from the garlic and the flavours from the pickling liquid have infused.
What You’ll Need
- Garlic – We love using purple garlic, but use whichever garlic cloves you have on hand.
- Vinegar – Rice vinegar or white vinegar are popular options, but you can use apple cider vinegar, brown vinegar, or a mix of different vinegars to tweak the flavour just how you like it.
- Soy Sauce – We use regular soy sauce, but if you have light or dark on hand just use it. It may affect the final flavour slightly but will still taste delicious.
- Sugar – Regular white sugar is fine, if you have caster or raw sugar on hand you can also use that.

How to make Maneul Jangajji:
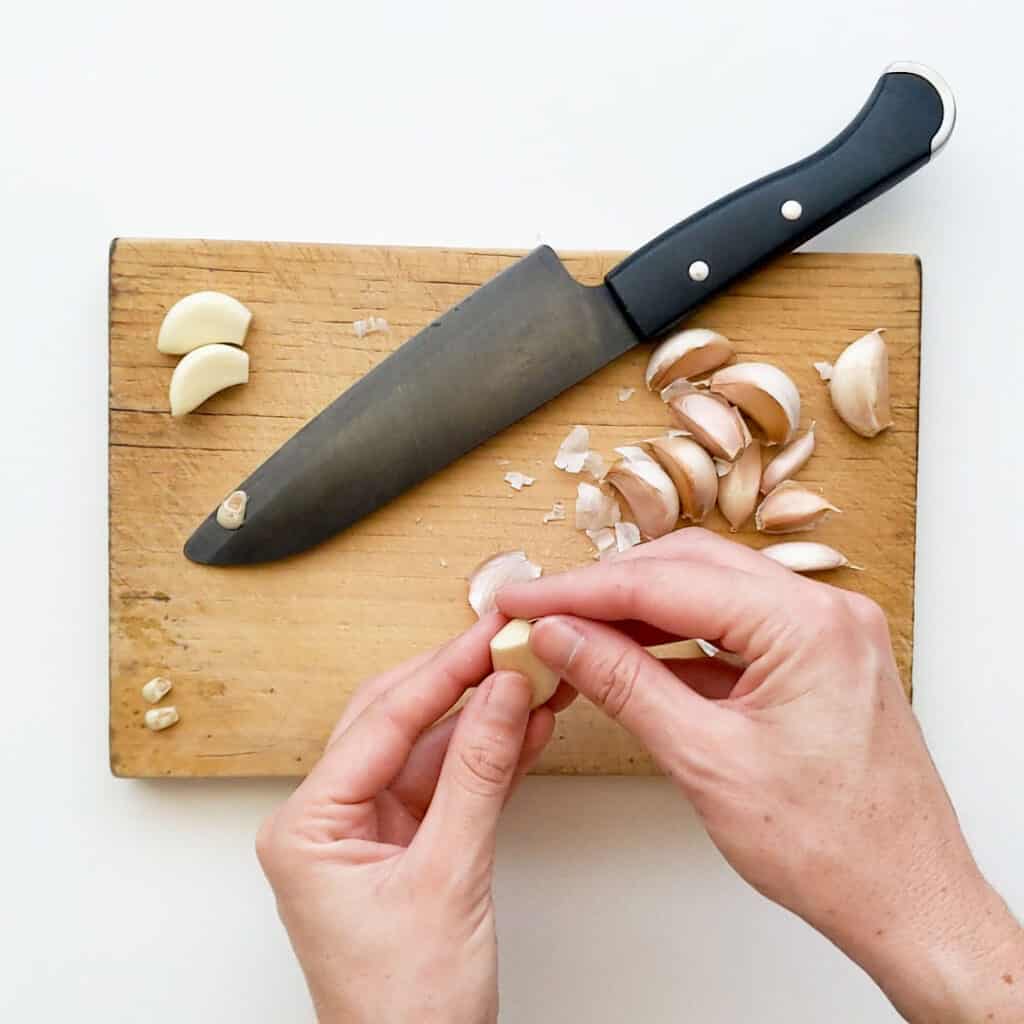
- Peel your garlic cloves and cut off the root end. (Skip if you have pre-peeled cloves).
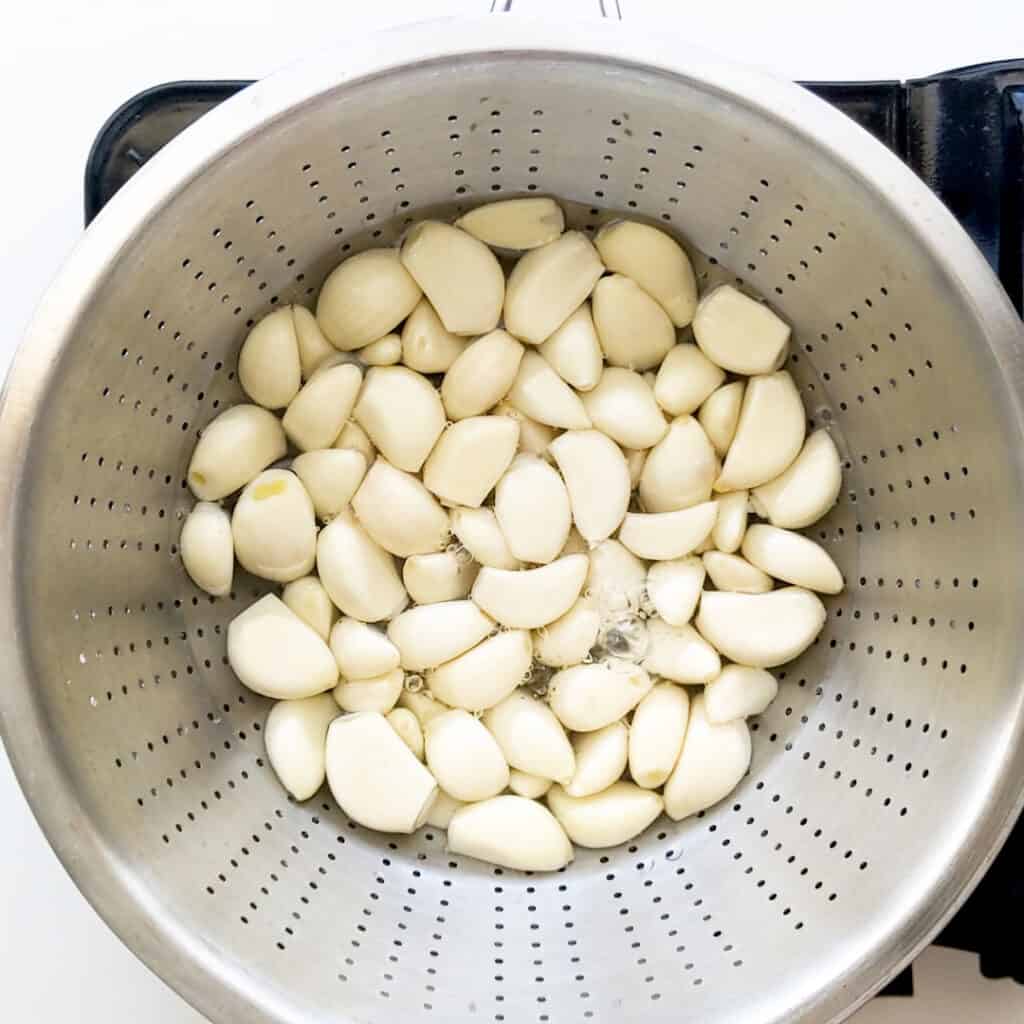
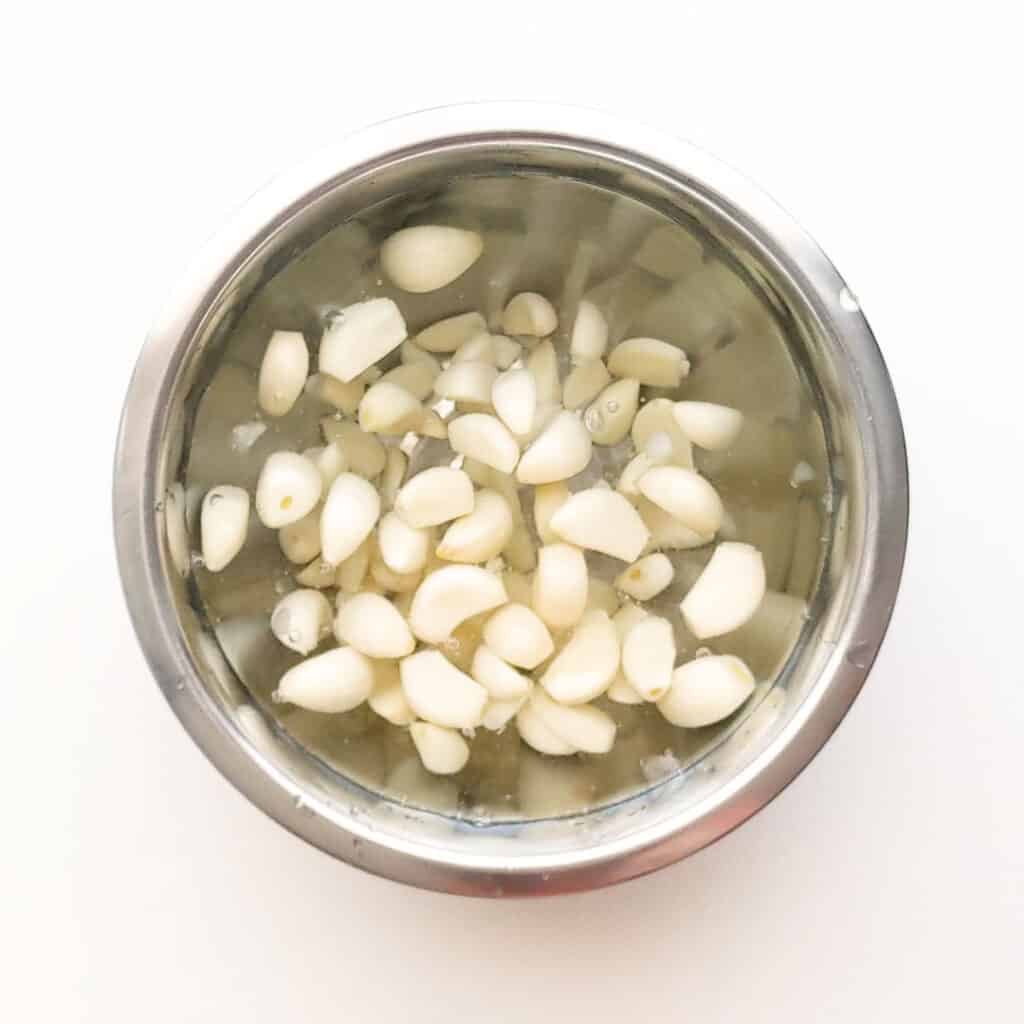
- Fill up your kettle and bring to a boil. Place your peeled garlic cloves into a colander over a medium saucepan and pour over the boiling water until the garlic is covered. Pop it on the stove and cook on high heat for a further 3-5 minutes. This will help remove the spiciness in the garlic.
- Prepare a medium bowl full of iced water – around 4 cups water + ice cubes. Lift the colander of garlic cloves out of the hot water and transfer straight into the ice bath. This will cool down the garlic and help to keep the crunch.
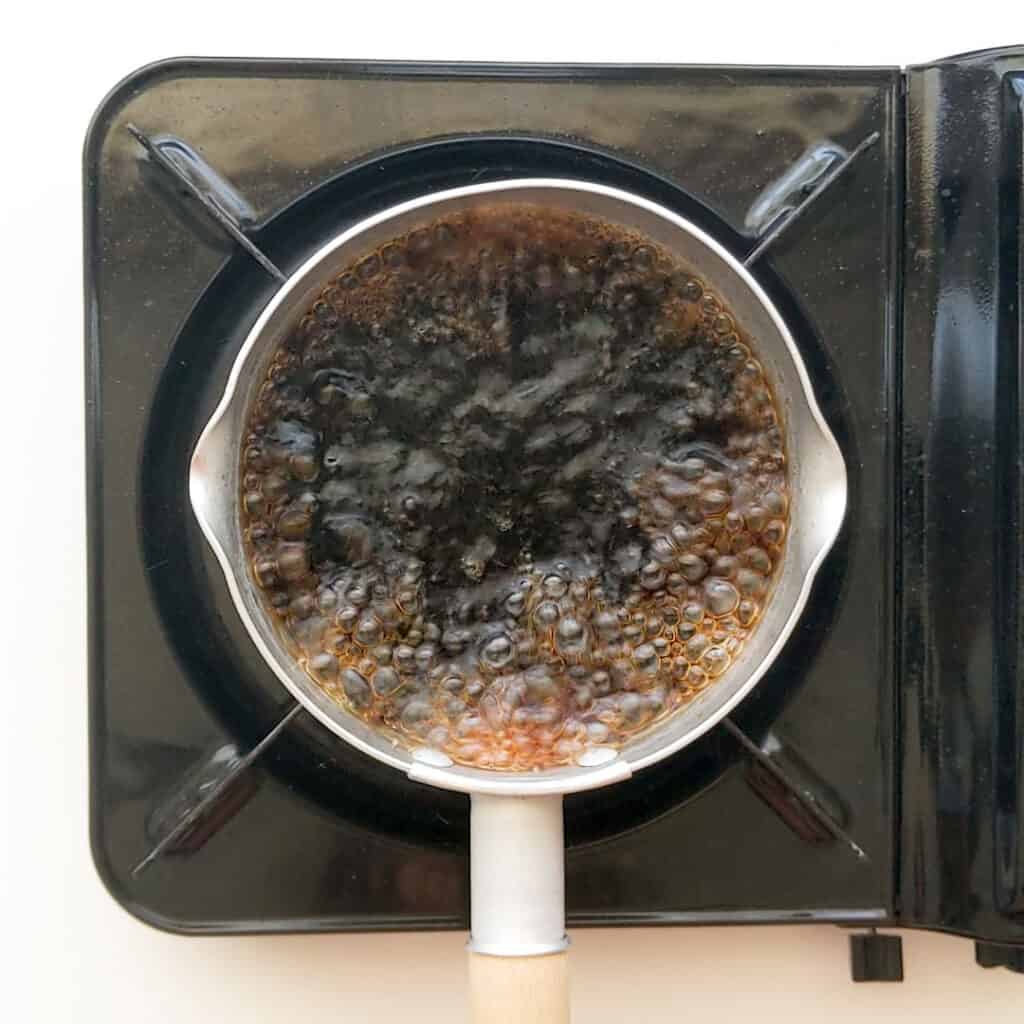
- In a small saucepan, add your soy sauce, water, vinegar and sugar, and place over medium high heat. Bring to the boil and continue to cook for a minute or two.
- Transfer into a pouring jug and allow pickle liquid to cool to room temperature. Tip: To speed this up, pop the jug into a bowl of water and add more ice. This should bring down the wait time to 5-10 minutes.
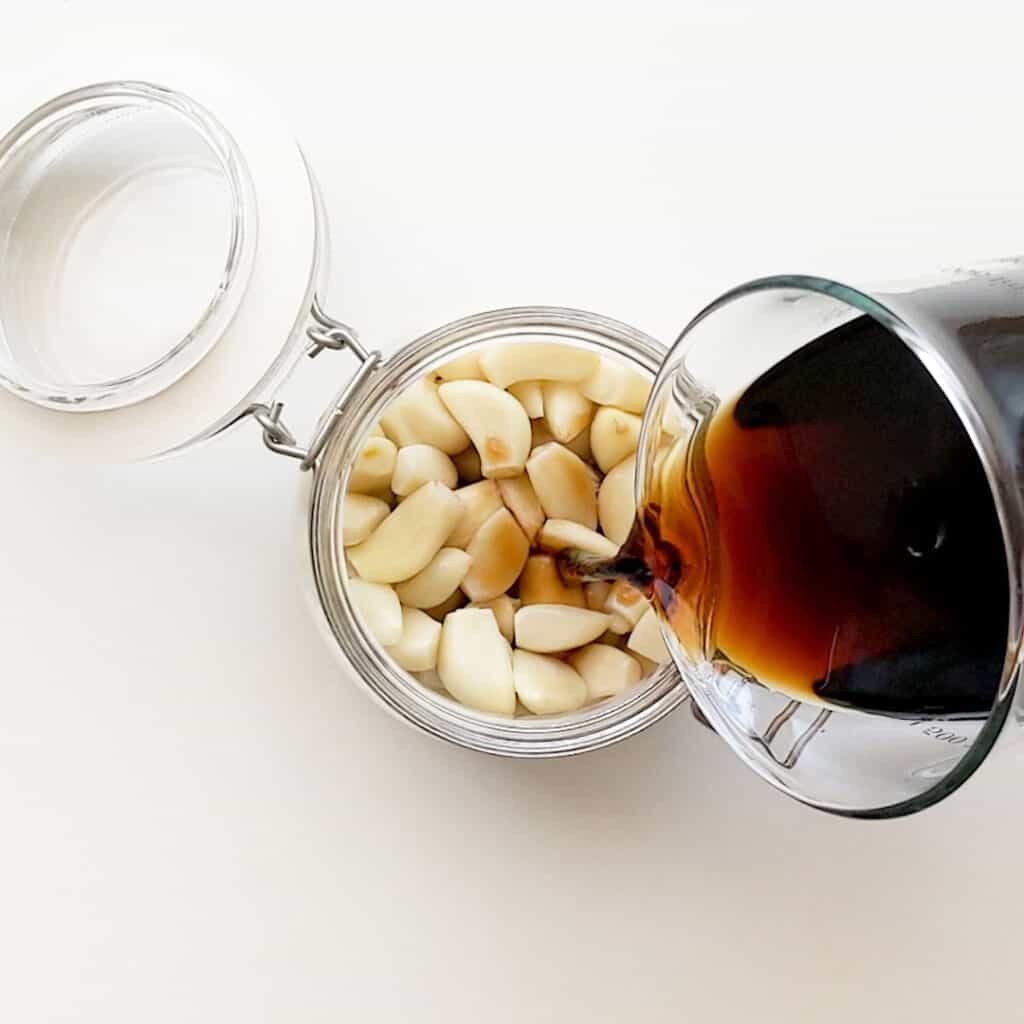
- Meanwhile, drain cooled garlic and add to your selected pickle jar. Pour over cooled pickle liquid.
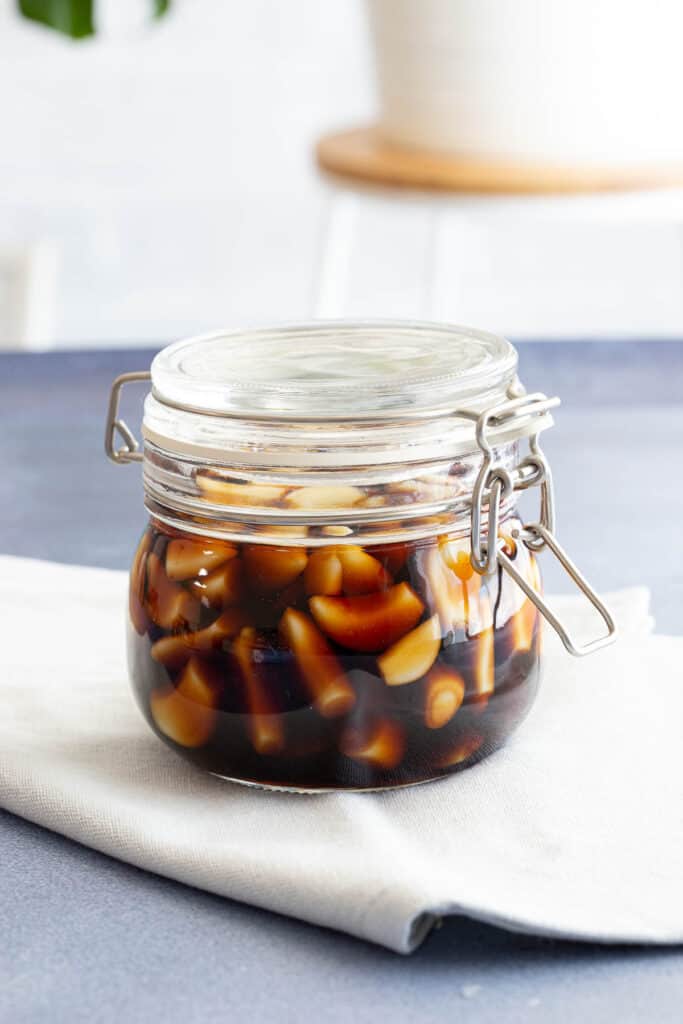
- Place the lid on tight and leave at room temperature for a week in a dark place. Place in another container if you need to block out the light. This will help reduce discolouration of the garlic cloves.
- After 1 week, drain the pickling liquid into a saucepan (leaving the garlic behind in the jar) and bring to a boil for a minute or two. Then allow to cool again and pour back into the pickle jar. This is to boil off any unwanted bacteria.
- Let it sit for another 3 weeks back in a dark spot, then it’s ready to eat! Once opened, pop and store in the fridge. It should last months in the fridge!
Wandercook’s Tips
- Garlic – Use the freshest garlic you can source. You could also buy store-bought pre-peeled garlic to save time.
- Serving Suggestion – Ladle some pickled garlic and the pickling liquid in a small dish and add either some gochujang or gochugaru and sesame seeds to amp up your side dish even further, and give it a nice and spicy kick!
- Storage – Make sure to store your pickled garlic in the fridge once you’ve opened it.
FAQs
Don’t worry, it’s not mould, and it’s perfectly safe to eat. The blue colour can be caused by reactions between enzymes and amino acids in the garlic. You can read more about why acids in pickling brine can turn garlic blue or green here.
There are a number of ways to help prevent this happening, including:
– Boiling the garlic
– Keeping the pickle jar out of direct sunlight
– Using filtered water
It’s best to use the freshest garlic possible. If the cloves have slightly sprouted that’s okay, but avoid those that have sprouted more than 1 cm / 0.4 inch.
Traditionally you’ll usually find them served alongside rice bowls, fresh lettuce and and BBQ meats – especially pork belly! But they go well with just about anything. Try it alongside a batch of Korean hotpot (army stew) or serve up a small bowl on the table at dinner time and they are guaranteed to disappear.
The leftover pickling liquid is full of so much flavour. Use it as a dipping sauce for BBQ meat or pour it straight over rice. You can even use it as a salad dressing (feel free to add extra salad dressing ingredients to give it even more zing) or as a marinade.
If you love vinegar on your hot chips, try giving this a go to add extra depth of flavour!
Store your pickles for up to one month in the fridge. Since they are considered “quick pickles”, it’s essential to store them in the fridge.
Since we’re not “canning” the pickles for extended shelf life, you can use recycled glass jars or any container with a lid will work, as long as they have a good seal. You can of course use mason jars or canning jars if you have them.
The sugar isn’t 100% essential to pickling garlic, however it does help to balance out the salty soy and tangy vinegar flavour, leaving you with a much more well rounded flavour.
Variations
- Add Umami – Add a small piece of kelp or a tsp of dashi powder while boiling the liquid.
- Make it Spicy – Add a scoop of gochujang or thin slices of your favourite red or green chillies. You can use larger chillies to infuse more taste than heat. Or use gochugaru chilli flakes, cayenne pepper
- Add Flavour – Add fresh garlic scapes (no need to boil first), peppercorns (try sichuan peppercorns for their unique numbing flavour), or your favourite pickling seasonings like mustard seeds or coriander seeds to infuse different flavours.
More amazing pickles and ferments to try next:
★ Did you make this recipe? Please leave a comment and a star rating below!
Equipment
Ingredients
Instructions
- Peel your garlic cloves and cut off the root end. (Skip if you have pre-peeled cloves).250 g garlic
- Fill up your kettle and bring to a boil. Place your peeled garlic cloves into a colander over a medium saucepan and pour over the boiling water until the garlic is covered. Pop it on the stove and cook on high heat for a further 3-5 minutes. This will help remove the spiciness in the garlic.
- Prepare a medium bowl full of iced water – around 4 cups water + ice cubes. Lift the colander of garlic cloves out of the hot water and transfer straight into the ice bath. This will cool down the garlic and help to keep the crunch.6-8 ice cubes
- In a small saucepan, add your soy sauce, water, vinegar and sugar, and place over medium high heat. Bring to the boil and continue to cook for a minute or two.1/2 cup soy sauce, 1/2 cup water, 1/4 cup vinegar, 1/4 cup sugar
- Transfer into a pouring jug and allow pickle liquid to cool to room temperature. Tip: To speed this up, pop the jug into a bowl of water and add more ice. This should bring down the wait time to 5-10 minutes.
- Meanwhile, drain cooled garlic and add to your selected pickle jar. Pour over cooled pickle liquid.
- Place the lid on tight and leave at room temperature for a week in a dark place. Place in another container if you need to block out the light. This will help reduce discolouration of the garlic cloves.
- After 1 week, drain the pickling liquid into a saucepan (leaving the garlic behind in the jar) and bring to a boil for a minute or two. Then allow to cool again and pour back into the pickle jar. This is to boil off any unwanted bacteria.
- Let it sit for another 3 weeks back in a dark spot, then it's ready to eat! Once opened, pop and store in the fridge. It should last months in the fridge!
Recipe Notes
- Garlic – Use the freshest garlic you can source. You could also buy store-bought pre-peeled garlic to save time.
- Serving Suggestion – Ladle some pickled garlic and the pickling liquid in a small dish and add either some gochujang or gochugaru and sesame seeds to amp up your side dish even further, and give it a nice and spicy kick!
- Storage – Make sure to store your pickled garlic in the fridge once you’ve opened it.
- Add Umami – Add a small piece of kelp or a tsp of dashi powder while boiling the liquid.
- Make it Spicy – Add a scoop of gochujang or thin slices of your favourite red or green chillies. You can use larger chillies to infuse more taste than heat. Or use gochugaru chilli flakes, cayenne pepper
- Add Flavour – Add fresh garlic scapes (no need to boil first), peppercorns (try sichuan peppercorns for their unique numbing flavour), or your favourite pickling seasonings like mustard seeds or coriander seeds to infuse different flavours.
Nutrition

No Comments