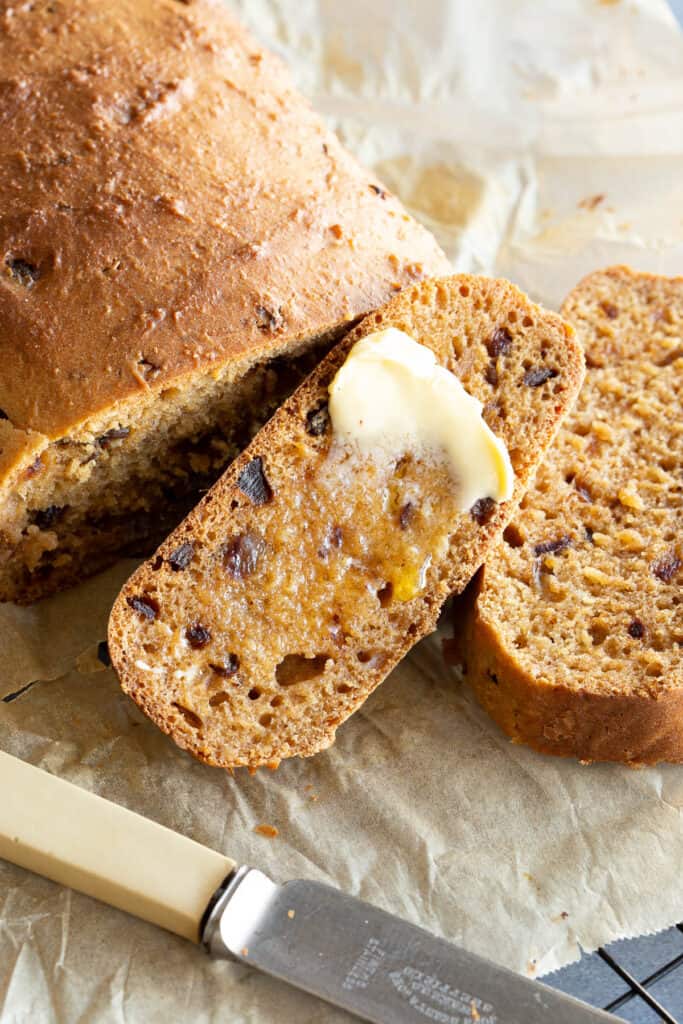
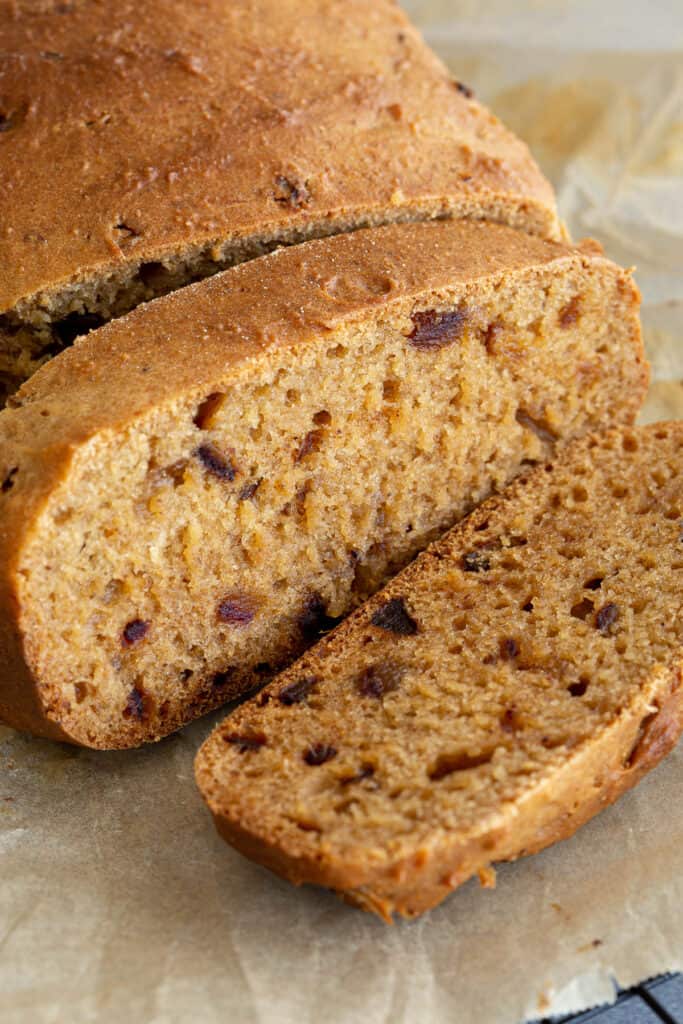
Try this soft and sweet Weetbix cake for the perfect afternoon treat. This easy Weetbix date loaf is a warm golden brown, speckled throughout with sweet dates for a toffee-like treat alongside your cup of tea.
In This Post You’ll Learn
Why We Love This
Just like our classic Weetbix slice, this deliciously easy Weetbix cake recipe is a great way to use up crushed Weetbix biscuits that always end up at the bottom of the box.
This fusion Weetbix and date loaf recipe is made with simple pantry staples, without butter, oil or eggs.
See our variation ideas for some awesome add-in ingredients to transform the base recipe into a breakfast cake and beyond.
Related: Weetbix Slice / Aussie Crunch / Lemon Slice
Is this a cheat’s version of sticky date pudding?
The flavour and texture in this delicious cake loaf is quite similar to sticky date pudding, but even easier to make! So, why not try warming it up for dessert instead of breakfast, and add a dollop of cream or ice cream on top to serve!
What is Weetbix Cake?
Weetbix cake is a retro Aussie baking recipe made with simple ingredients. It can be baked in a round baking dish, but is more often baked in a loaf pan, which is why it’s also known as Weetbix loaf.
It’s a super simple cake recipe where the Weetbix is left to soak in warm milk for half an hour before adding in the flour and popping it straight in the oven. It doesn’t get much easier than that!
We found this old-fashioned Weetbix recipe when digging through Laura’s Mum’s old recipe books, and have made a few tweaks to make it quicker and easier to prepare. It was hand typed and all, and had a classic typo calling for 1/2 cup of salt! Needless to say, we adjusted this to 1/2 a teaspoon.
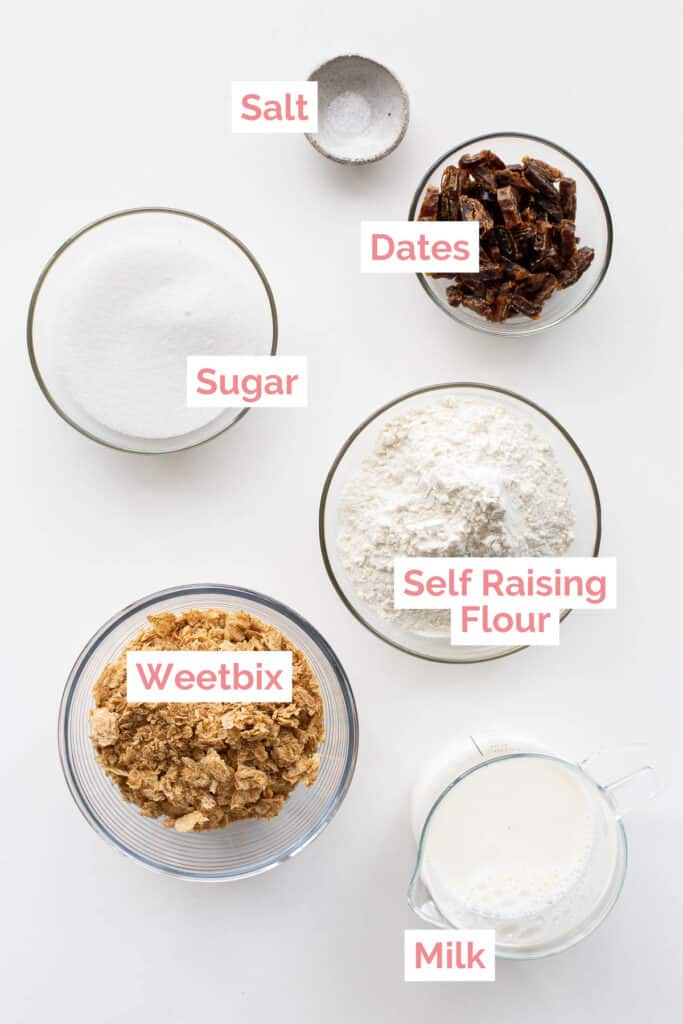
What You’ll Need
- Weetbix – Known in Australia as Weet-Bix or in the UK as Weetabix – they’re similar enough to use either in this recipe! You can also use gluten free Weetbix varieties if you need.
- Dates – For sweetness and texture. Sub with finely sliced apricots, dried fruit or mixed peel to suit your taste, or leave them out entirely.
- Sugar – Regular white sugar is fine, sub with any other granulated sugar you prefer. For a more caramelised flavour, use brown sugar.
- Milk – We use full cream milk, however you can swap for skim milk, or coconut milk for a dairy free version.
- Self Raising Flour – If you only have plain / all purpose flour on hand, add 1 ½ tsp baking powder.
How to Make Weetbix Date Loaf:
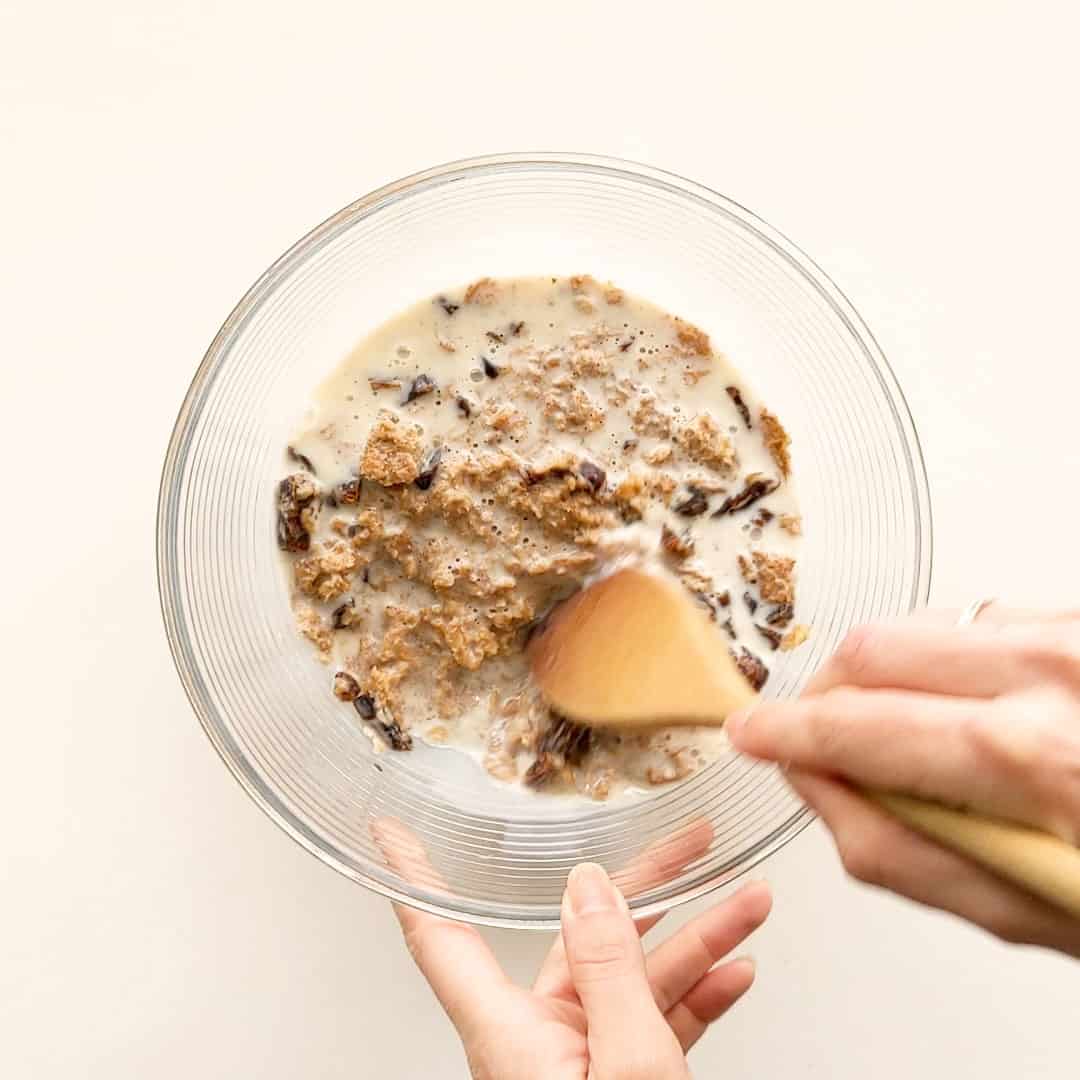
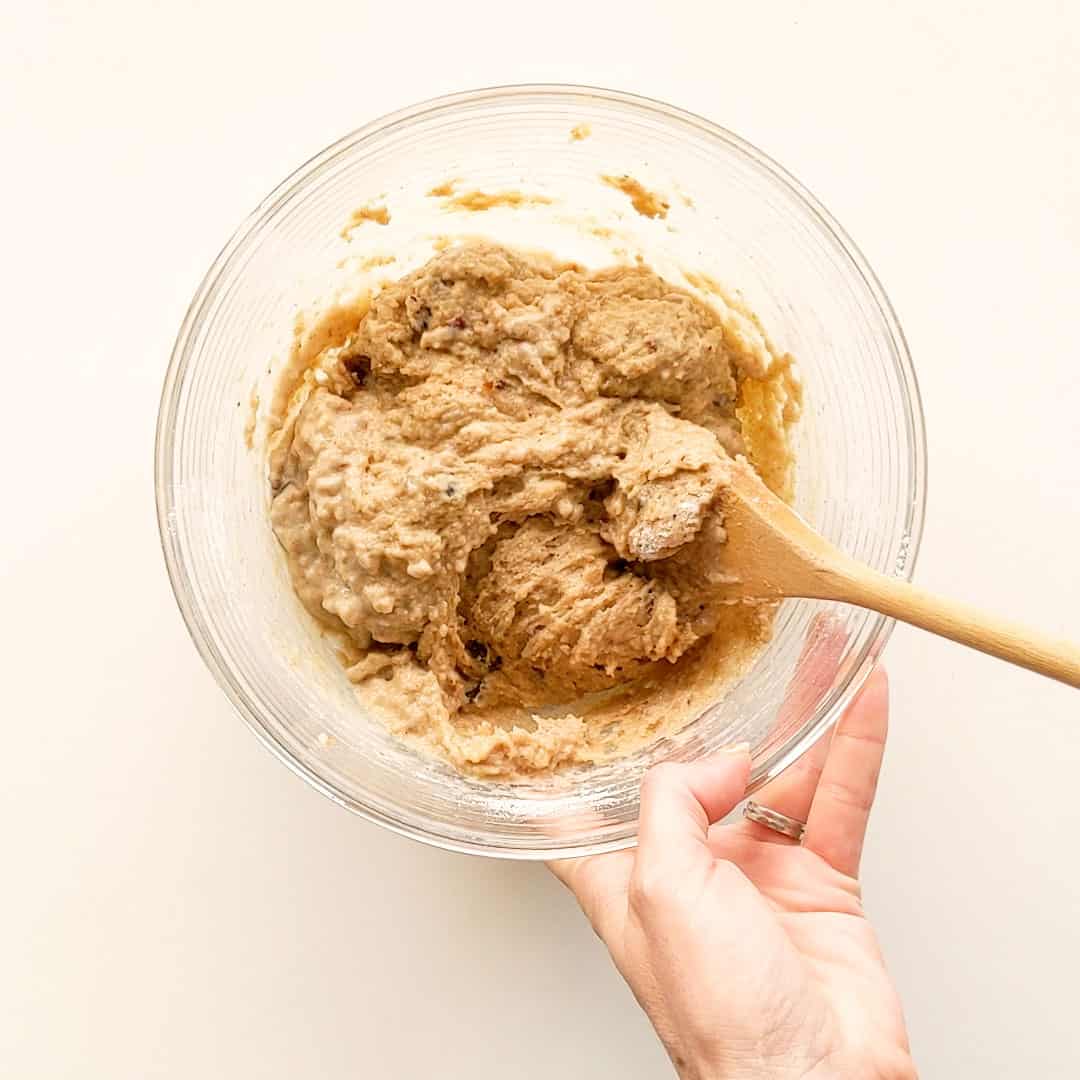
- Place the crushed Weetbix, sugar, sliced dates, salt and warmed milk in a large mixing bowl. Stir together, then set aside for 30 minutes to soak.
- Pre-heat oven to 180˚C / 360˚F. The Weetbix mix should now have soaked up all the milk and be quite sticky. Stir in the self raising flour until evenly mixed and optional: add an extra splash of cold milk to loosen the consistency of the batter if too sticky.
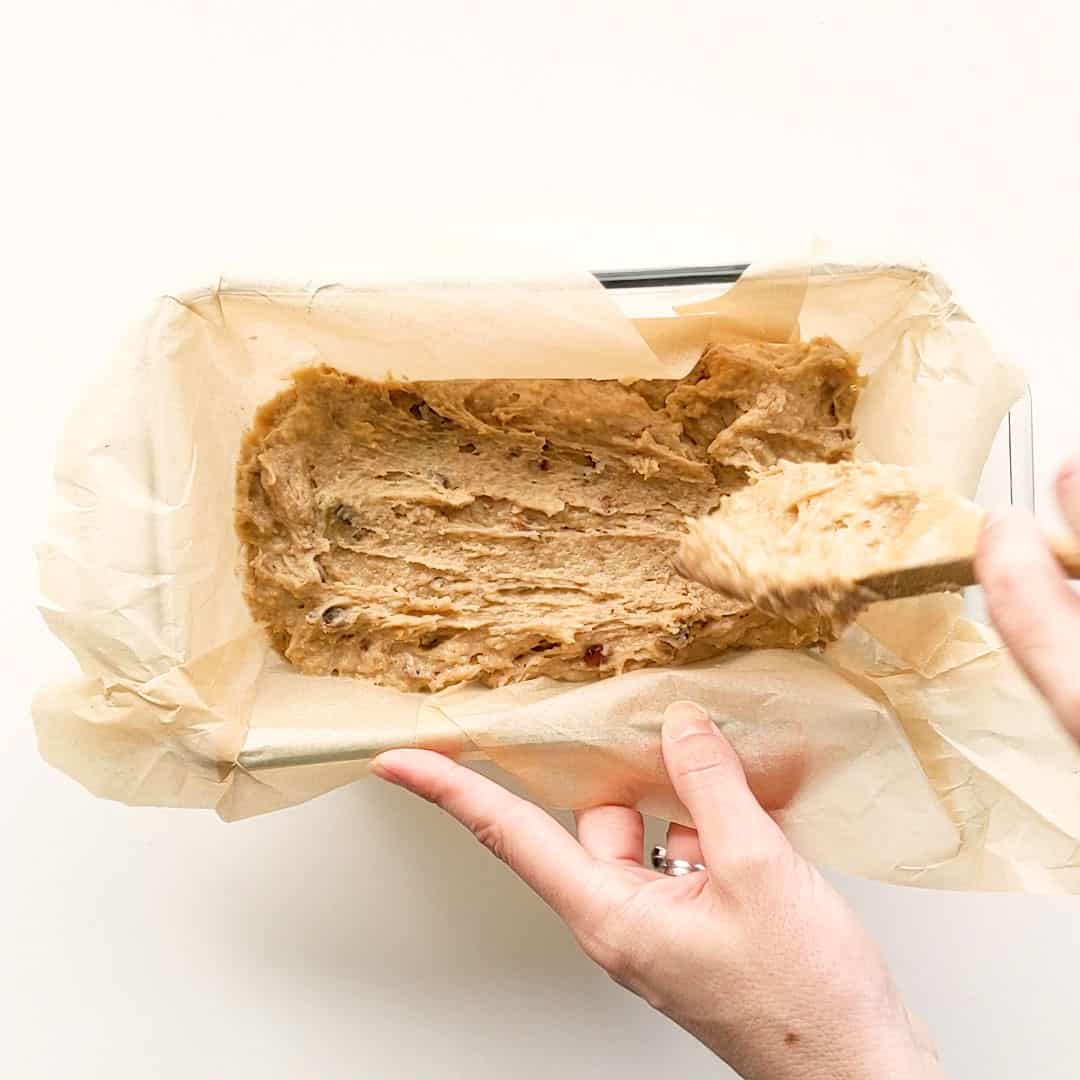
- Pour batter into a greased or lined bread loaf tin
- Pop it in the oven and bake for around 1 hour. Check with a skewer in the middle and if it comes out clean, it’s ready!
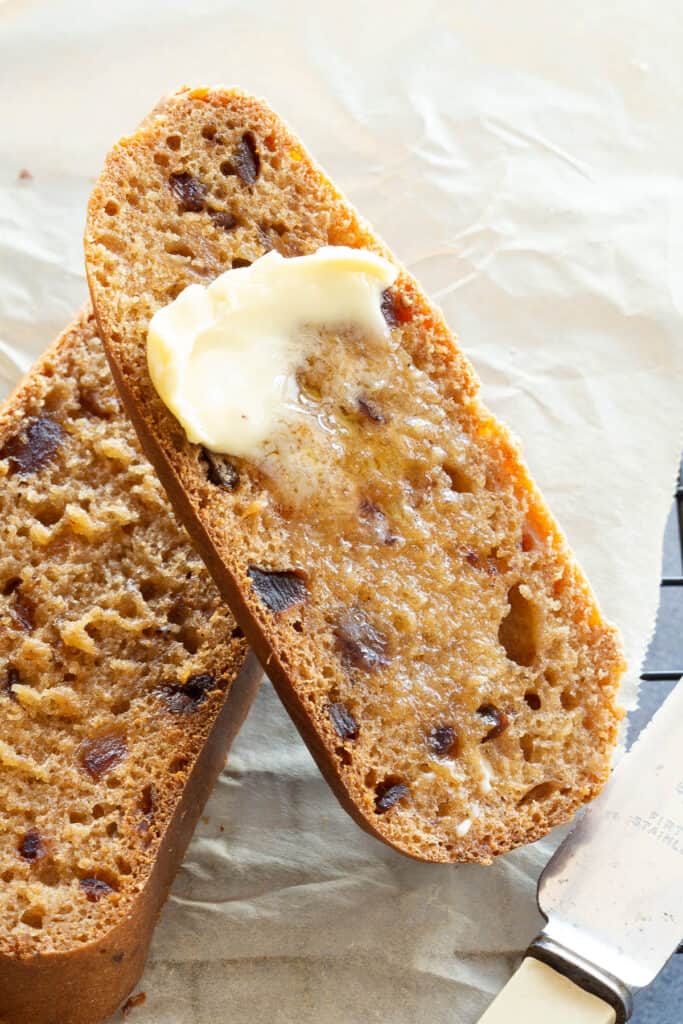
- Allow to cool for 15-20 minutes then serve warm with a slather of butter, or cool completely and store in an airtight container for treats throughout the week.
Wandercook’s Tips
- Texture – If the cake batter is too thick after soaking, you can add a tablespoon of milk at a time to loosen until smooth.
- To Serve – Serve warm with a dob of butter. You can also lightly toast your cake slices for extra warmth and crispy edges.
FAQs
Sifting will help break up any clumps in your flour and is also said to help aerate the mixture. But to be honest, we rarely bother to sift flour when baking and still end up with a great result. Sift if you feel like it, skip it if you don’t!
We use our 14 cm x 23 cm / 5 in x 9 in loaf dish / loaf pan, but you can also bake the cake in a round dish if you prefer. Baking in a loaf shaped dish makes this cake super easy to slice into even pieces.
Yep, this cake freezes well for around 2 months in an airtight container. Allow to defrost at room temperature, or pop it in the microwave for around 20 seconds or so to warm through.
There could be a few reasons: It may not have been cooked long enough, you sliced the cake straight out of the oven, your oven may be too hot OR have inconsistent heat.
To remedy: Cook the loaf for longer. If it’s getting too brown on top, cover with aluminum foil to stop it burning. Then keep checking every 5-10 minutes with a skewer. Also ensure you allow the cake to cool down for at least 15-20 minutes before slicing.
Variations
- Add Spice – Add your favourite baking spices like ground cinnamon, cloves, ginger and/or nutmeg (or just use pre-made pumpkin spice).
- Add Texture – Stir in some crushed walnuts, almonds or hazelnuts, or add a scattering of seeds over the top like pepitas, linseeds, chia seeds or sunflower seeds. This is also a great way to add some extra nutrition to your cake.
- Swap Cereals – Sub with any of your favourite crushed cereals such as cornflakes, nutrigrain, sultana bran, or even quick oats and see how it turns out!
- Add a Topping – A cream cheese frosting would go really well on this cake! You could also just sprinkle the top with icing sugar, or top with plain icing, chocolate icing or even melted chocolate.
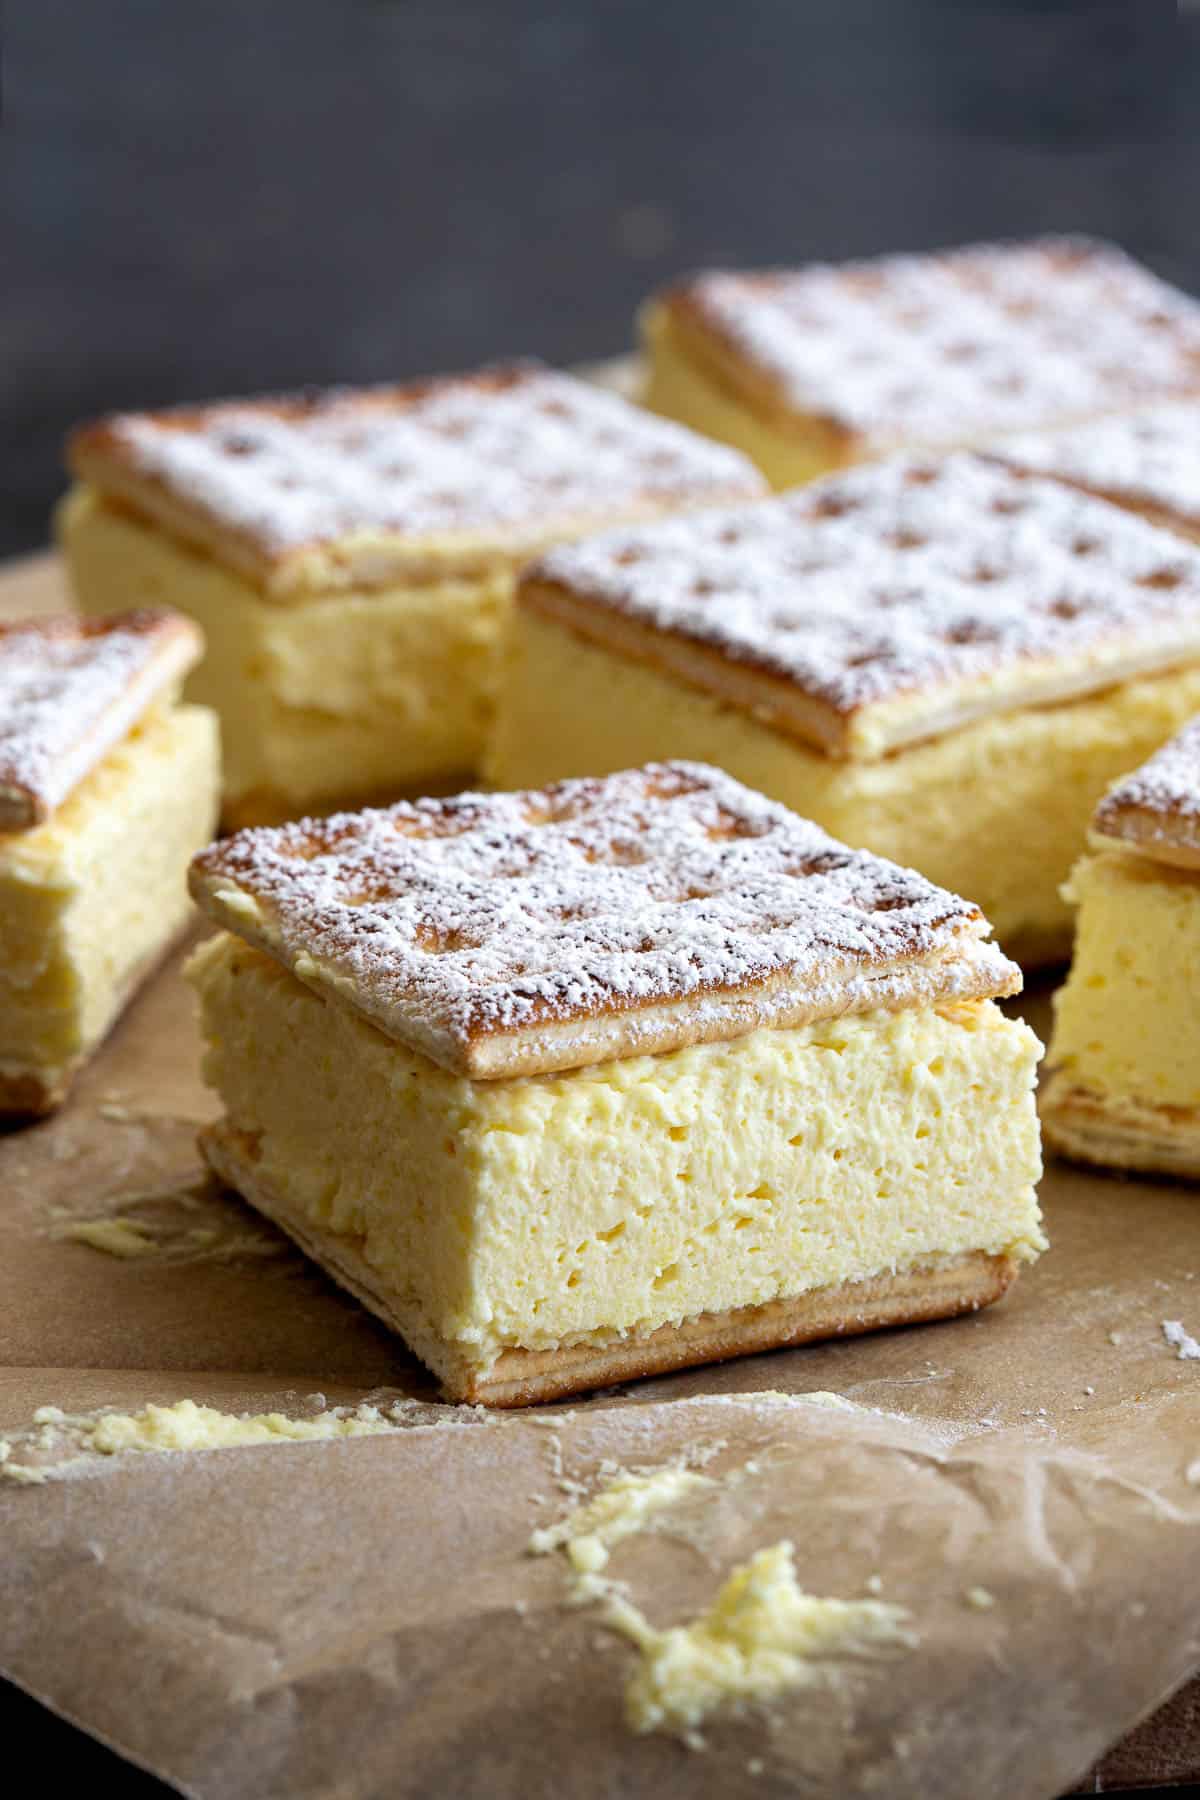
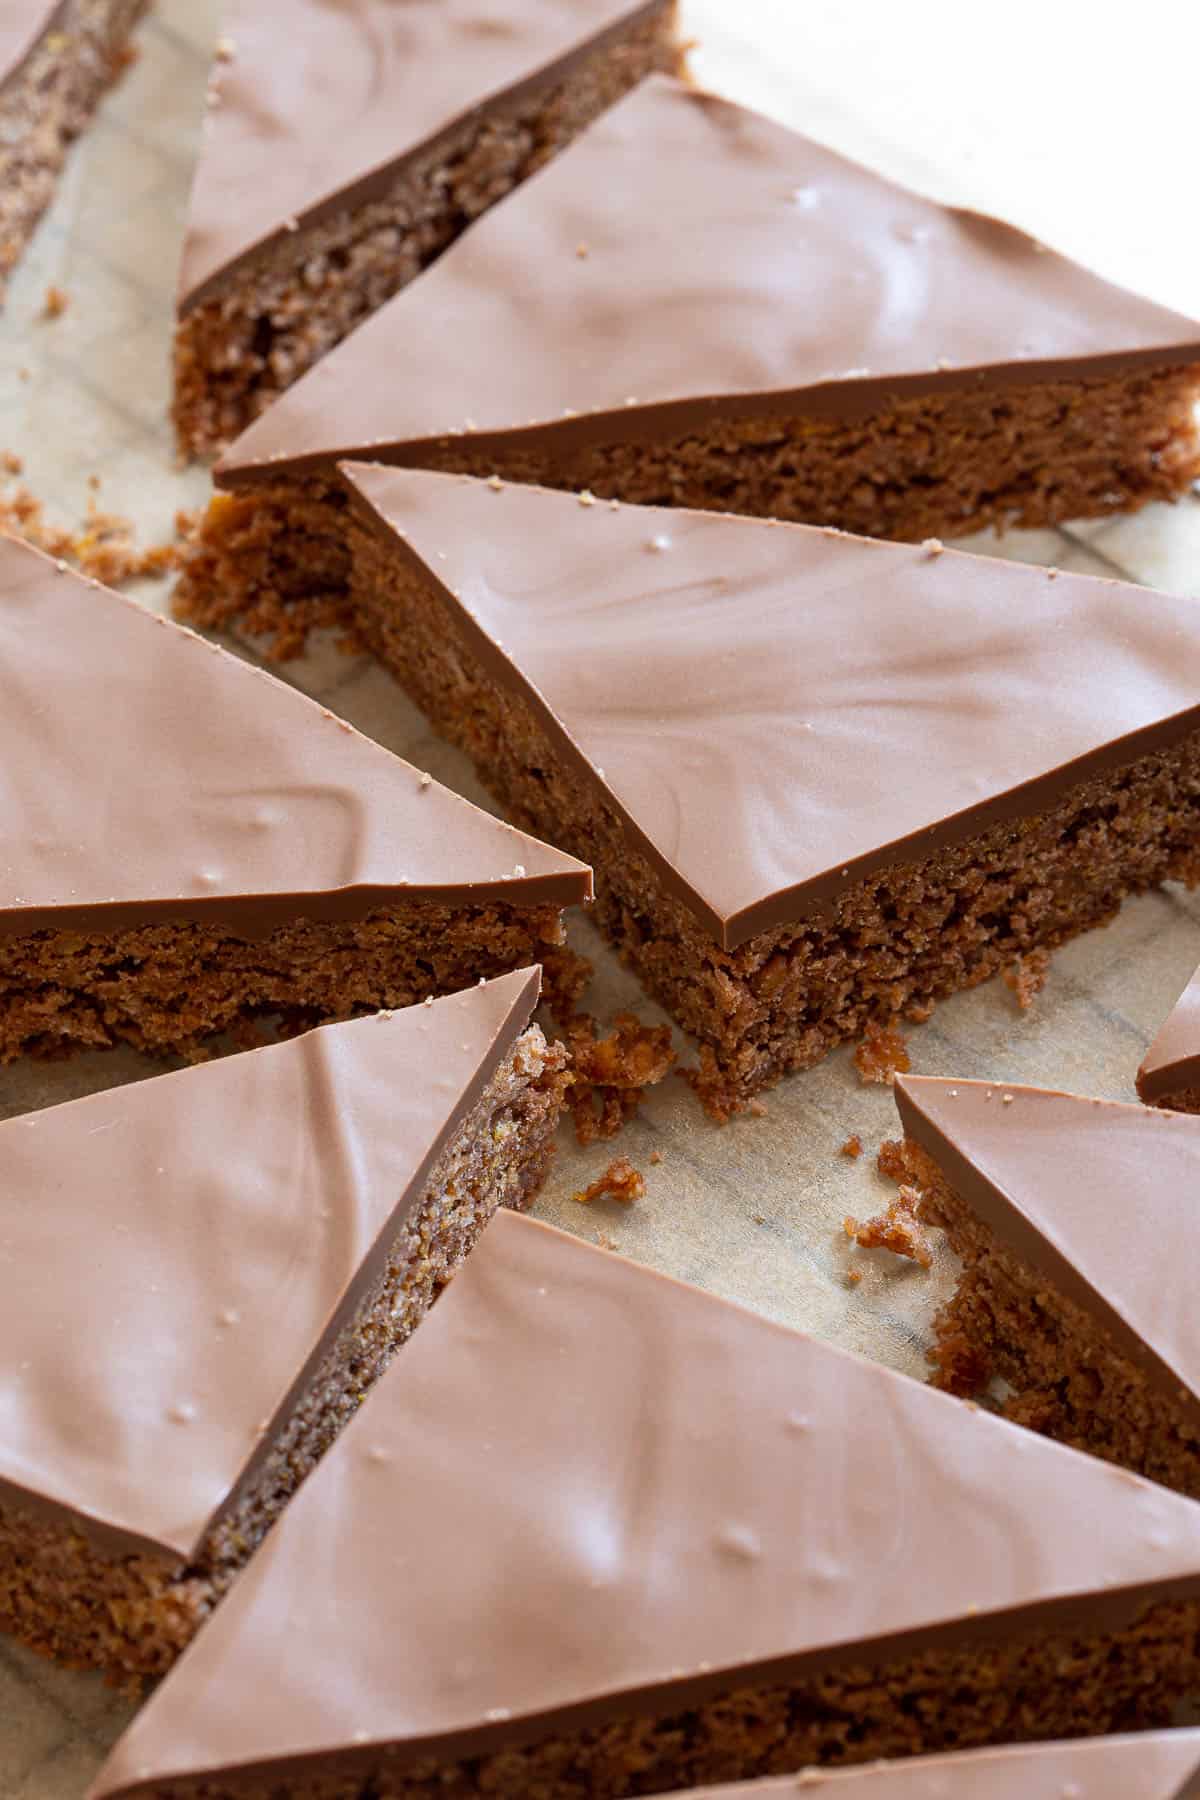
Make these Australian favourites next:

★ Did you make this recipe? Please leave a comment and a star rating below!

Ingredients
- 1 ½ cups Weetbix biscuits crushed, 80 g / 2.8 oz (5 biscuits)
- 1 ½ cups milk 375 ml warmed for 60 seconds in microwave on high
- ¾ cup sugar 160 g / 5.6 oz
- ½ cup dates sliced, 70 g / 2.5 oz
- 1 ½ cups self raising flour 225 g / 8 oz, sub plain flour and 1 ½ tsp of baking powder
- ½ tsp salt
Instructions
- Place the crushed Weetbix, sugar, sliced dates, salt and warmed milk in a large mixing bowl. Stir together, then set aside for 30 minutes to soak.1 ½ cups Weetbix biscuits, ¾ cup sugar, ½ cup dates, ½ tsp salt, 1 ½ cups milk
- Pre-heat oven to 180˚C / 360˚F.
- The Weetbix mix should now have soaked up all the milk and be quite sticky. Stir in the self raising flour until evenly mixed and optional: add an extra splash of cold milk to loosen the consistency of the batter if too sticky. Pour batter into a greased or lined bread loaf tin.1 ½ cups self raising flour
- Pop it in the oven and bake for around 1 hour. Check with a skewer in the middle and if it comes out clean, it’s ready!
- Allow to cool for 15-20 minutes then serve warm with a slather of butter, or cool completely and store in an airtight container for treats throughout the week.
Video

Recipe Notes
- Weetbix – Known in Australia as Weet-Bix or in the UK as Weetabix – they’re similar enough to use either in this recipe! You can also use gluten free Weetbix varieties if you need.
- Dates – For sweetness and texture. Sub with finely sliced apricots, dried fruit or mixed peel to suit your taste, or leave them out entirely.
- Sugar – Regular white sugar is fine, sub with any other granulated sugar you prefer. For a more caramelised flavour, use brown sugar.
- Milk – We use full cream milk, however you can swap for skim milk, or coconut milk for a dairy free version.
- Self Raising Flour – If you only have plain / all purpose flour on hand, add 1 ½ tsp baking powder.
- Texture – If the cake batter is too thick after soaking, you can add a tablespoon of milk at a time to loosen until smooth.
- To Serve – Serve warm with a dob of butter. You can also lightly toast your cake slices for extra warmth and crispy edges.
- Add Spice – Add your favourite baking spices like ground cinnamon, cloves, ginger and/or nutmeg (or just use pre-made pumpkin spice).
- Add Texture – Stir in some crushed walnuts, almonds or hazelnuts, or add a scattering of seeds over the top like pepitas, linseeds, chia seeds or sunflower seeds. This is also a great way to add some extra nutrition to your cake.
- Swap Cereals – Sub with any of your favourite crushed cereals such as cornflakes, nutrigrain, sultana bran, or even quick oats and see how it turns out!
- Add a Topping – A cream cheese frosting would go really well on this cake! You could also just sprinkle the top with icing sugar, or top with plain icing, chocolate icing or even melted chocolate.
Nutrition


No Comments