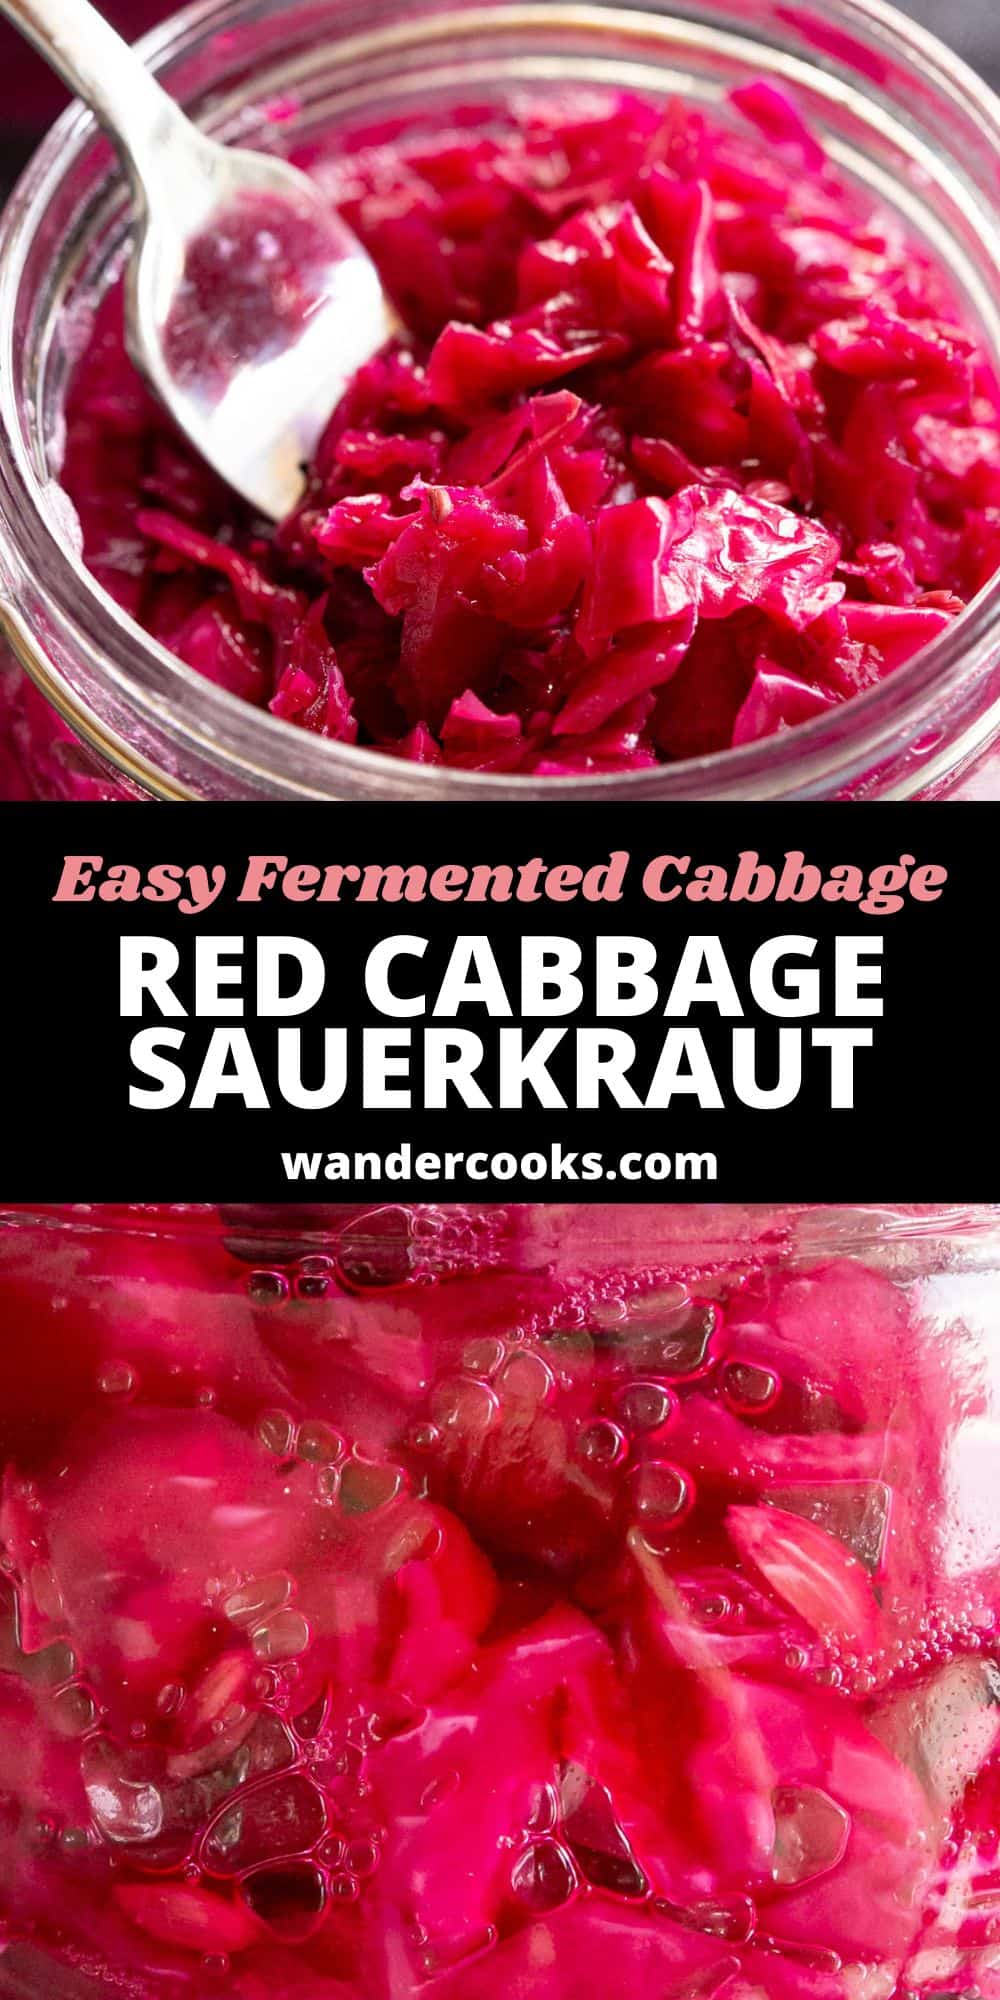
Everyone loves an easy ferment, and this is the perfect starter. Our red cabbage sauerkraut needs only 4 ingredients before you’re on your way to beautiful purple cabbage packed with crunch and sour flavour.
In this post you’ll learn
An Easy First Ferment
If you’ve never fermented (or only went to that one cooking class years ago…) then this is the perfect recipe to get you started. It’s literally 4 ingredients, and even those are adaptable with substitutes and extras depending on what you have on hand.
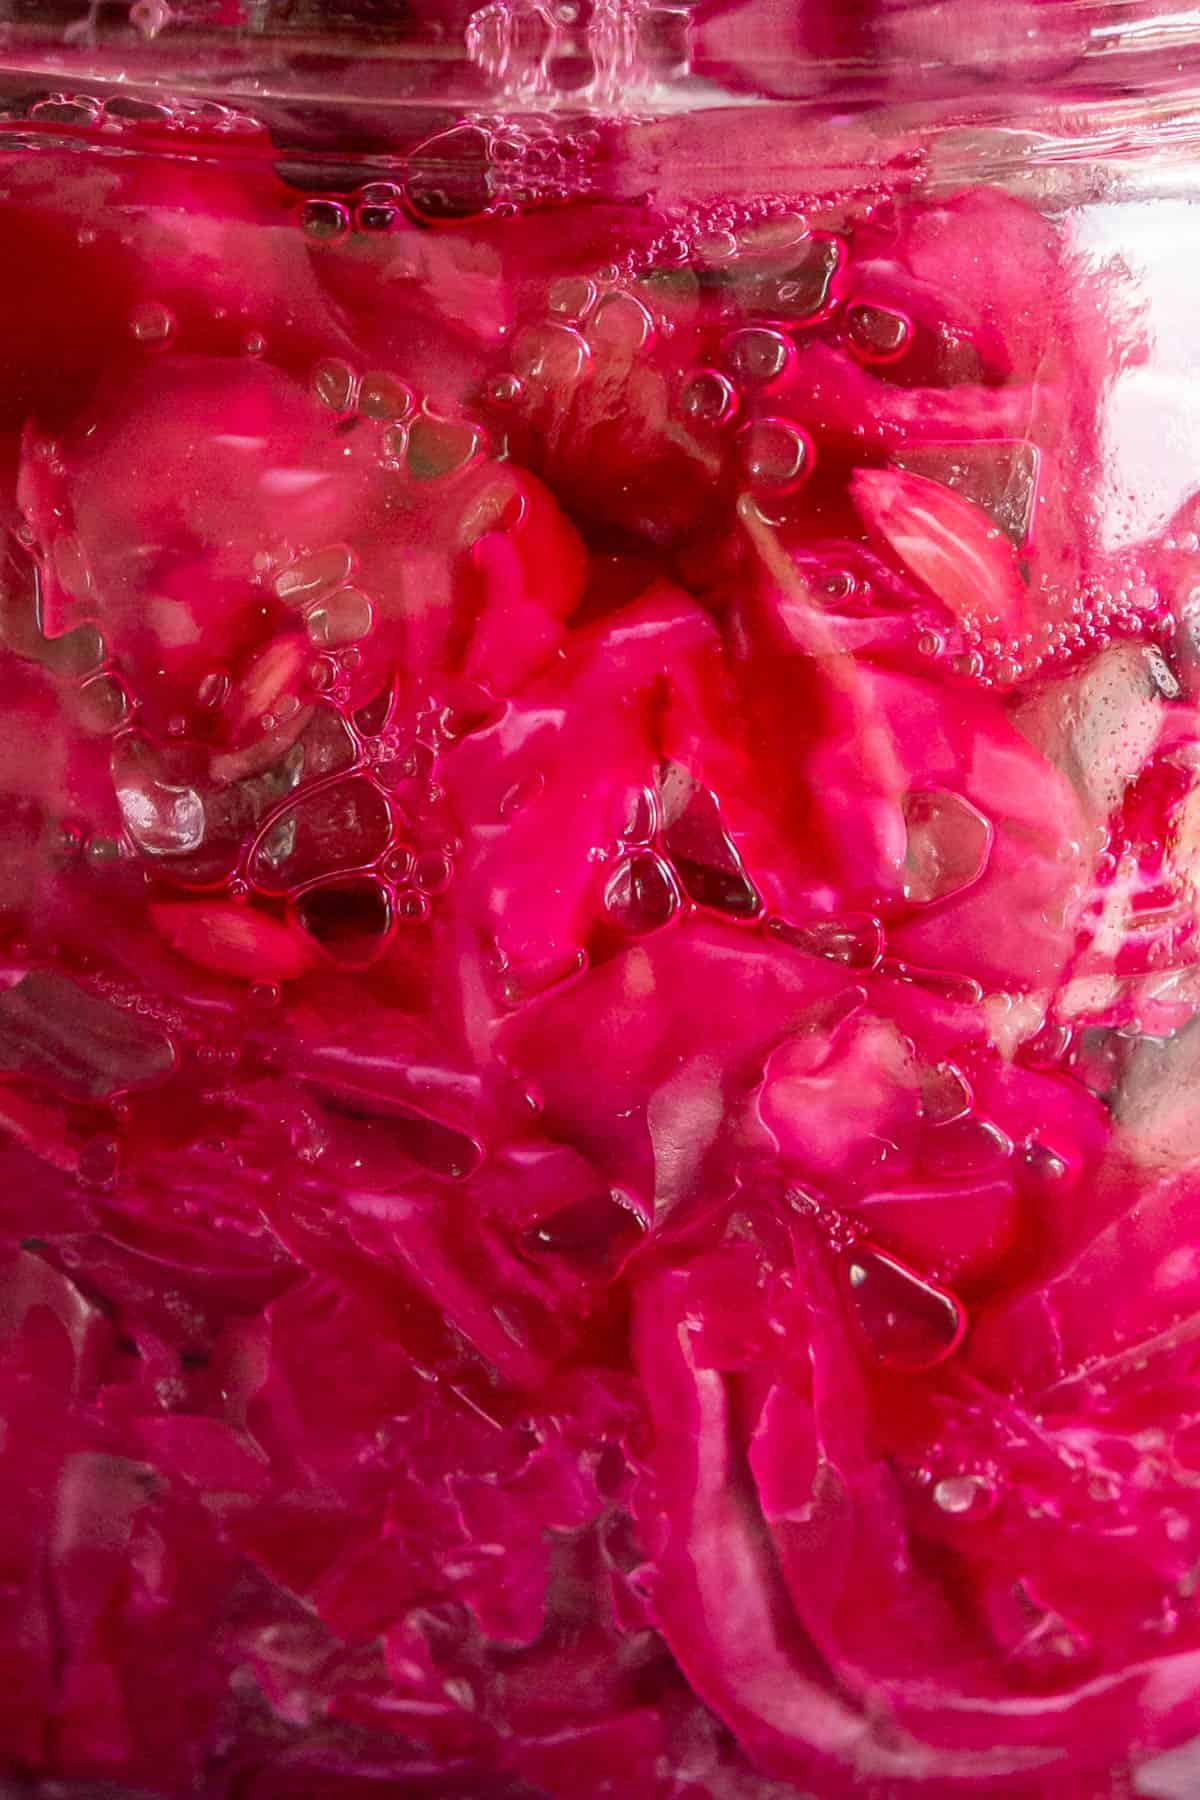
Get excited as you see those first bubbles appear after one day, knowing you’re on your way to successful homemade sauerkraut.
Related: Kimchi Recipe / Korean Pickled Onion
The best sauerkraut you’ll ever eat (because you made it)
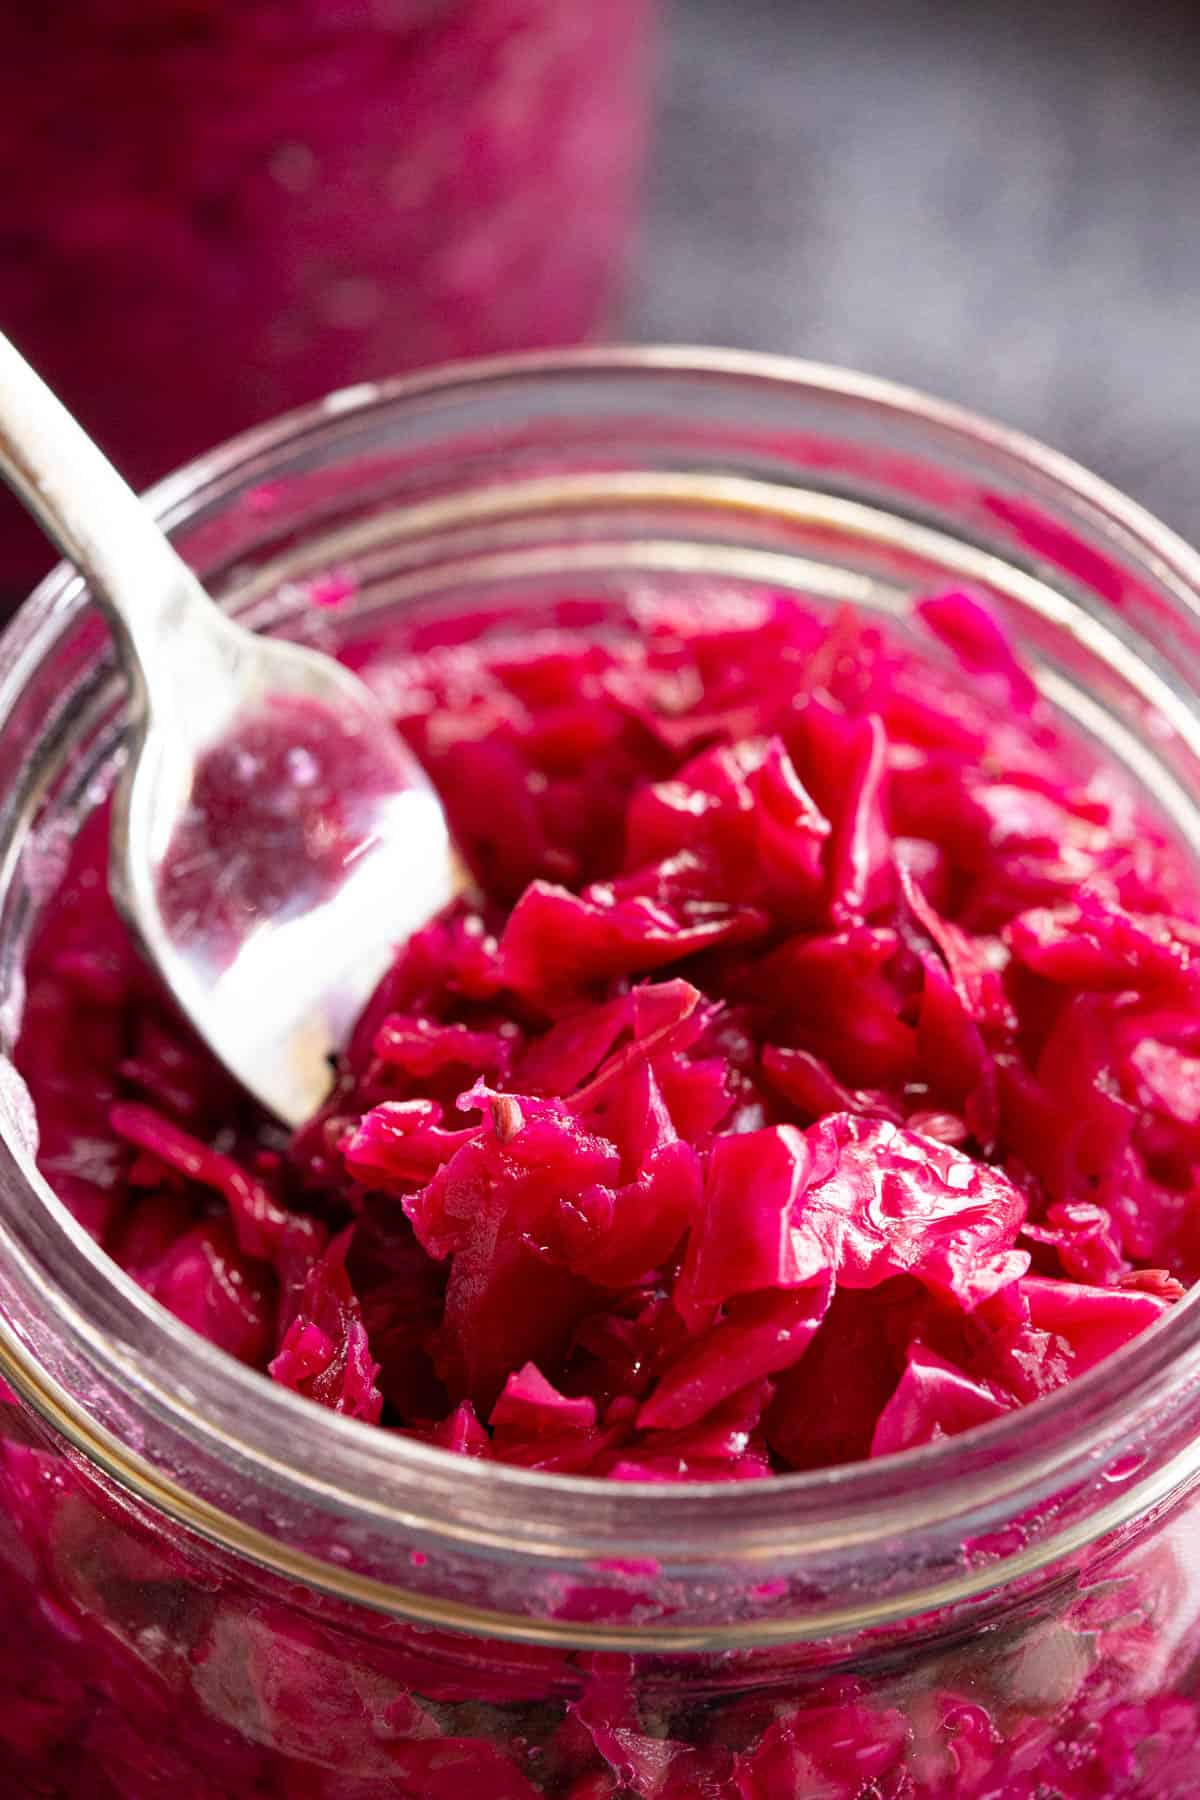
This is the good stuff, the real stuff. It’s full of flavour, naturally lacto-fermented and no preservatives in sight – yet this will last months in the fridge! Because it’s so long lasting, you may only need to make 1-2 batches a year.
Welcome to red cabbage sauerkraut.
Okay so technically this German recipe is actually called rotkraut or blaukraut, but call it what you like.
This one of our favourite ferments we’ve been making for years. It’s so satisfying to sit and crush up the cabbage, making it a self-brining ferment with no water needed.
Ingredients and substitutes
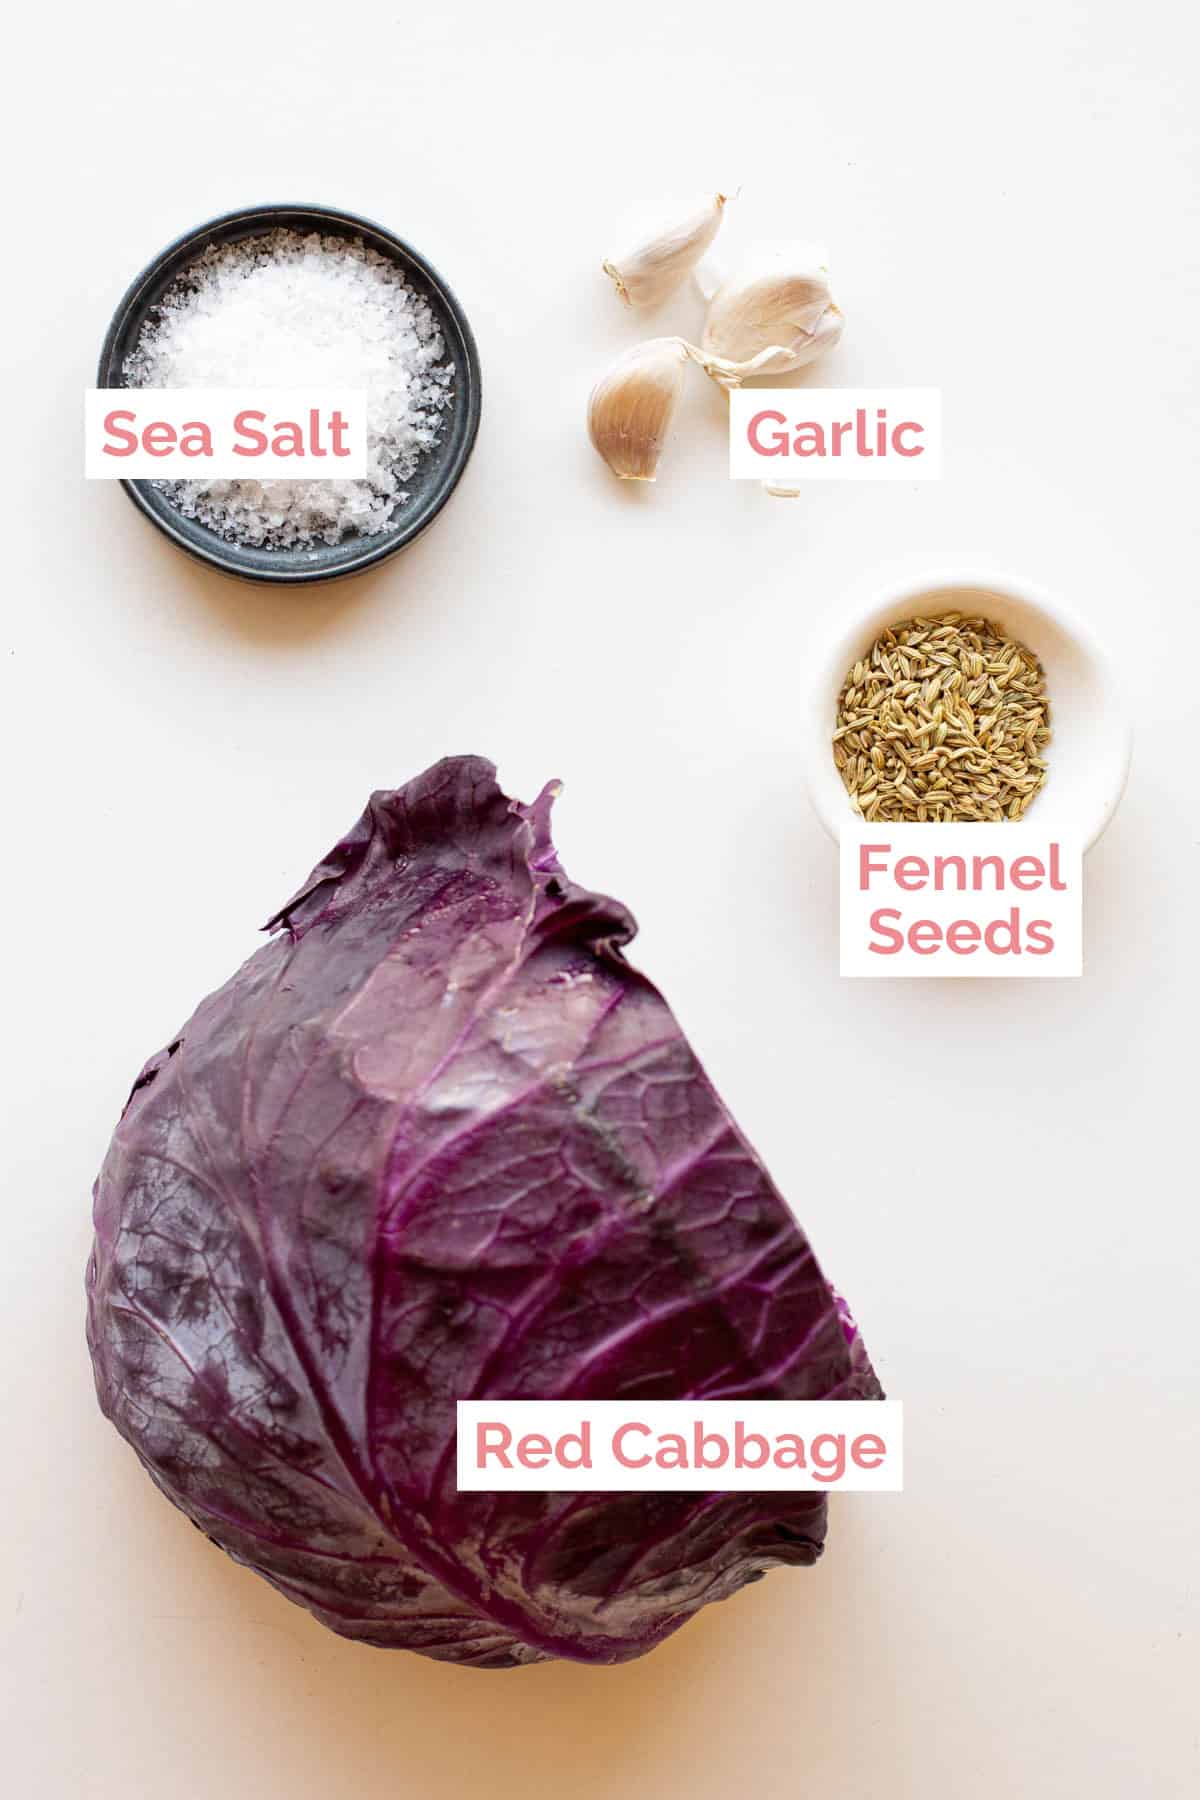
- Cabbage – We’ve used red cabbage (also called purple cabbage), you can sub it for green cabbage too. It’s a lot harder than the wombok / Chinese cabbage used in our kimchi, though you can still use that in a pinch.
- Garlic – Garlic is so strong on it’s own, this gives a good base note to the sauerkraut. You can add a tsp or two of chopped fresh ginger as well if you like.
- Sea Salt – We use coarse sea salt for fermenting. Try to avoid fine salt, as it will be too salty and never use iodised salt and this will prevent the ferment from working properly and growing the beneficial bacteria.
- Spice – Change up your choice of spice depending on what you have on hand and personal preference. We used fennel seeds, but you can use caraway, mustard seeds, juniper berries, white pepper – have fun and experiment.
Let’s get cooking!
Note: Make sure you remove and keep 2 outer leaves of the cabbage before chopping.
Crushing the cabbage
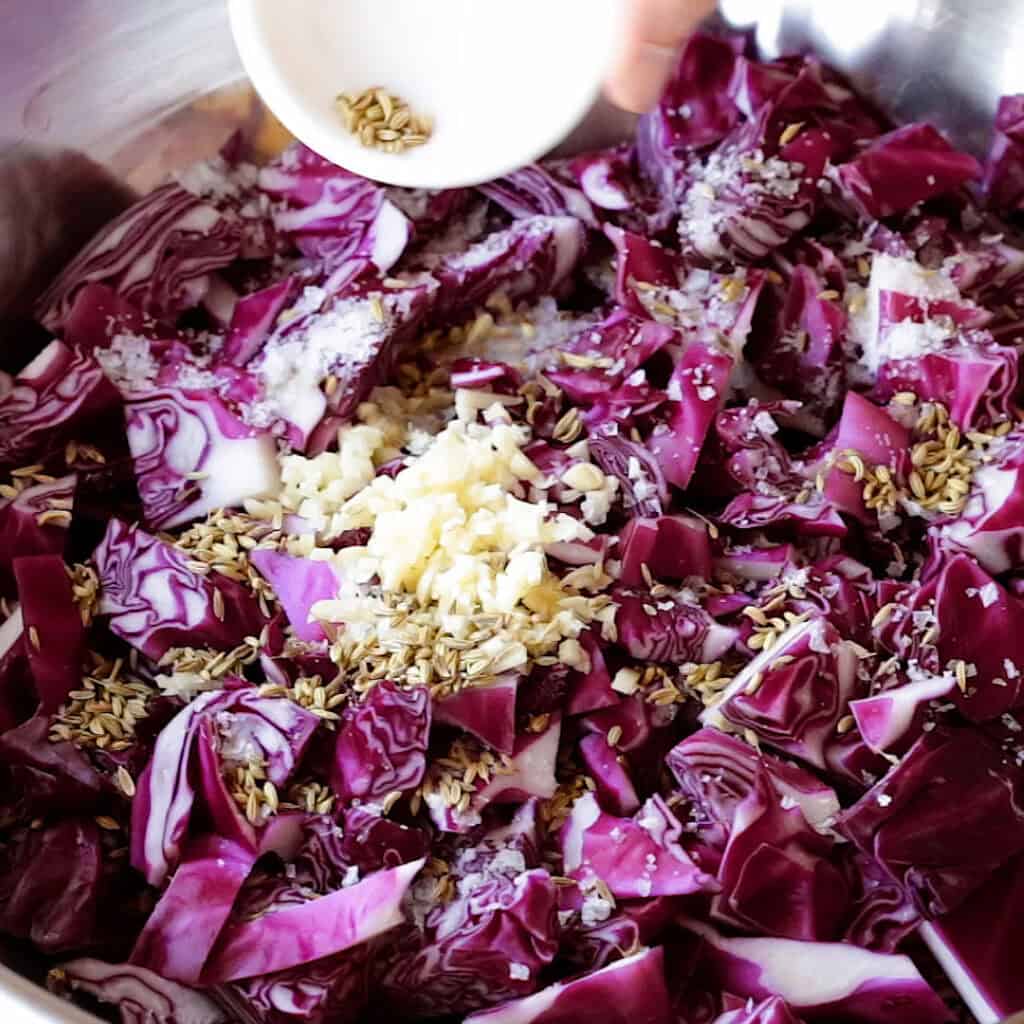
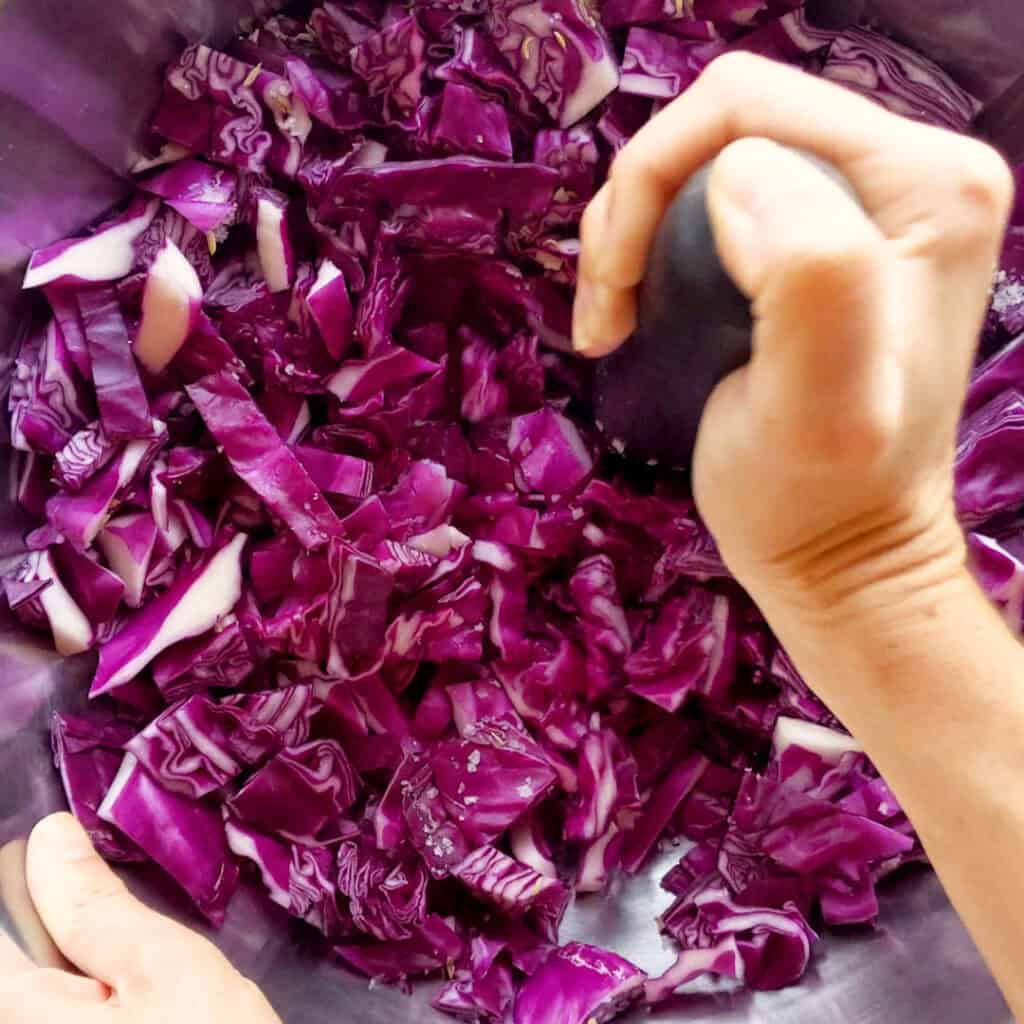
- Throw in your chopped red cabbage and garlic into a large stainless steel bowl and sprinkle over your sea salt and fennel seeds.
- It’s time to crush this cabbage and work out those natural juices for our brine. Tip: We love using a pestle to do most of the heavy work of the initial pounding and crushing. Spend a good few minutes with the pestle, then you can do the rest by hand for a few more minutes (you can also do the whole thing by hand, it just takes a little more time and elbow grease).
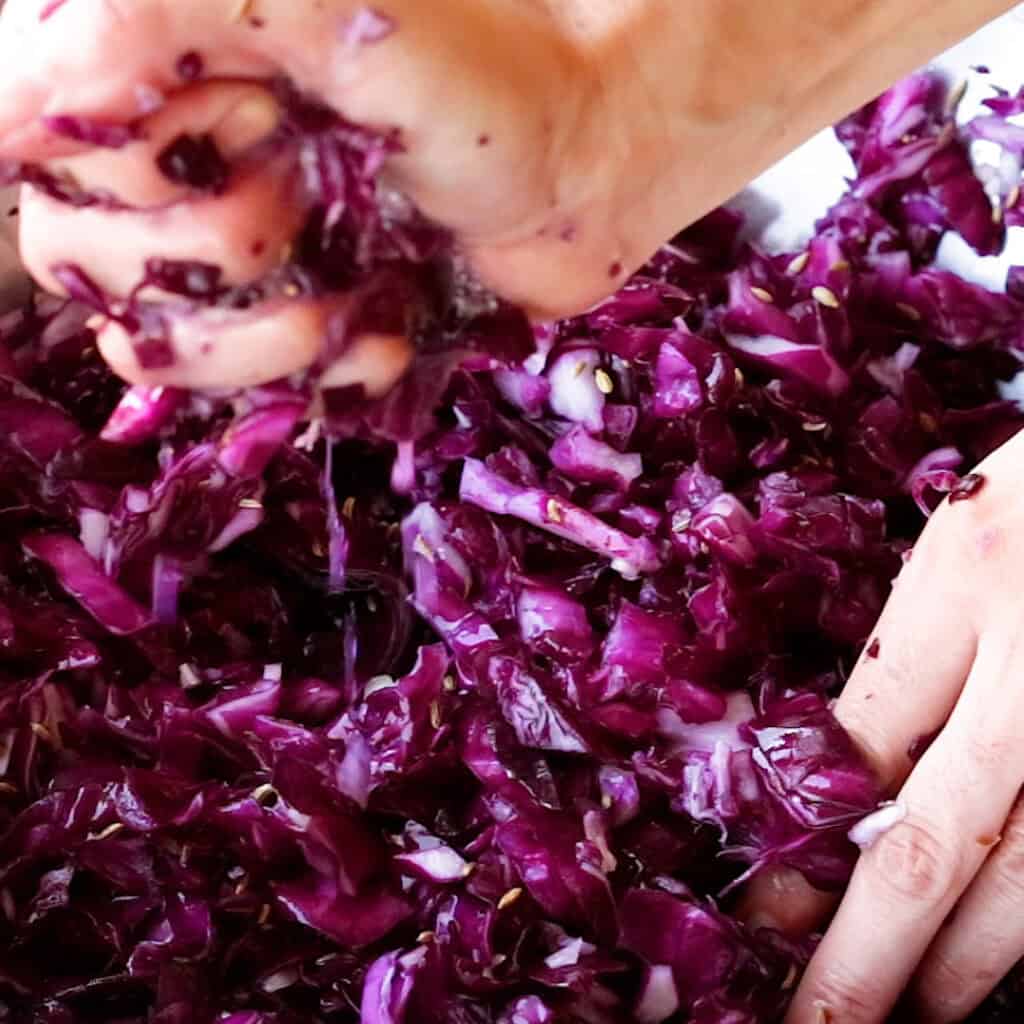
- You’ll know the cabbage is ready to be placed in the jar when you can take a fistful, squeeze and the juice runs out. This is perfect! No water required. It will also turn a darker purple colour and be softer to handle.
Adding the cabbage to jars
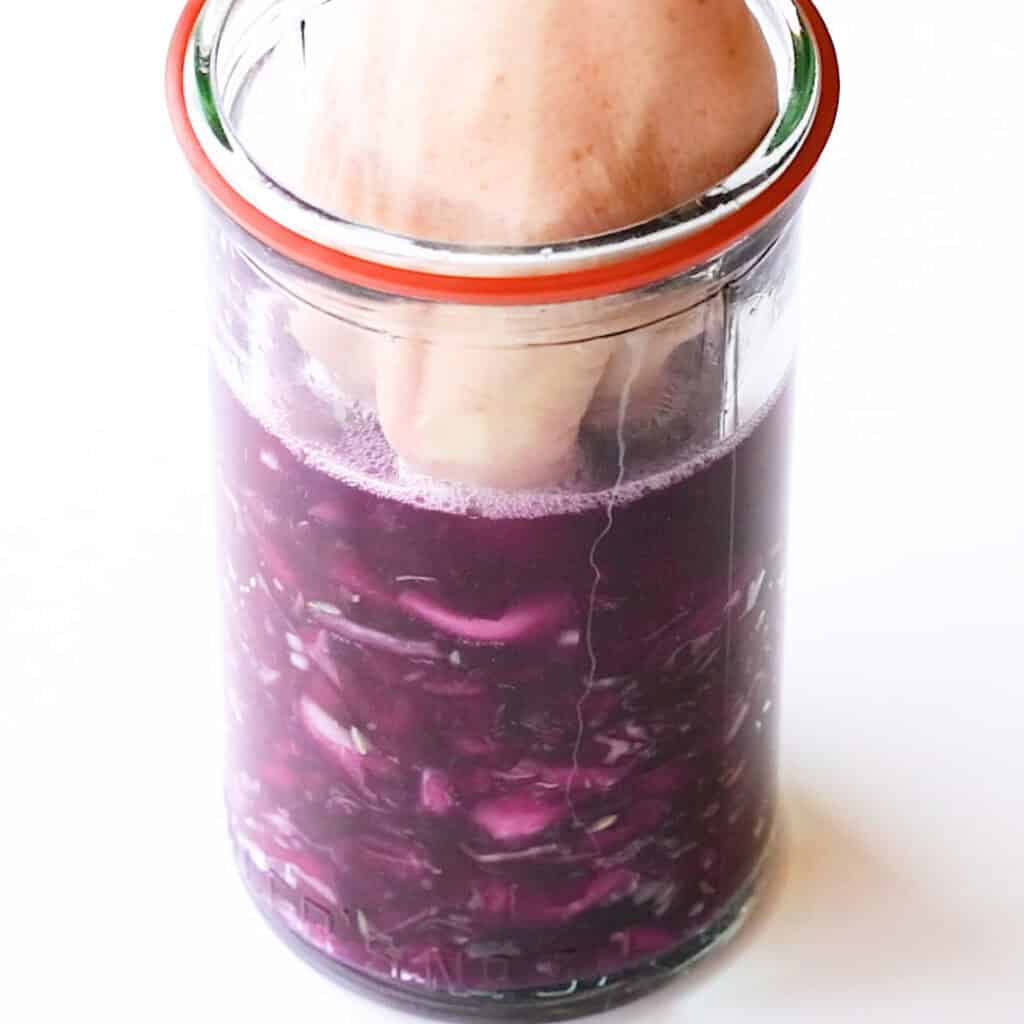
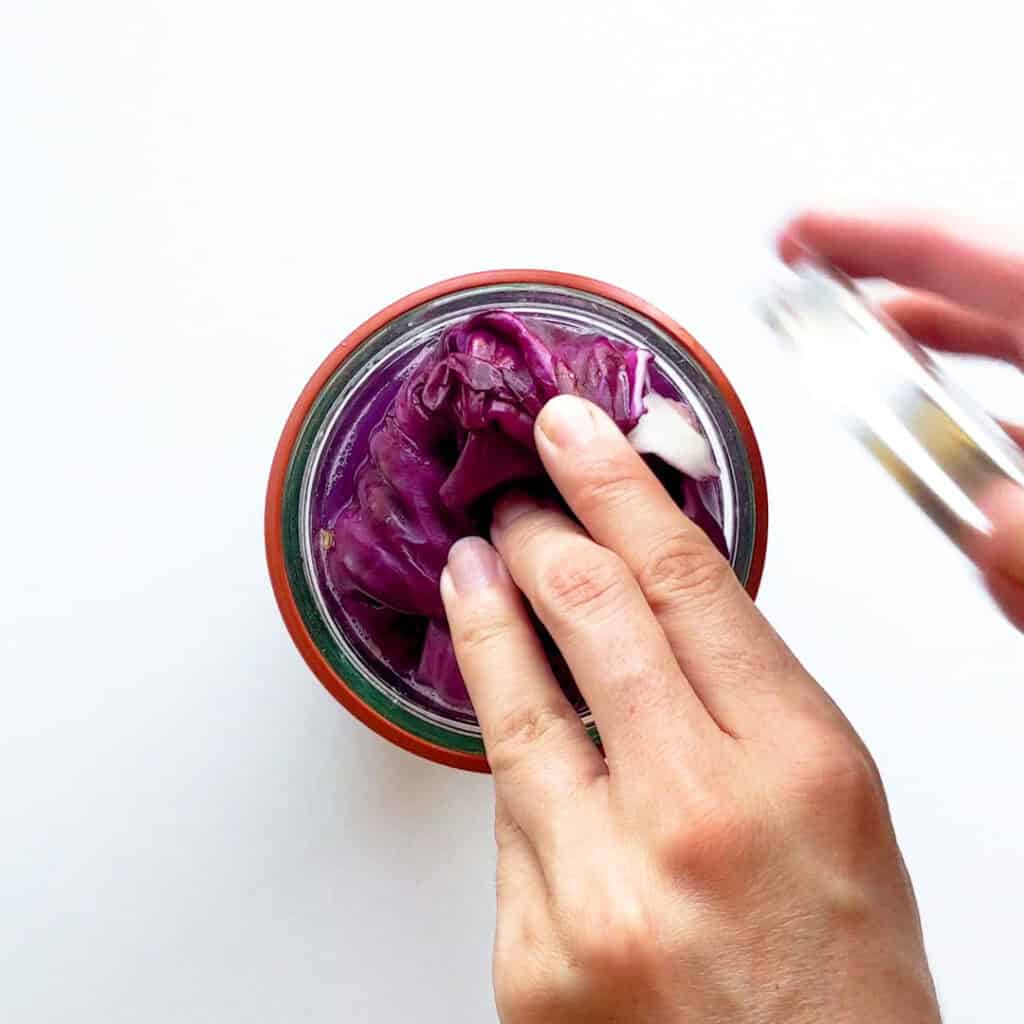
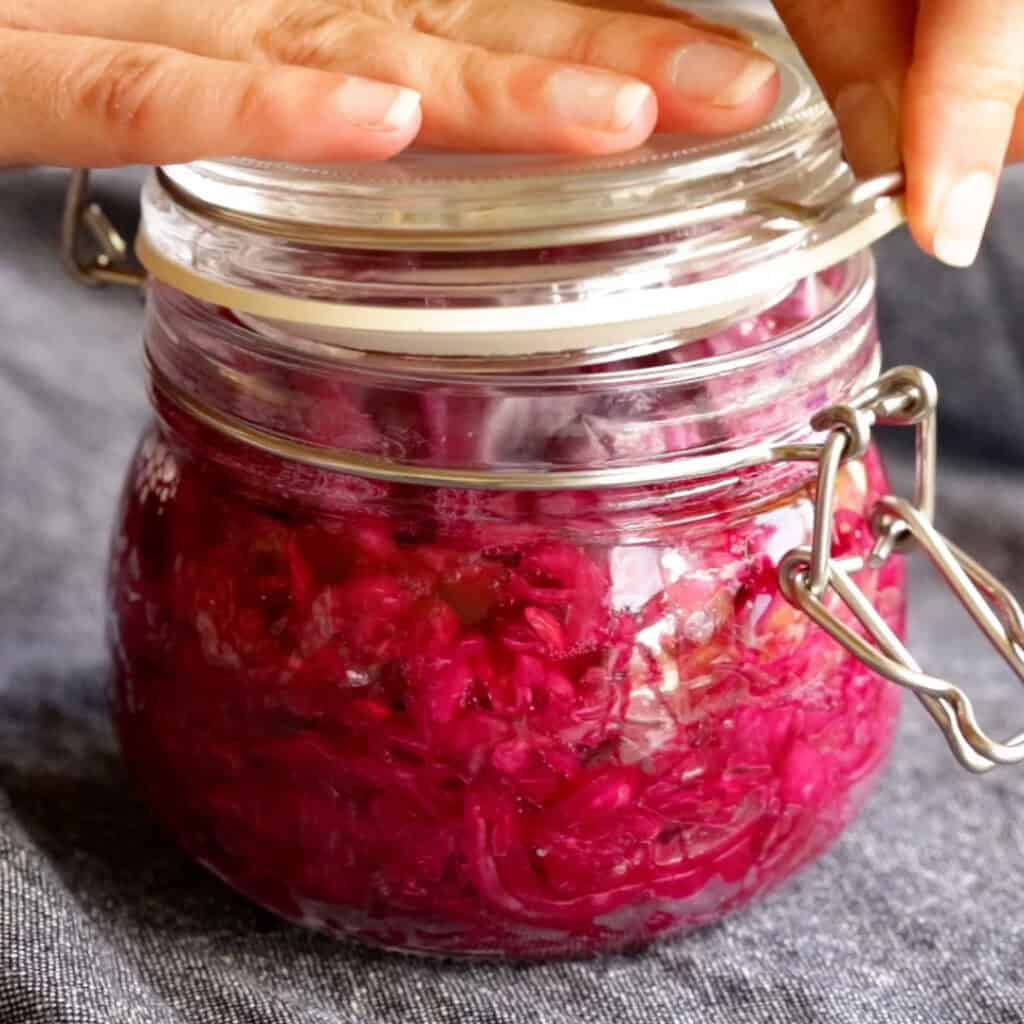
- Place your cabbage in clean, sterilised jars (out of the dishwasher is fine), making sure to push down with your fists as you go to pack it well and encourage more liquid out to cover the cabbage.
- Leave at least an inch or two of space at the top – it will expand when it starts to ferment and create bubbles. Fold up your cabbage leaves and place on top of each jar used, then pop your lid on. The leaves will help hold the cabbage under the brine and prevent mould growth.
Fermenting and storing the cabbage
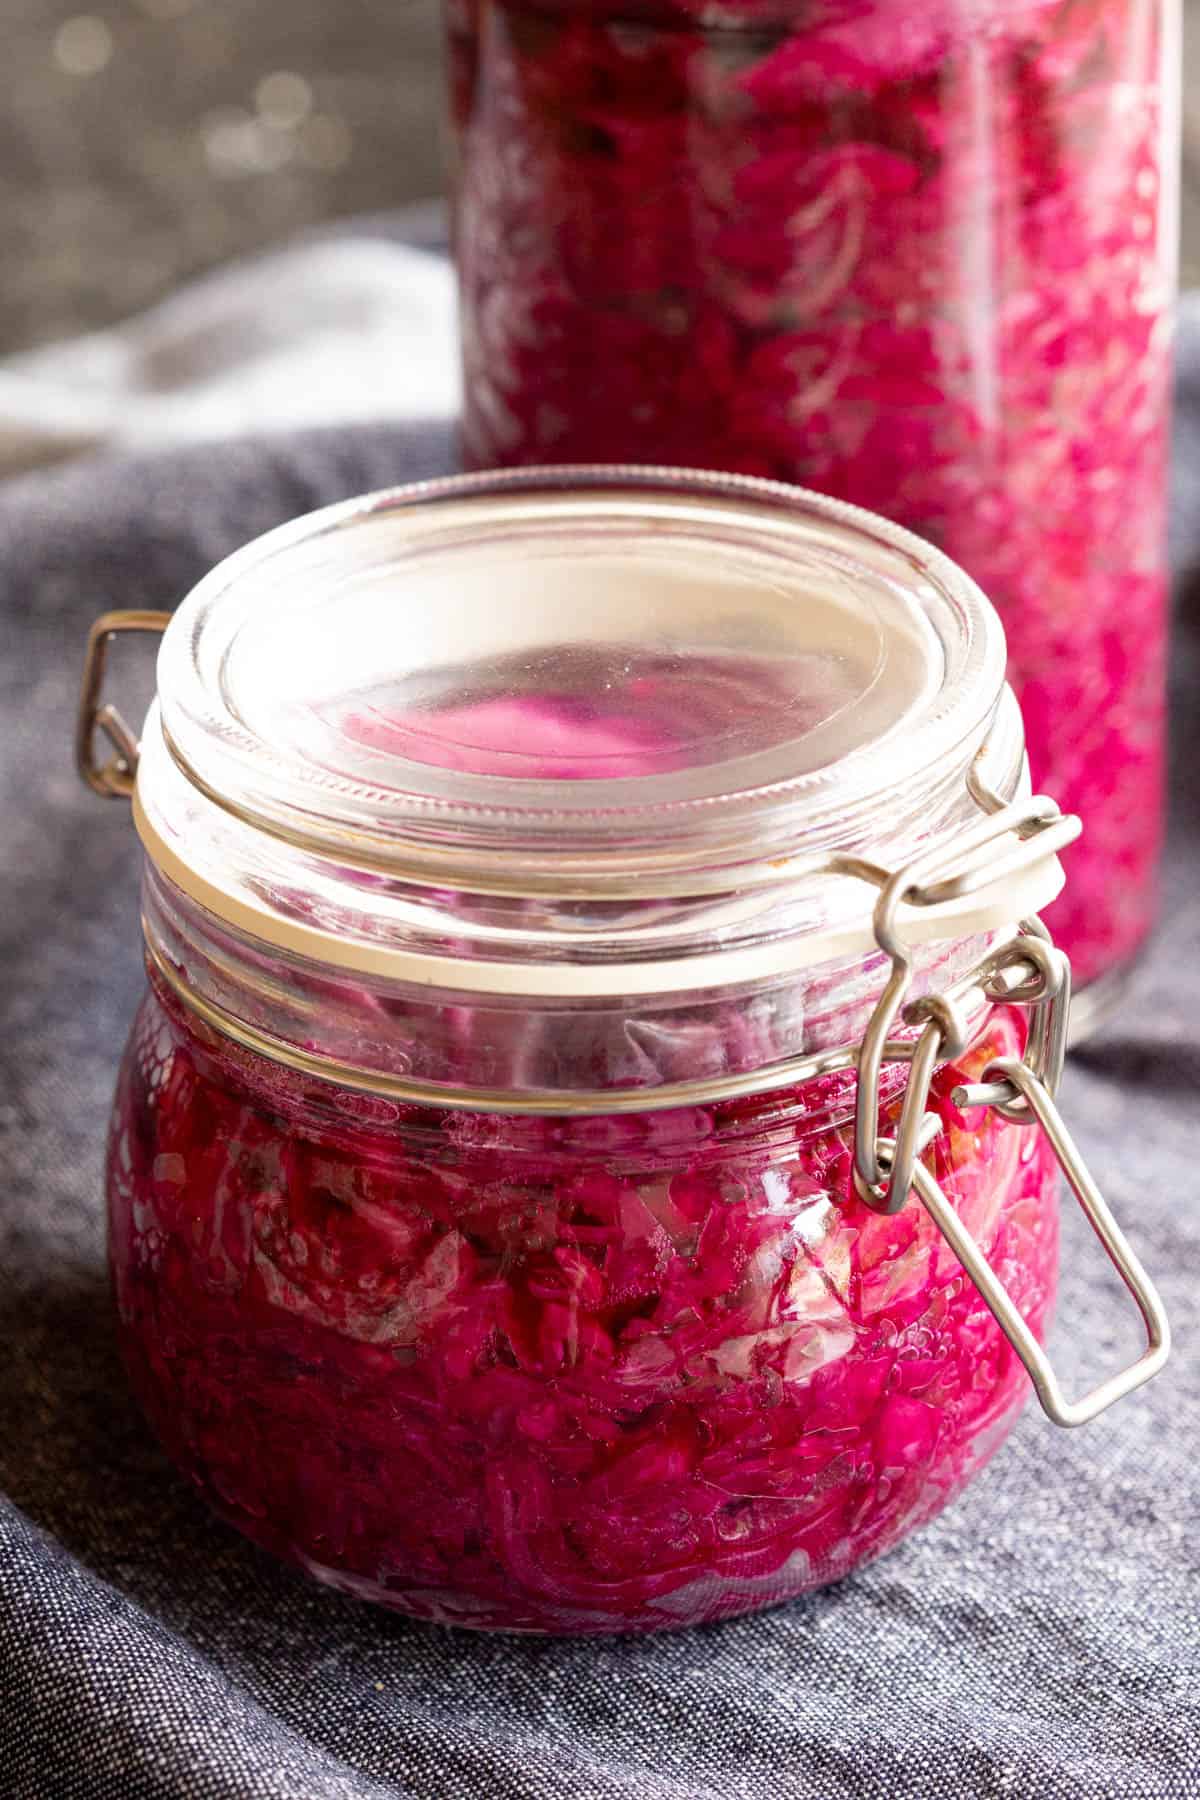
- Place jars on a plate on your bench and leave for 3-7 days. You should start to see bubbles in 12-24 hours. “Burp” your jars 1-2 times a day to release the build up of gas as it ferments by just loosening the lids then retightening (you don’t have to take the lid off).
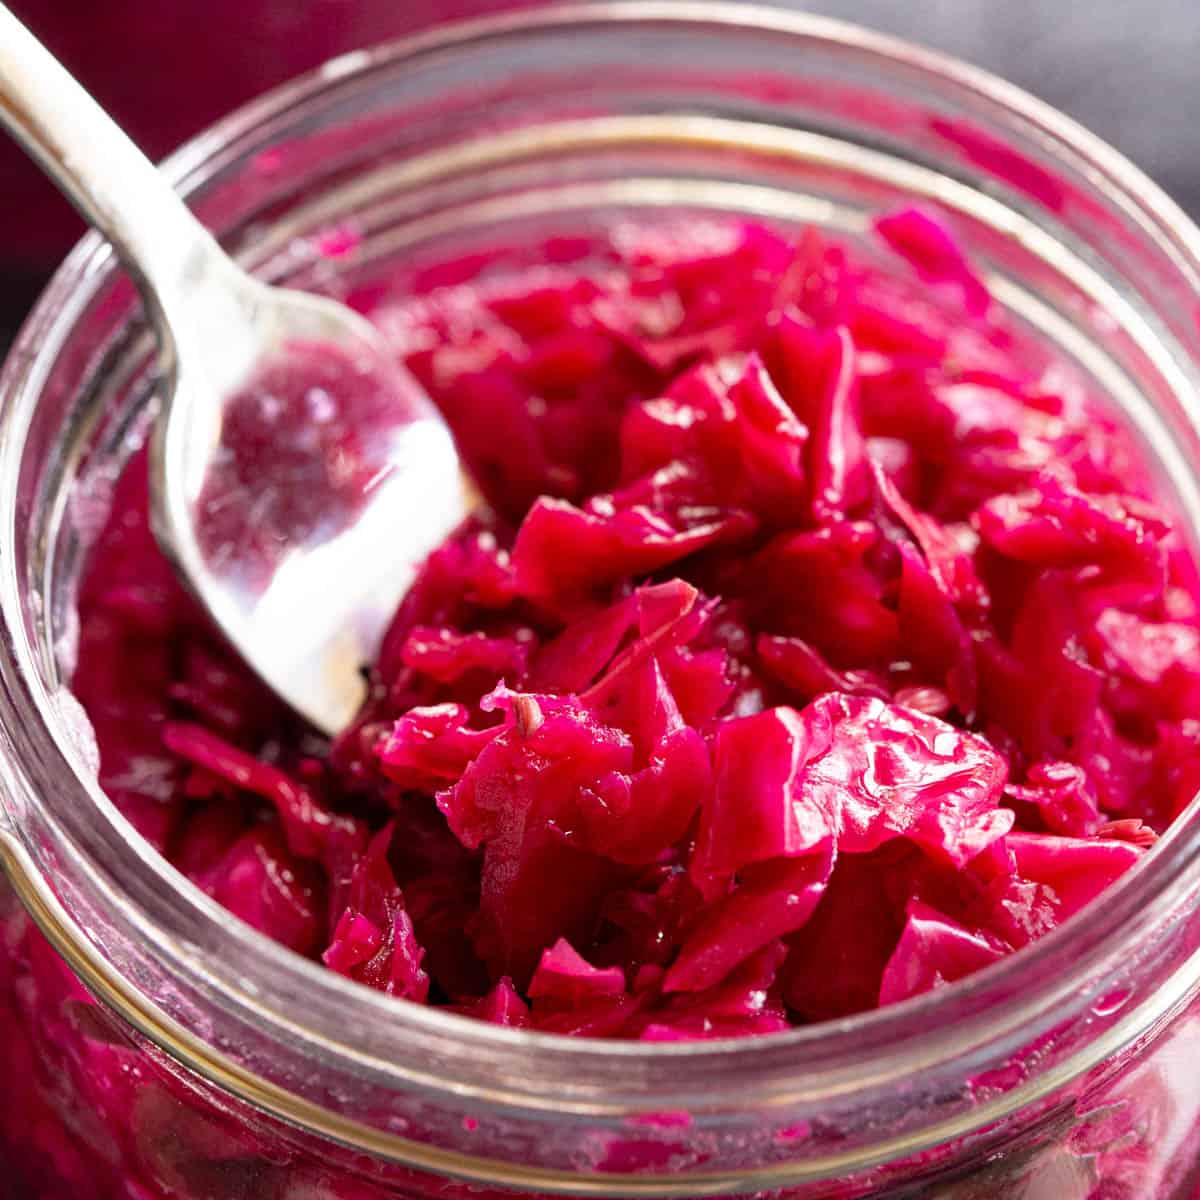
- The sauerkraut will ferment faster the warmer your house is. The longer you leave it, the more sour it will become. You can start tasting it with a clean fork around that 3 day mark if you see good bubble activity (don’t double dip!). Once you’re happy, pop it in the fridge with the lid on tight for 3-6 months. It will continue to ferment and develop flavour over time, but at a very very slow rate due to the cold temperature.
- Important Note: Any sign of mould or an extremely bad smell at any point – throw it out, it’s got bad bacteria in somehow. It will of course have a slight smell when burping, as it is cabbage after all, but it should still be a palatable smell.
Quick Tips
Storage
Remember to store in the fridge once the sauerkraut has reached your optimal flavour. Will keep for 3-6 months, and grow more sour but begin to lose it’s crunch over time.
FAQs & Troubleshooting
Yep! The fermentation process is slowed right down in the fridge, so no need to keep the lid loose.
Any clean round jar with a tight fitting lid. We’ve used old peach or even old sauerkraut jars before – it doesn’t have to be fancy. We also like jars with a rubber like the Korken from Ikea or Fowlers Vacola jars.
Important: Don’t use square jars – the gasses can collect in the edges and cause the glass to break.
The salt ratio for sauerkraut should be around the 2-2.5% mark. So for example, we’re using 1 kg / 2.2 lb cabbage so we’ll need at least 20 g / 1 tbsp of salt. We like to use a little more, so our recipe is for 1 1/4 tbsp of sea salt.
Variations
- Add Other Veg – You can add grated carrot, or a tbsp of wakame seaweed, even a chilli or two for some spice.
- Add Herbs – We’ve added a couple handfuls of chopped coriander before which worked really well.
- Alternative Combo – Try it with red cabbage, carrots, ginger, fresh turmeric and grated beetroot.
Try these amazing recipes next:
★ Did you make this recipe? Please leave a comment and a star rating below!
Equipment
- 1 Mortar and Pestle Pestle only
Ingredients
- 1 kg red cabbage 2.2 lb, chopped, 2 outer leaves set aside
- 3 garlic chopped finely
- 1 ¼ tbsp sea salt coarse, non-iodised
- ½ tbsp fennel seeds sub juniper, caraway or mustard seeds
Instructions
- Note: Make sure you remove and keep 2 outer leaves of the cabbage before chopping.
Crushing the cabbage
- Throw in your chopped 1 kg red cabbage and 3 garlic into a large stainless steel bowl and sprinkle over your 1 ¼ tbsp sea salt and ½ tbsp fennel seeds.
- It’s time to crush this cabbage and work out those natural juices for our brine. Tip: We love using a pestle to do most of the heavy work of the initial pounding and crushing. Spend a good few minutes with the pestle, then you can do the rest by hand for a few more minutes (you can also do the whole thing by hand, it just takes a little more time and elbow grease).
- You’ll know the cabbage is ready to be placed in the jar when you can take a fistful, squeeze and the juice runs out. This is perfect! No water required. It will also turn a darker purple colour and be softer to handle.
Adding the cabbage to jars
- Place your cabbage in clean, sterilised jars (out of the dishwasher is fine), making sure to push down with your fists as you go to pack it well and encourage more liquid out to cover the cabbage.
- Leave at least an inch or two of space at the top – it will expand when it starts to ferment and create bubbles. Fold up your cabbage leaves and place on top of each jar used, then pop your lid on. The leaves will help hold the cabbage under the brine and prevent mould growth.
Fermenting and storing the cabbage
- Place jars on a plate on your bench and leave for 3-7 days. You should start to see bubbles in 12-24 hours. “Burp” your jars 1-2 times a day to release the build up of gas as it ferments by just loosening the lids then retightening (you don’t have to take the lid off).
- The sauerkraut will ferment faster the warmer your house is. The longer you leave it, the more sour it will become. You can start tasting it with a clean fork around that 3 day mark if you see good bubble activity (don’t double dip!). Once you’re happy, pop it in the fridge with the lid on tight for 3-6 months. It will continue to ferment and develop flavour over time, but at a very very slow rate due to the cold temperature.
- Important Note: Any sign of mould or an extremely bad smell at any point – throw it out, it’s got bad bacteria in somehow. It will of course have a slight smell when burping, as it is cabbage after all, but it should still be a palatable smell.
Video
Recipe Notes
- Hygiene – One of the most crucial things to a successful ferment is hygiene. Make sure those jars are clean and never double dip utensils when testing or stirring.
- Keep the Liquid – No need to strain the brine at any time – all the good stuff is stored in here, and keeps the sauerkraut from drying out. You will notice this reduces over time once it’s stored in the fridge.
- Size of Cabbage – When chopping the cabbage you can make it as chunky or fine as you like – it’s completely up to personal preference.
- Store on a Plate – Listen. We’ve all been guilty of overfilling our ferment jars or forgetting to burp them, so make sure it’s stored on a plate while fermenting! This way if it does leak bright purple brine, it will end up on the plate and not on your benchtop.
Nutrition


No Comments